
WPLP Cookie Consent includes a built-in Custom CSS editor that lets you customize the appearance of your cookie banner, buttons, and cookie settings window. You can apply your styles directly without editing your theme files, installing a code snippet plugin, or using the Additional CSS panel.
Where to find the Custom CSS option
The Custom CSS editor is in Cookie Consent » Banner Settings » Custom CSS.
- In your WordPress admin, open WPLP.
- Click the Cookie Consent tab at the top.
- In the left menu, expand Banner Settings.
- Click Custom CSS.
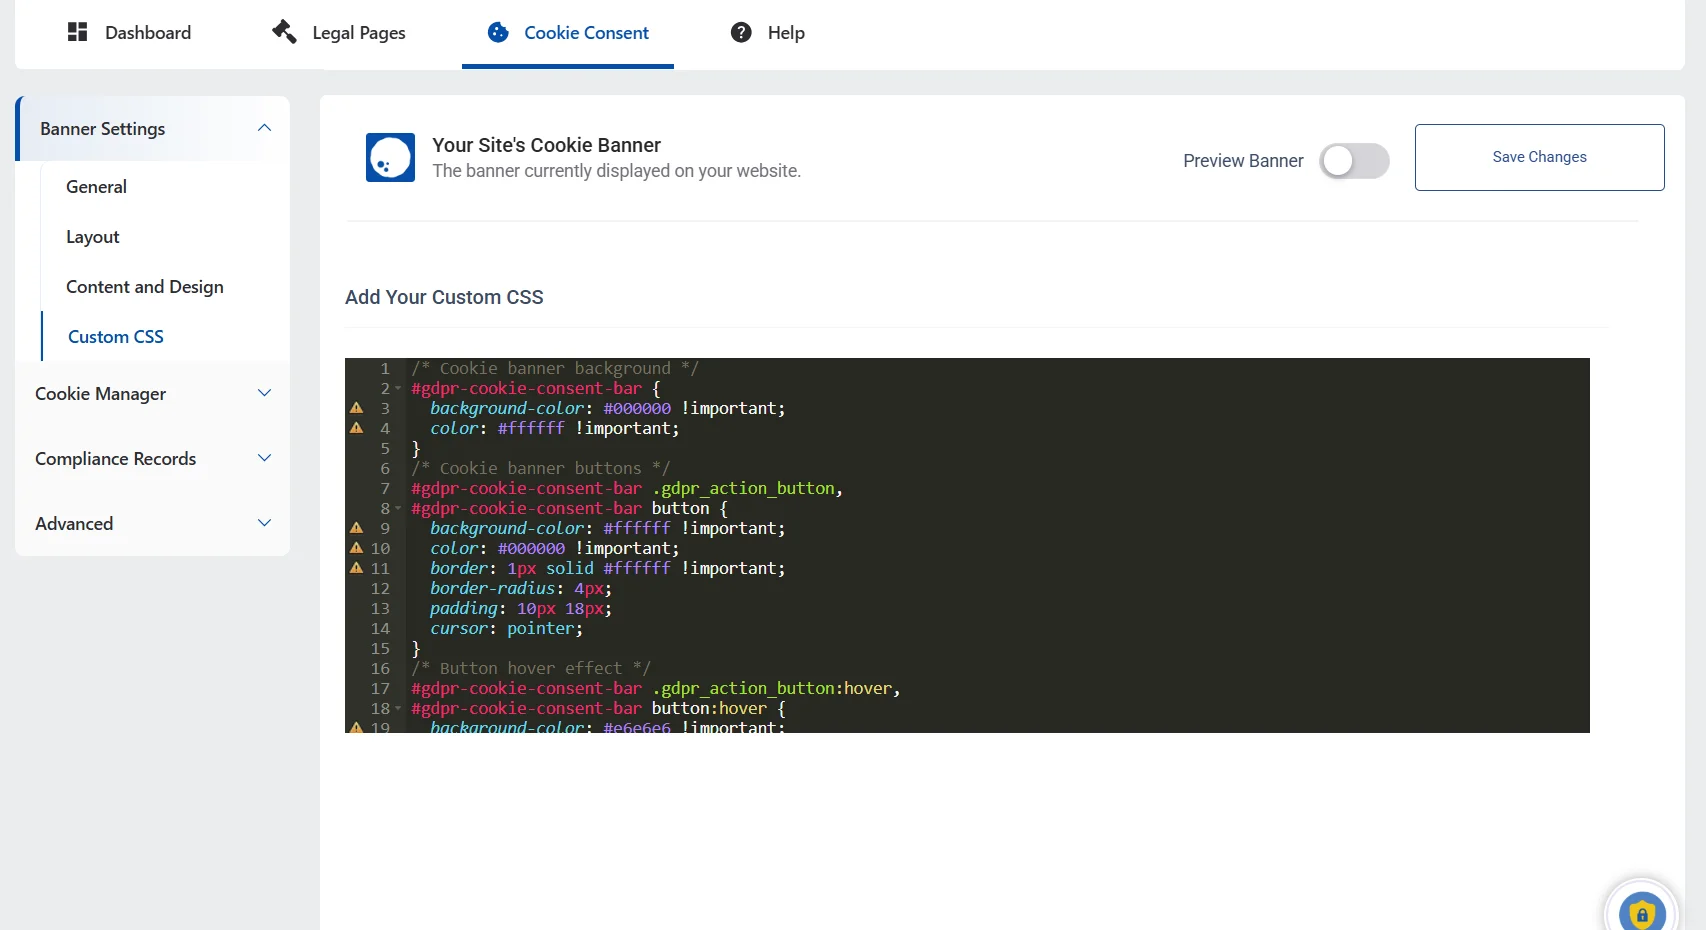
You’ll see the Add Your Custom CSS editor. Type or paste your CSS rules into it.
The selectors to use
Three selectors cover the main parts of the WPLP cookie banner.
| Selector | What it styles |
|---|---|
#gdpr-cookie-consent-bar | The cookie banner container |
.gdpr_action_button | The banner buttons (for example, Accept and Reject) |
.gdprmodal-content | The cookie settings window that opens from the banner |
To style one part inside the banner, start your selector with #gdpr-cookie-consent-bar. This keeps your rule from changing other parts of your site.
Need to style one button only? Right-click it on your site and choose Inspect. Your browser shows the button’s ID or extra classes, which you can use in your selector.
All banner buttons share the .gdpr_action_button class, so a rule on it changes every button at once.
Example CSS
Copy any of these examples into the editor, then change the values to match your site.
For colors and text, check Banner Settings » Content and Design first. If a setting already does what you need, use it instead of CSS.
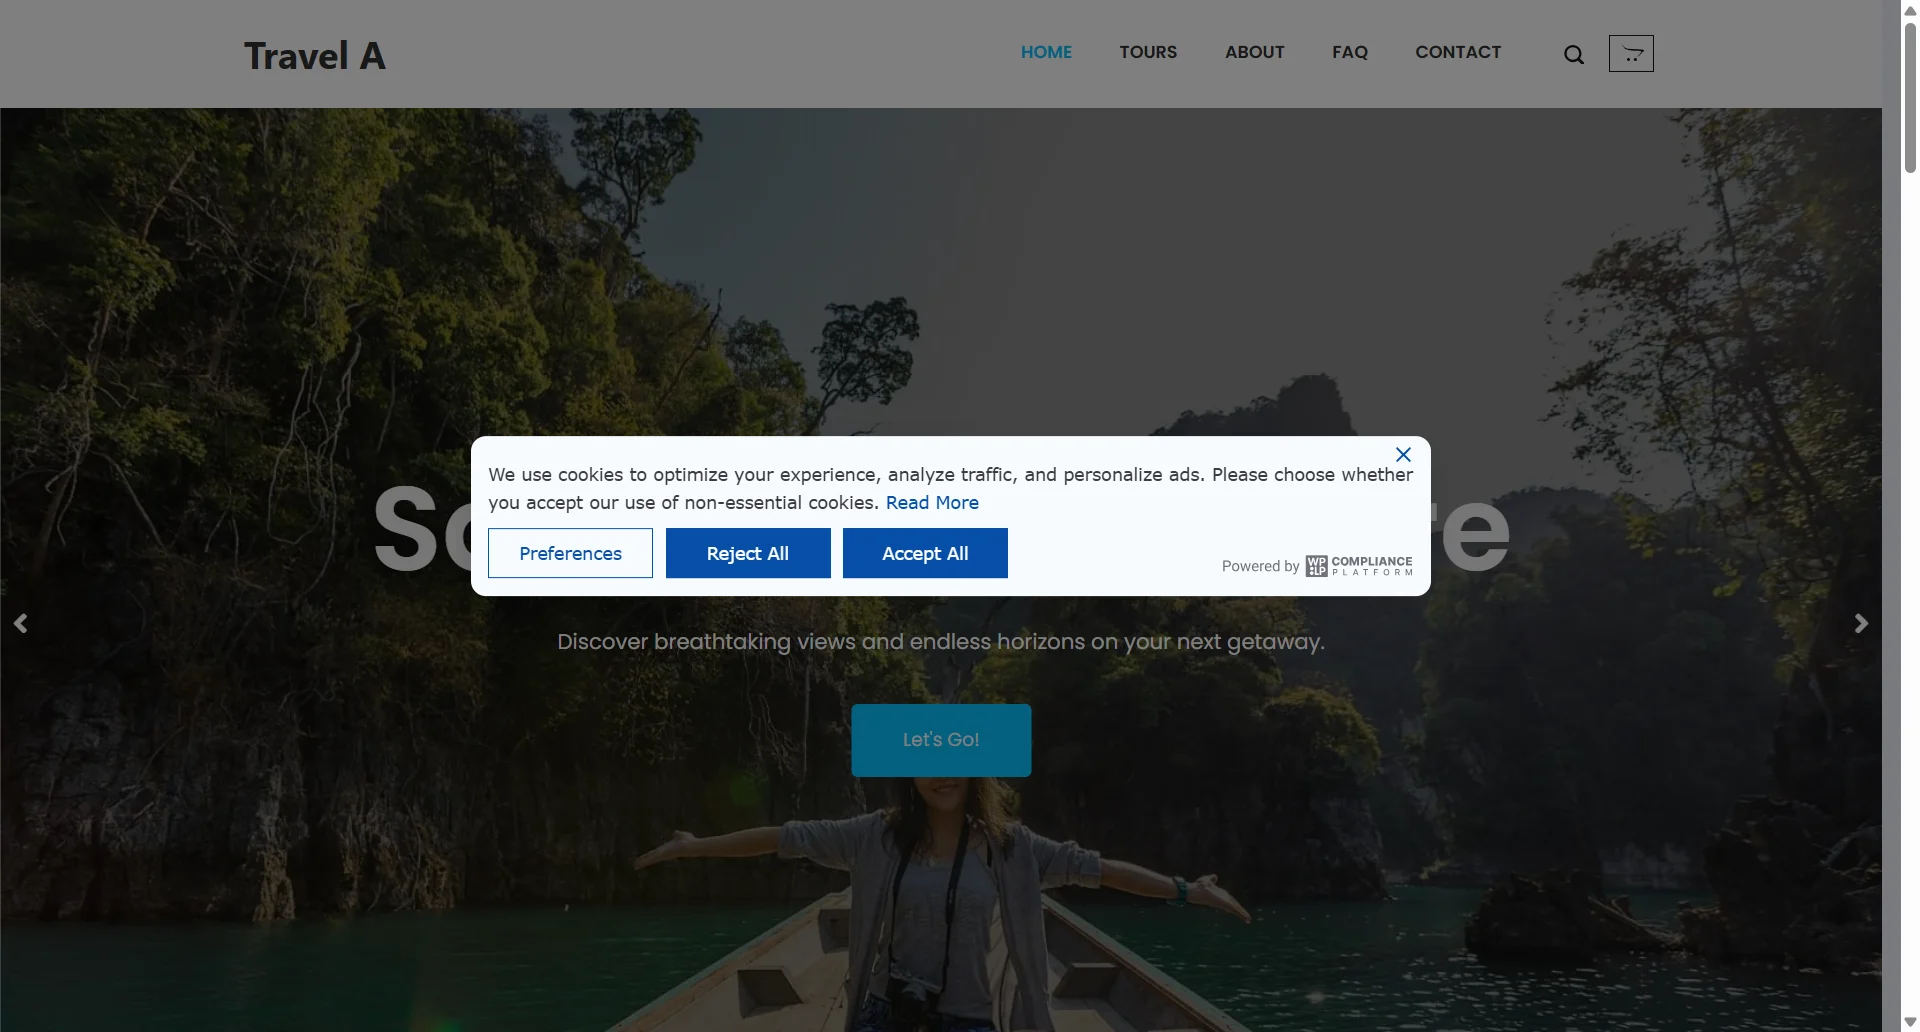
Change the banner font and shape:
#gdpr-cookie-consent-bar {
  font-family: Verdana, sans-serif !important;
  border-radius: 12px !important;
  box-shadow: 0 8px 24px rgba(0, 0, 0, 0.15) !important;
}
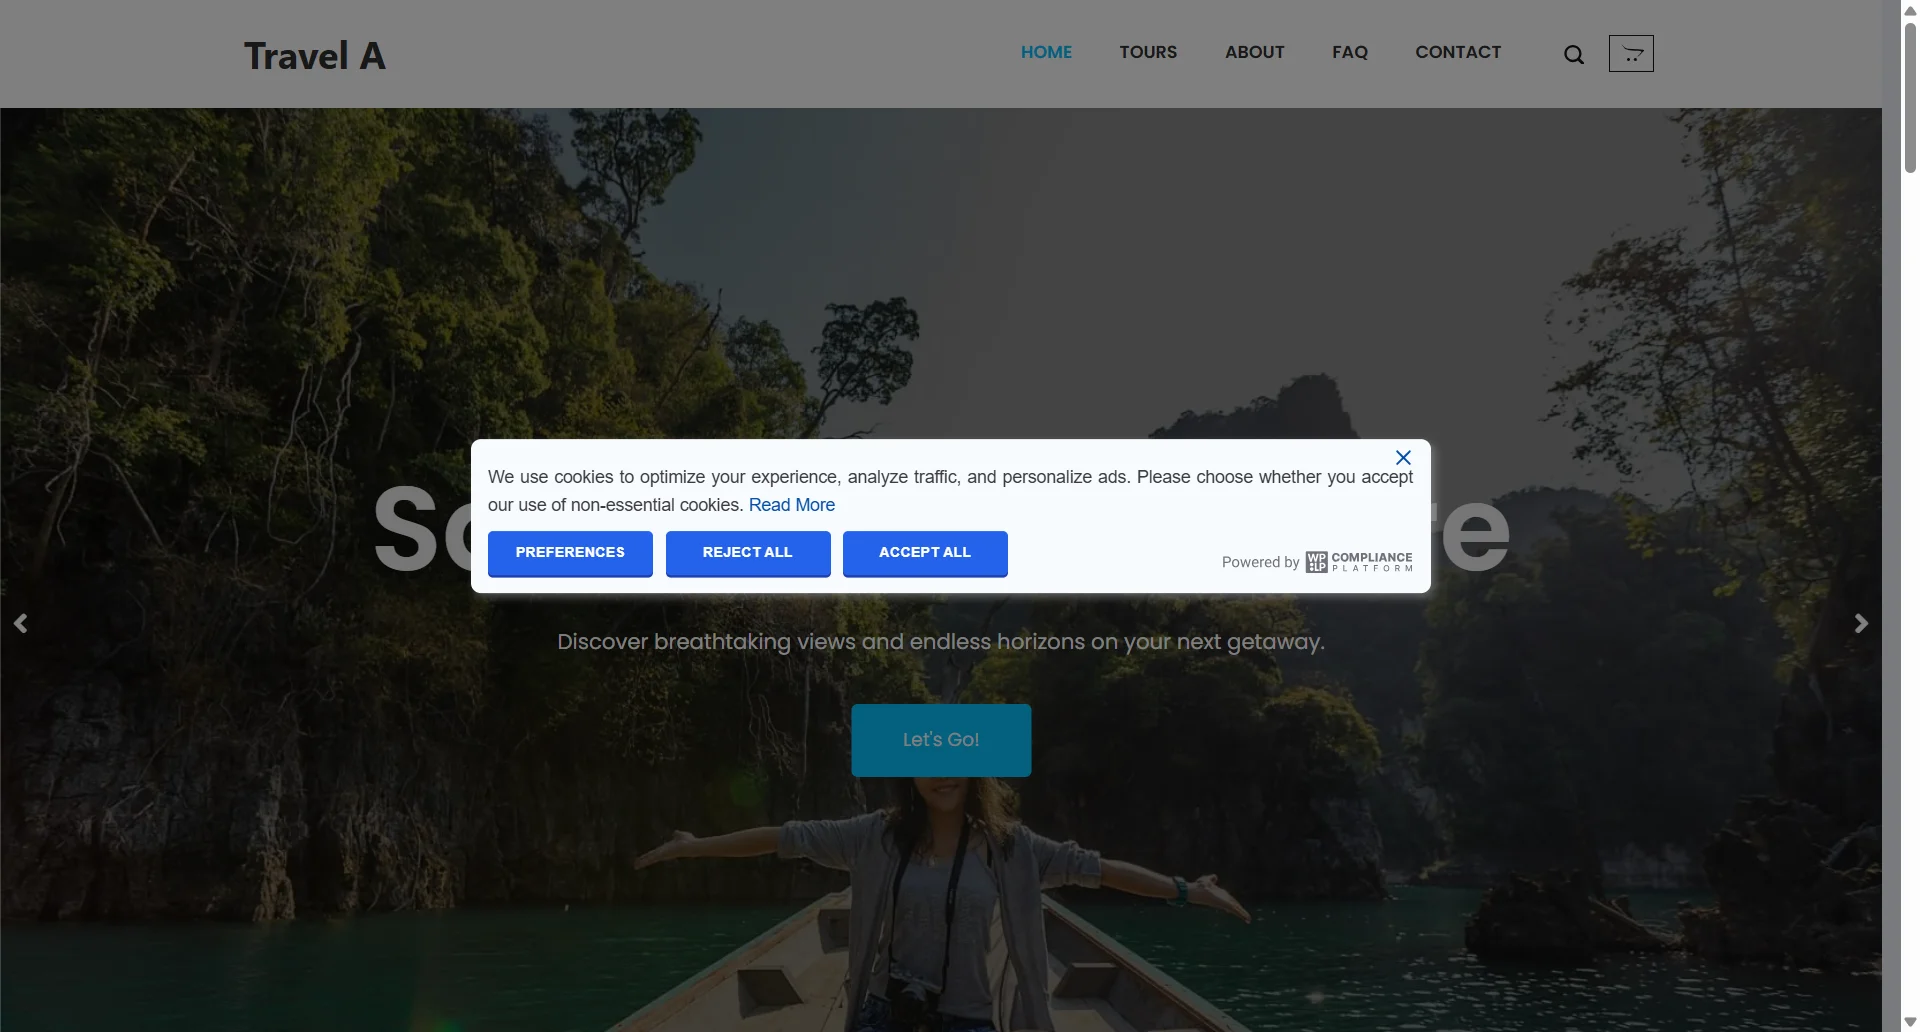
Change the button’s background color and customize its hover effect.
#gdpr-cookie-consent-bar .gdpr_action_button {
  background-color: #2563eb !important;
  color: #ffffff !important;
  border: 1px solid #2563eb !important;
  border-radius: 4px !important;
  padding: 8px 16px !important;
  font-size: 11px !important;
  font-weight: 600 !important;
  text-transform: uppercase !important;
  letter-spacing: 0.04em !important;
  box-shadow: 0 2px 0 #1e40af !important;
  transition: all 0.2s ease !important;
}

#gdpr-cookie-consent-bar .gdpr_action_button:hover {
  background-color: #1e40af !important;
  border-color: #1e40af !important;
  transform: translateY(-1px) !important;
  box-shadow: 0 3px 0 #172554 !important;
}
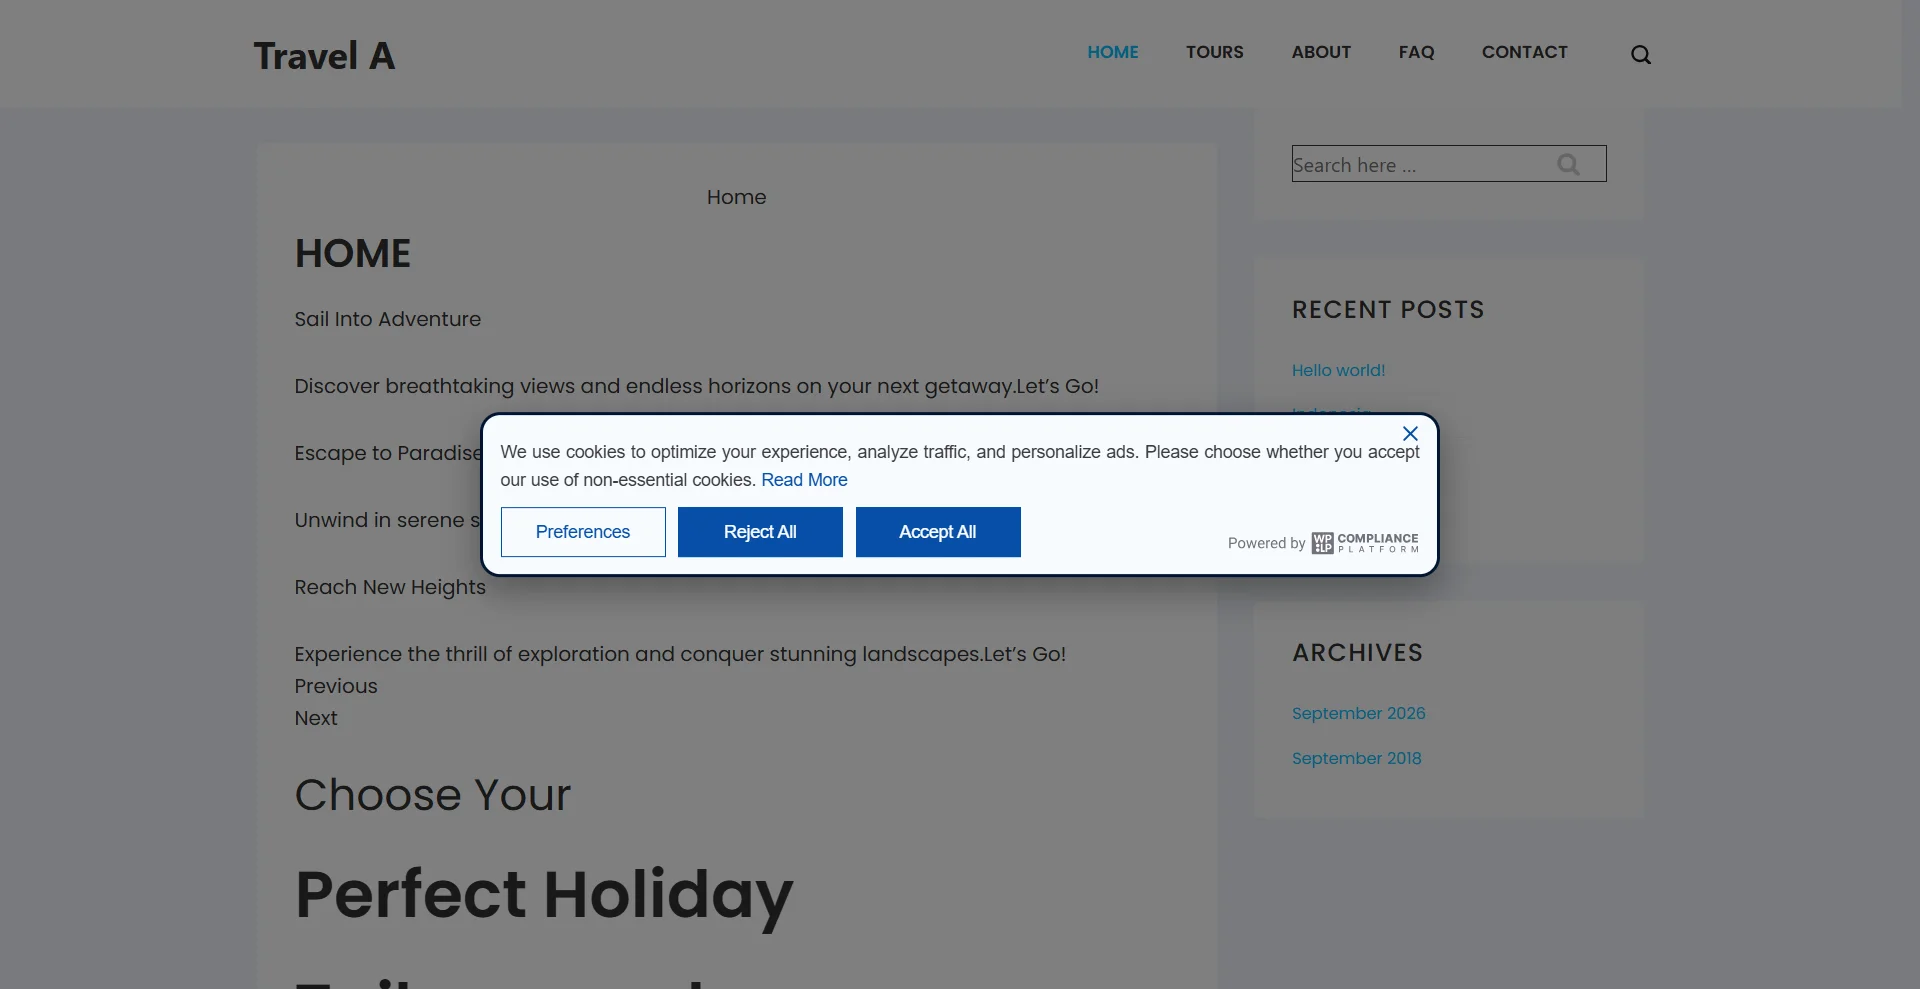
Add Border and Shadow in the banner.
#gdpr-cookie-consent-bar {
  border: 3px solid #021532 !important;
  border-radius: 16px !important;
  box-shadow: 0 10px 30px rgba(0, 0, 0, 0.35) !important;
}
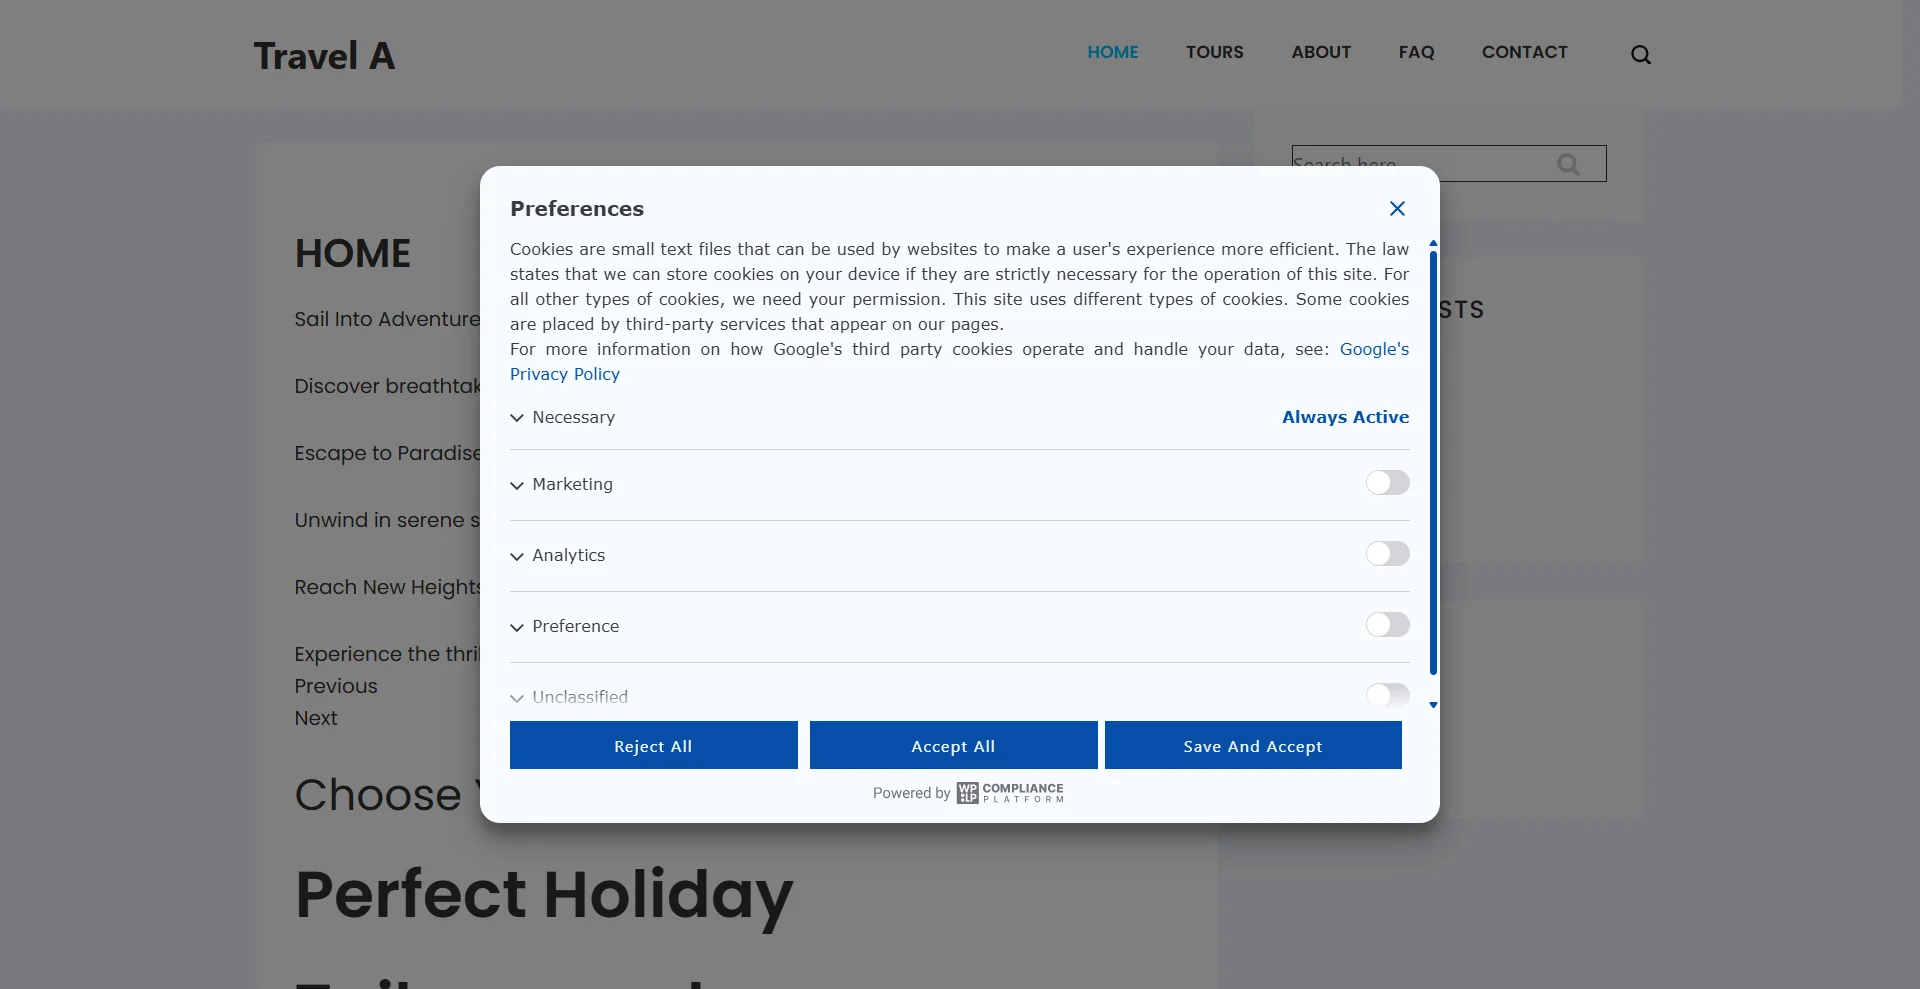
Style the cookie settings window.
.gdprmodal-content {
  border-radius: 16px !important;
  font-family: Verdana, sans-serif !important;
}
Preview, save and test
- Click Save Changes.
- Open your site in a private or incognito window. A new window shows the banner, because you haven’t given consent there yet.
- Check the banner, the buttons and the cookie settings window on desktop and on mobile.
Don’t see your changes? Clear your caching plugin’s cache and your browser cache, then reload the page.
Frequently asked questions
Right-click the element on your site and choose Inspect. Check that your selector matches it. If it matches but a different style still wins, make your selector more specific, for example #gdpr-cookie-consent-bar .gdpr_action_button. Use !important only as a last step.
No. Change the text in Banner Settings » Content and Design.
No. Add your CSS in WPLP’s Custom CSS editor.
Yes. Plugin updates don’t remove your custom CSS.
Need help? Contact our support team.


