
Let’s look at how to set up WP Legal Pages in its free versions.
Step 1: Installing WP Legal Pages Plugin #
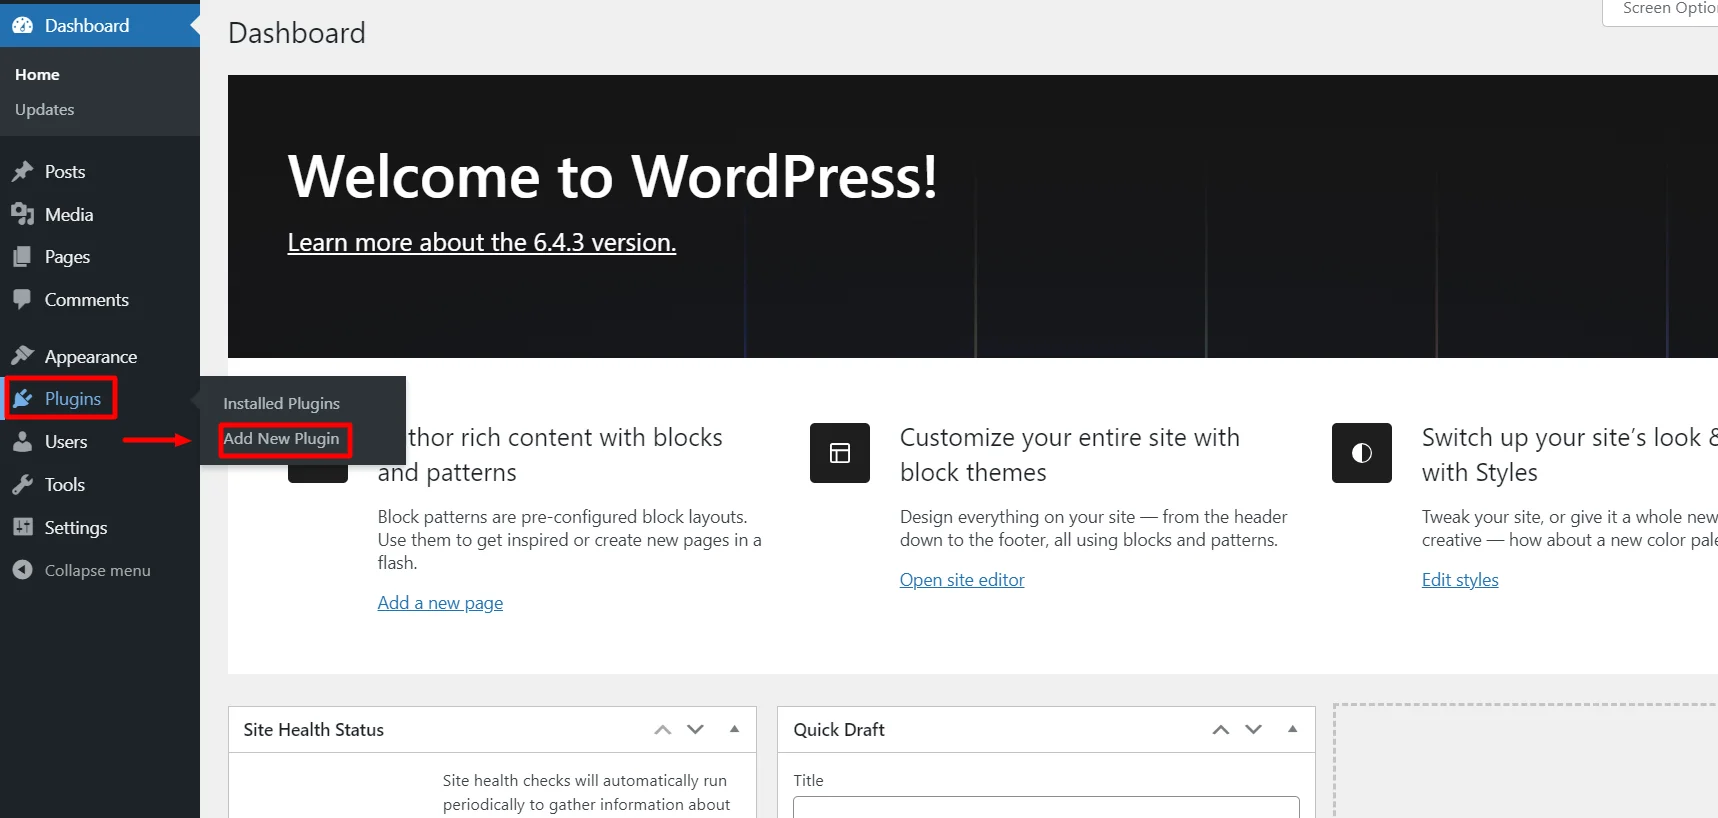
Head over to your WordPress dashboard. Hover over Plugins and click on the Add New menu.
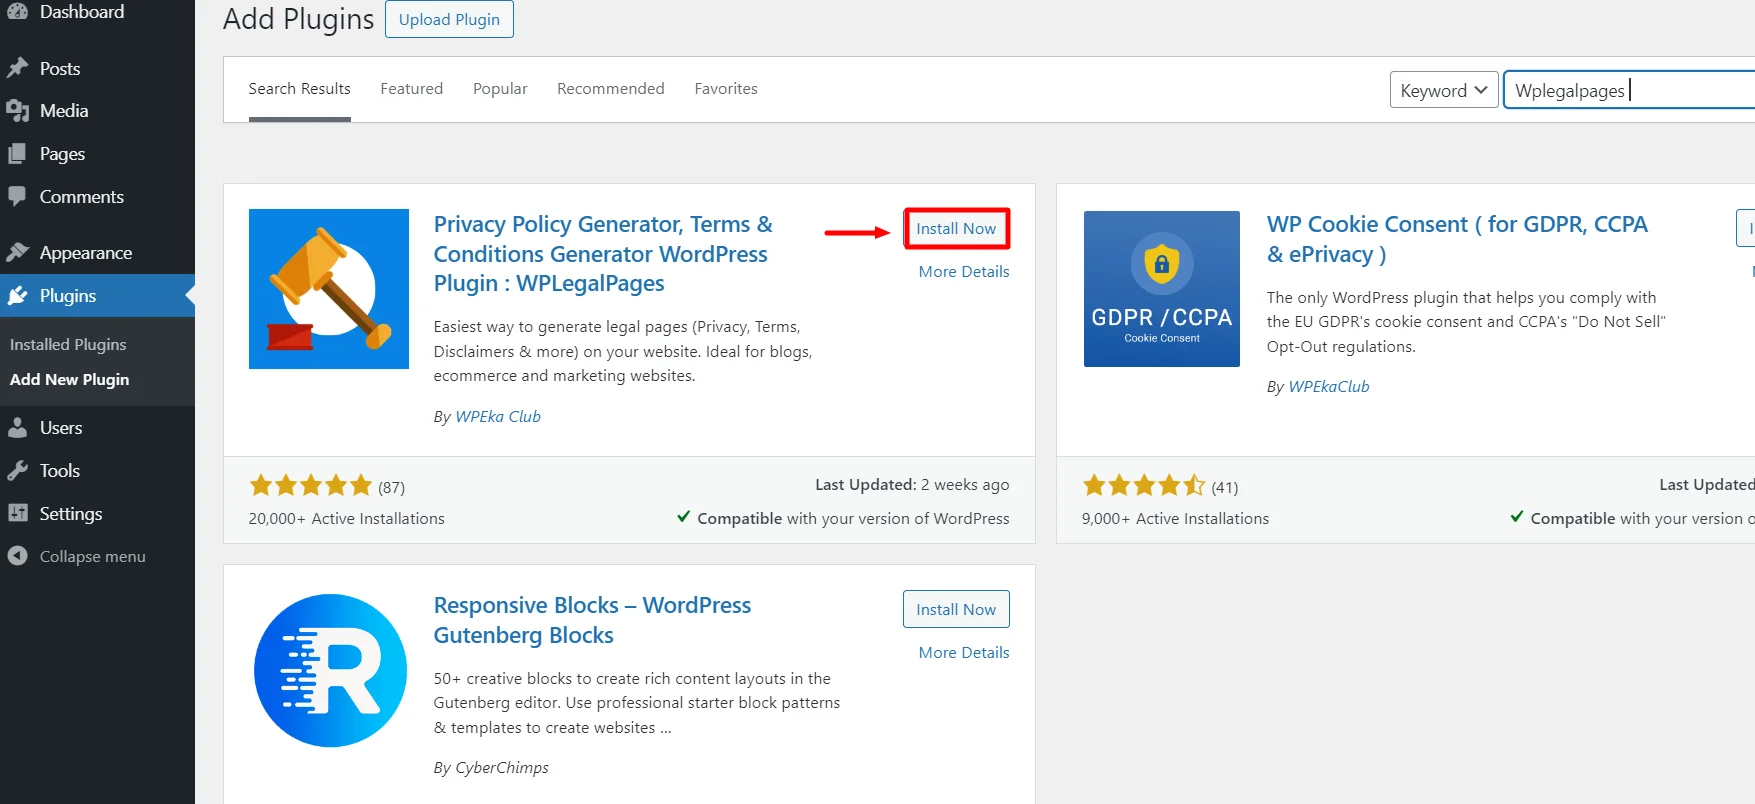
Search for Wplegalpages in the search bar above.
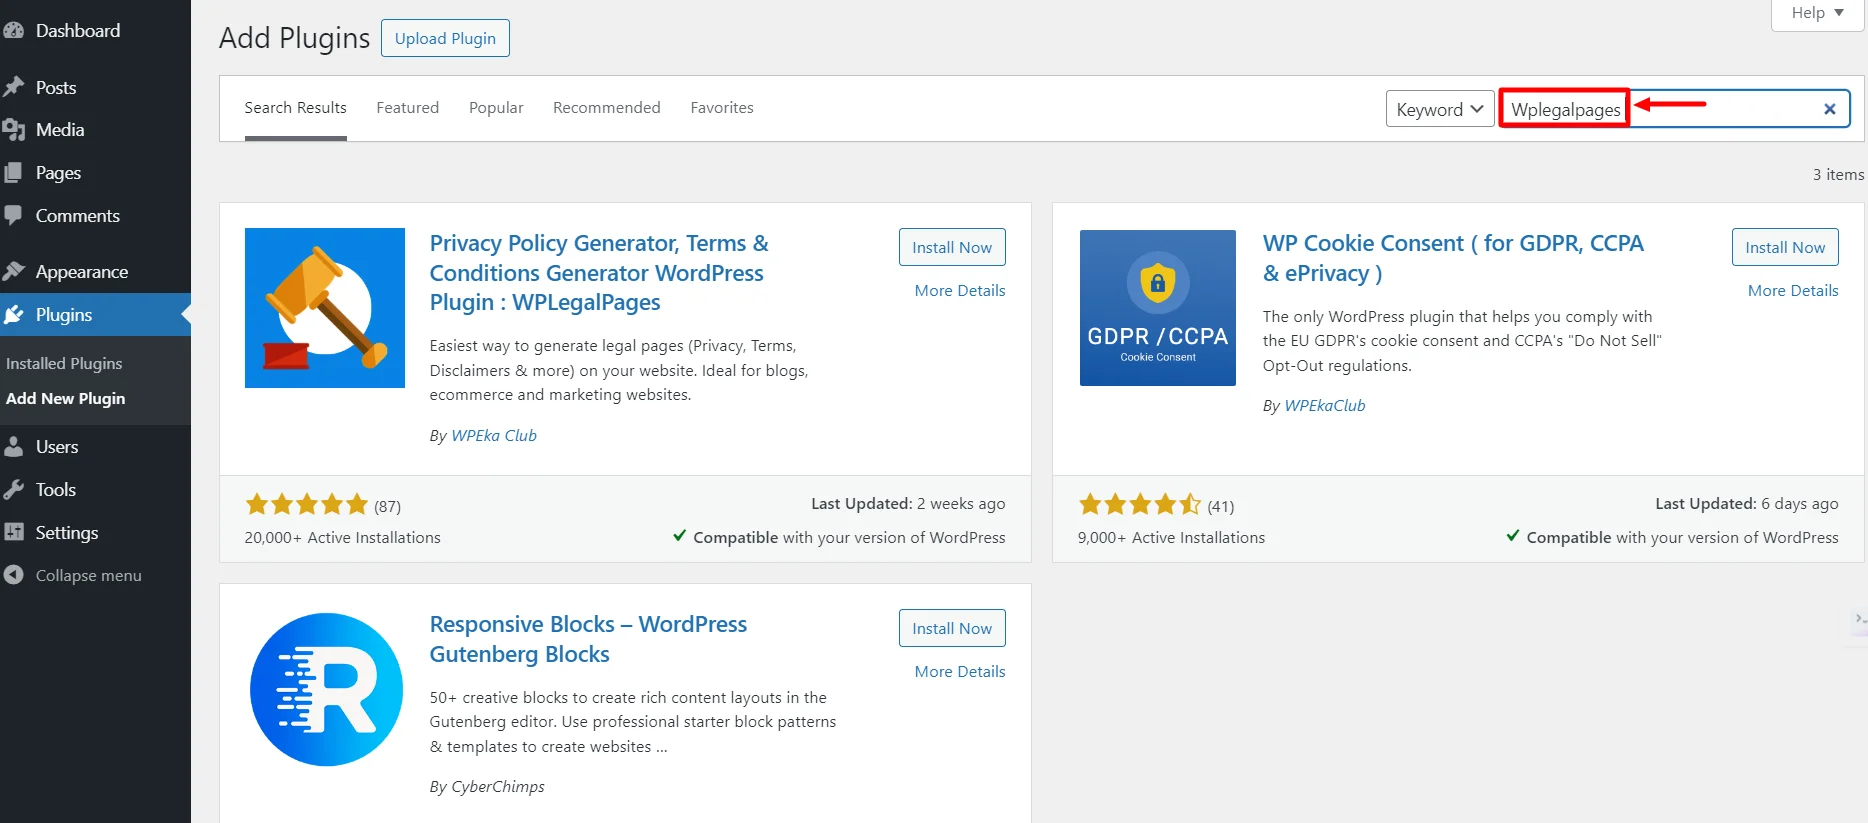
Click on the Install Now button.
Next, click on the Activate button.

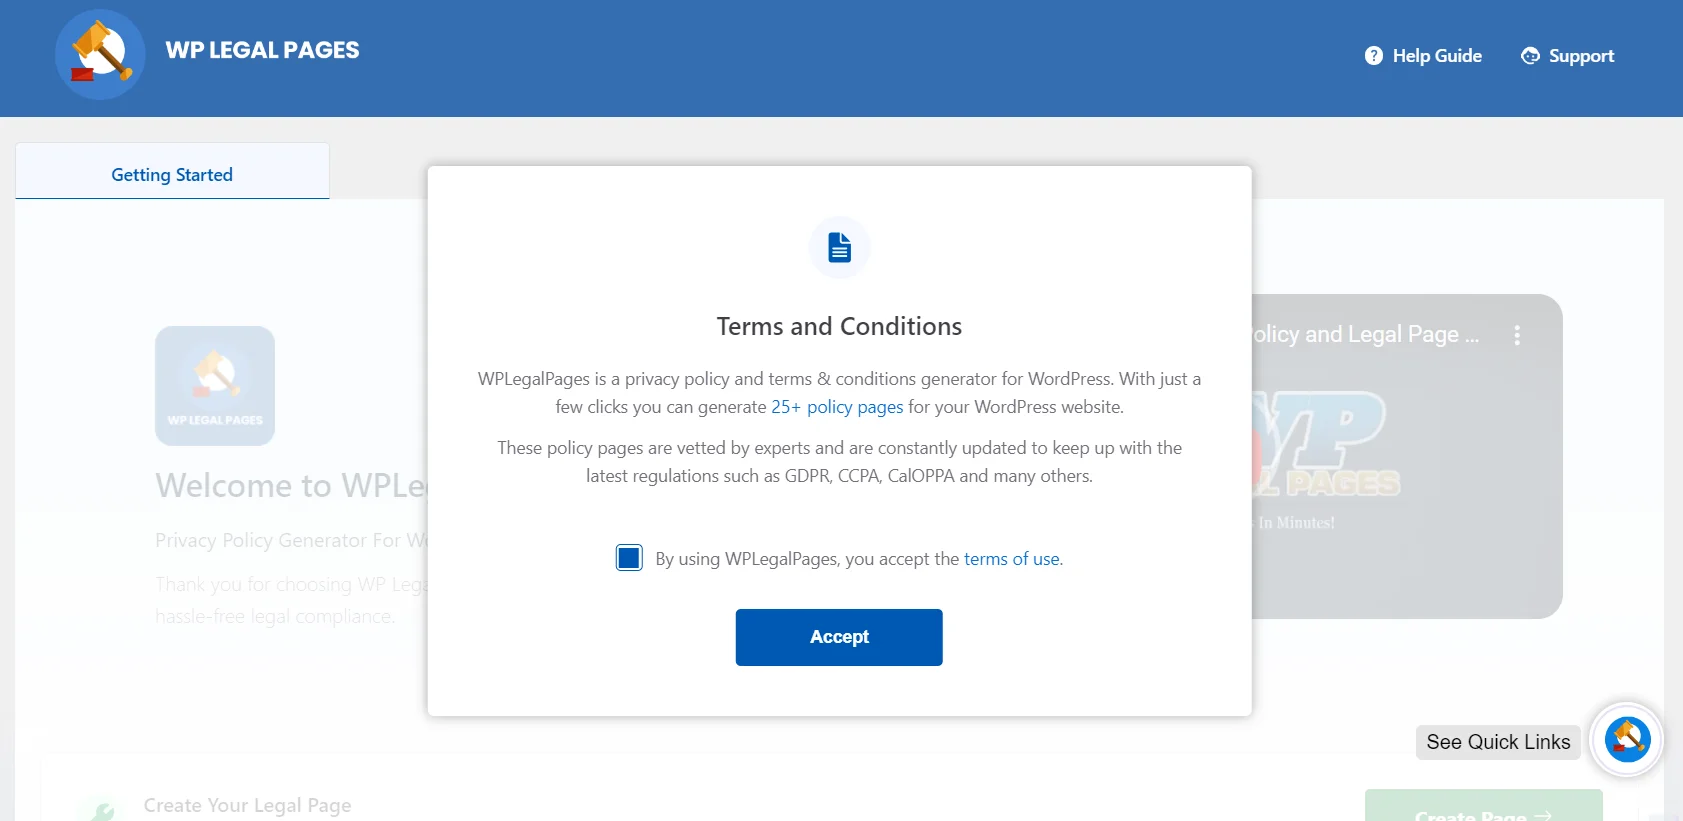
Next, accept the terms of use of the WPLegalPages plugin.
That’s it. You have successfully installed the WPLegalPages plugin.
Step 2: Create an Account with WP Legal Pages Plugin #
Now, to configure settings, follow these steps:
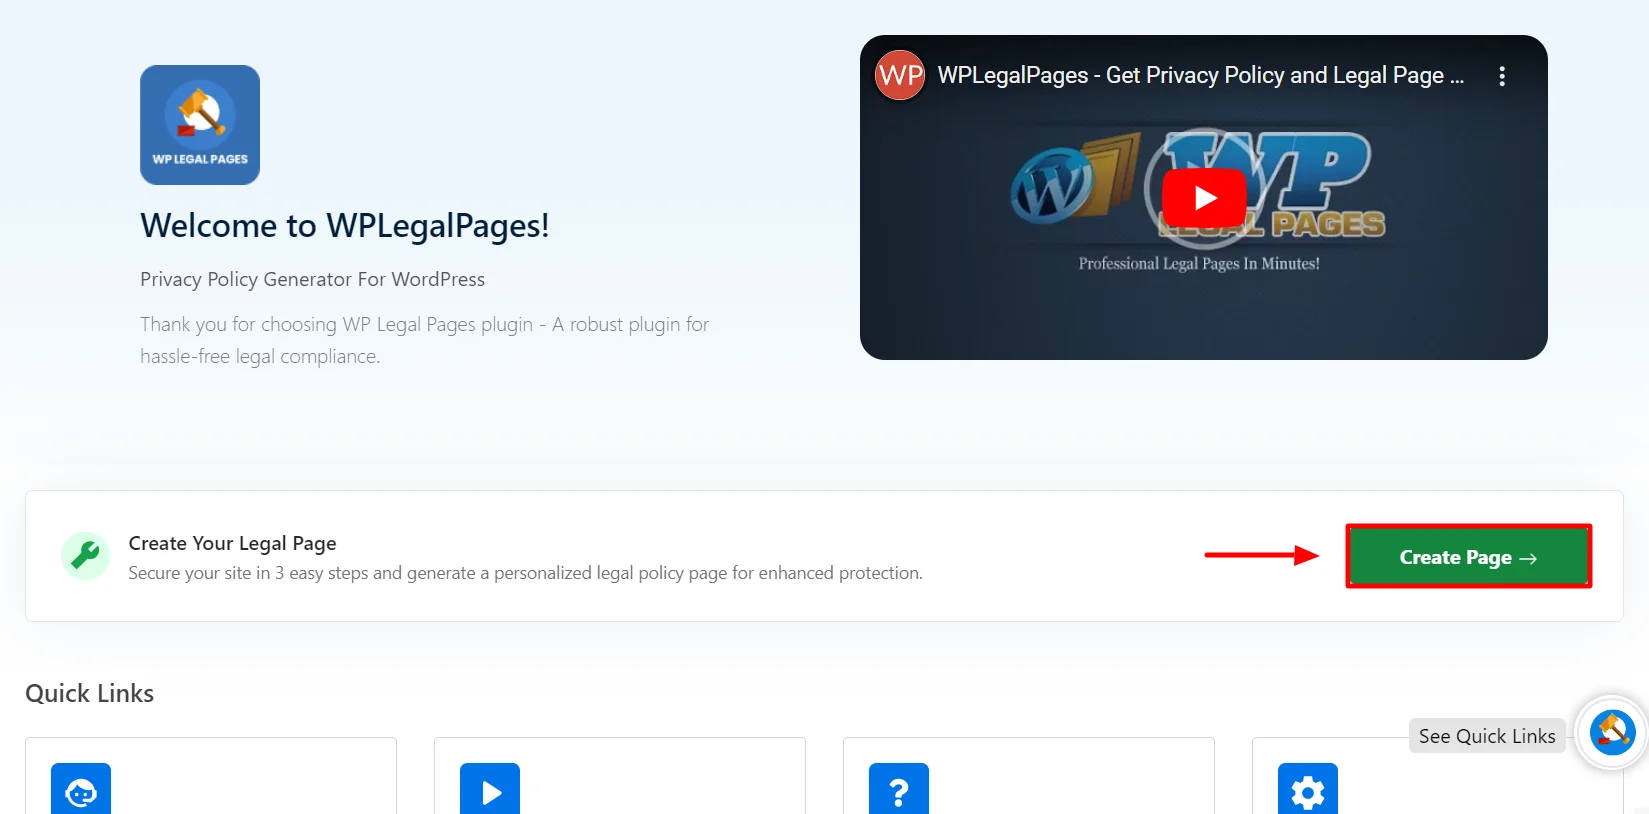
Click on WP Legal Pages, then Create Legal Pages, and generate your legal pages.
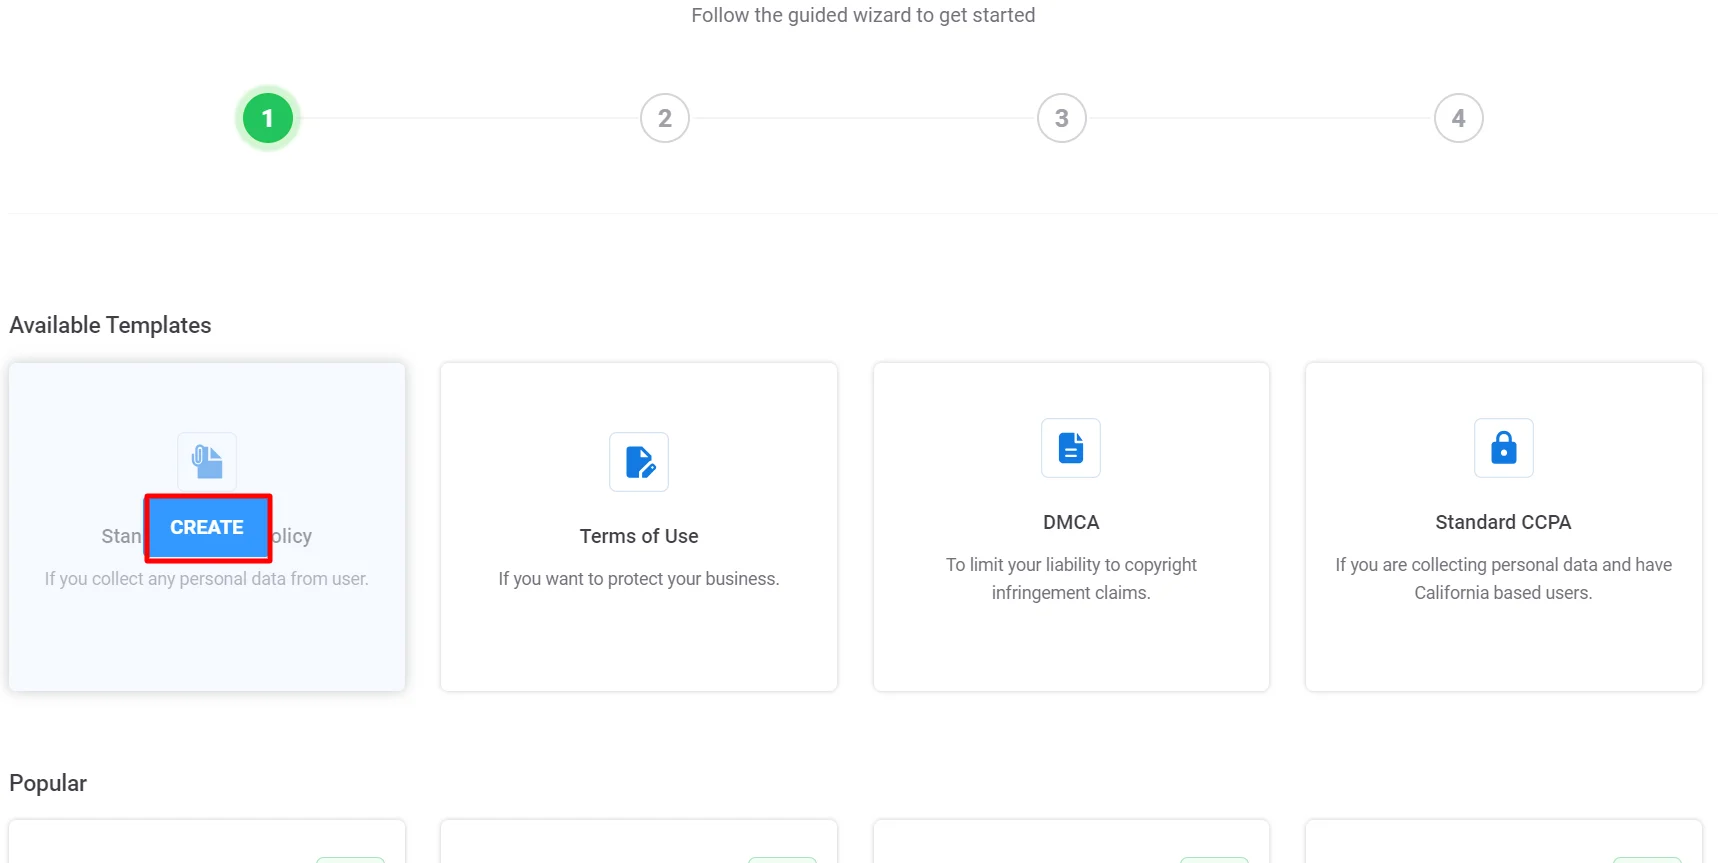
This will open the WPLegalPages wizard. From the WPLegalPages wizard, choose the template and click the Create button.
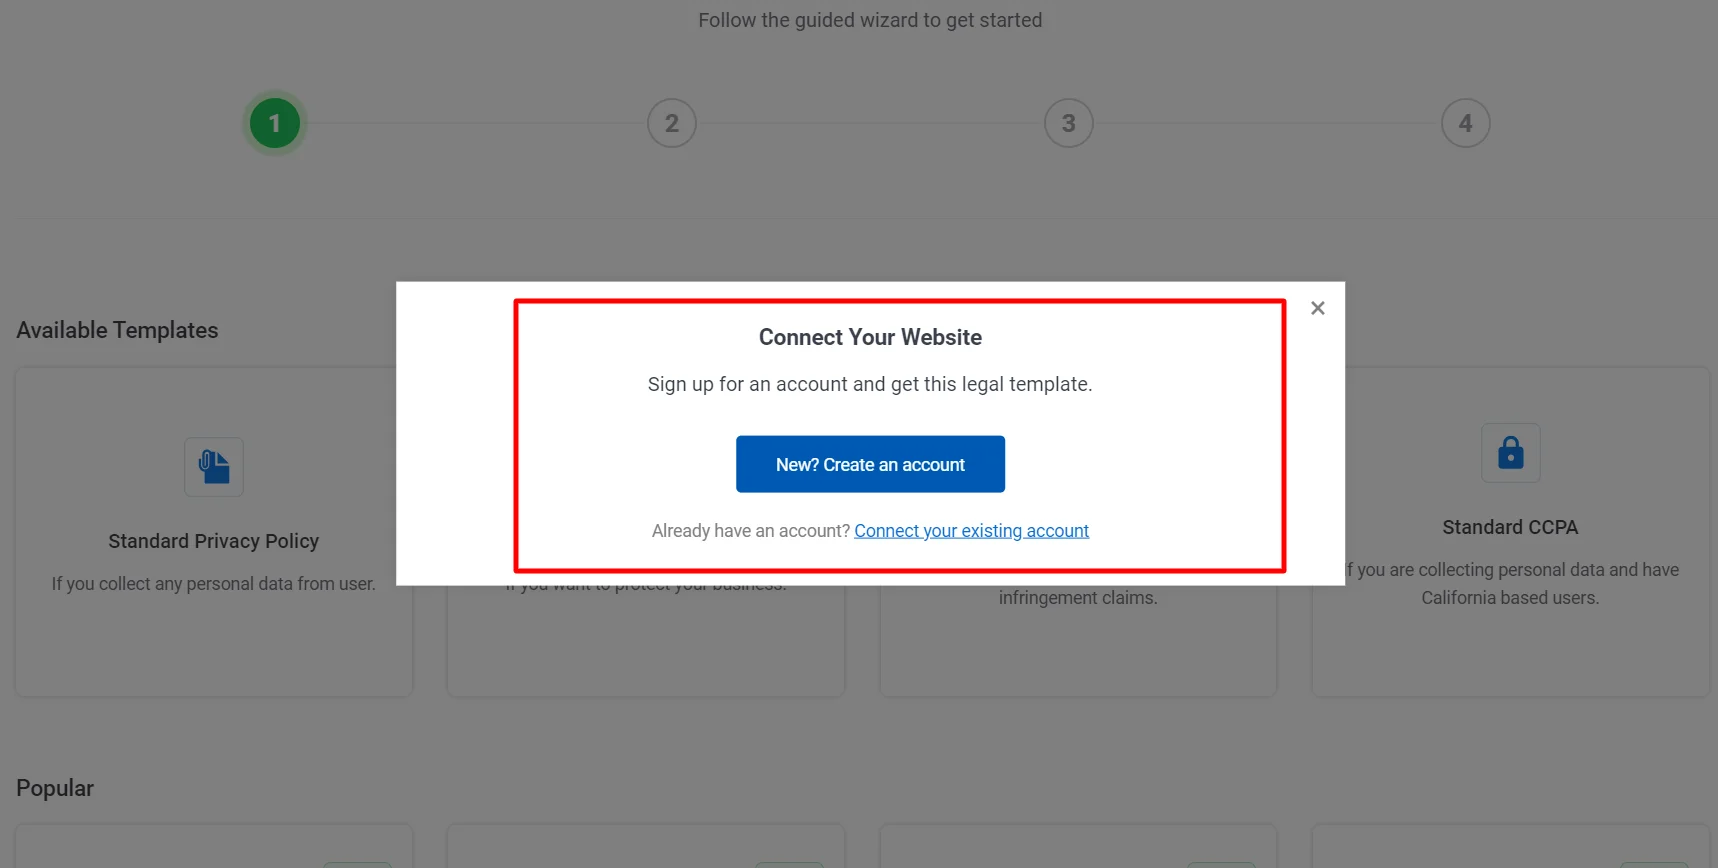
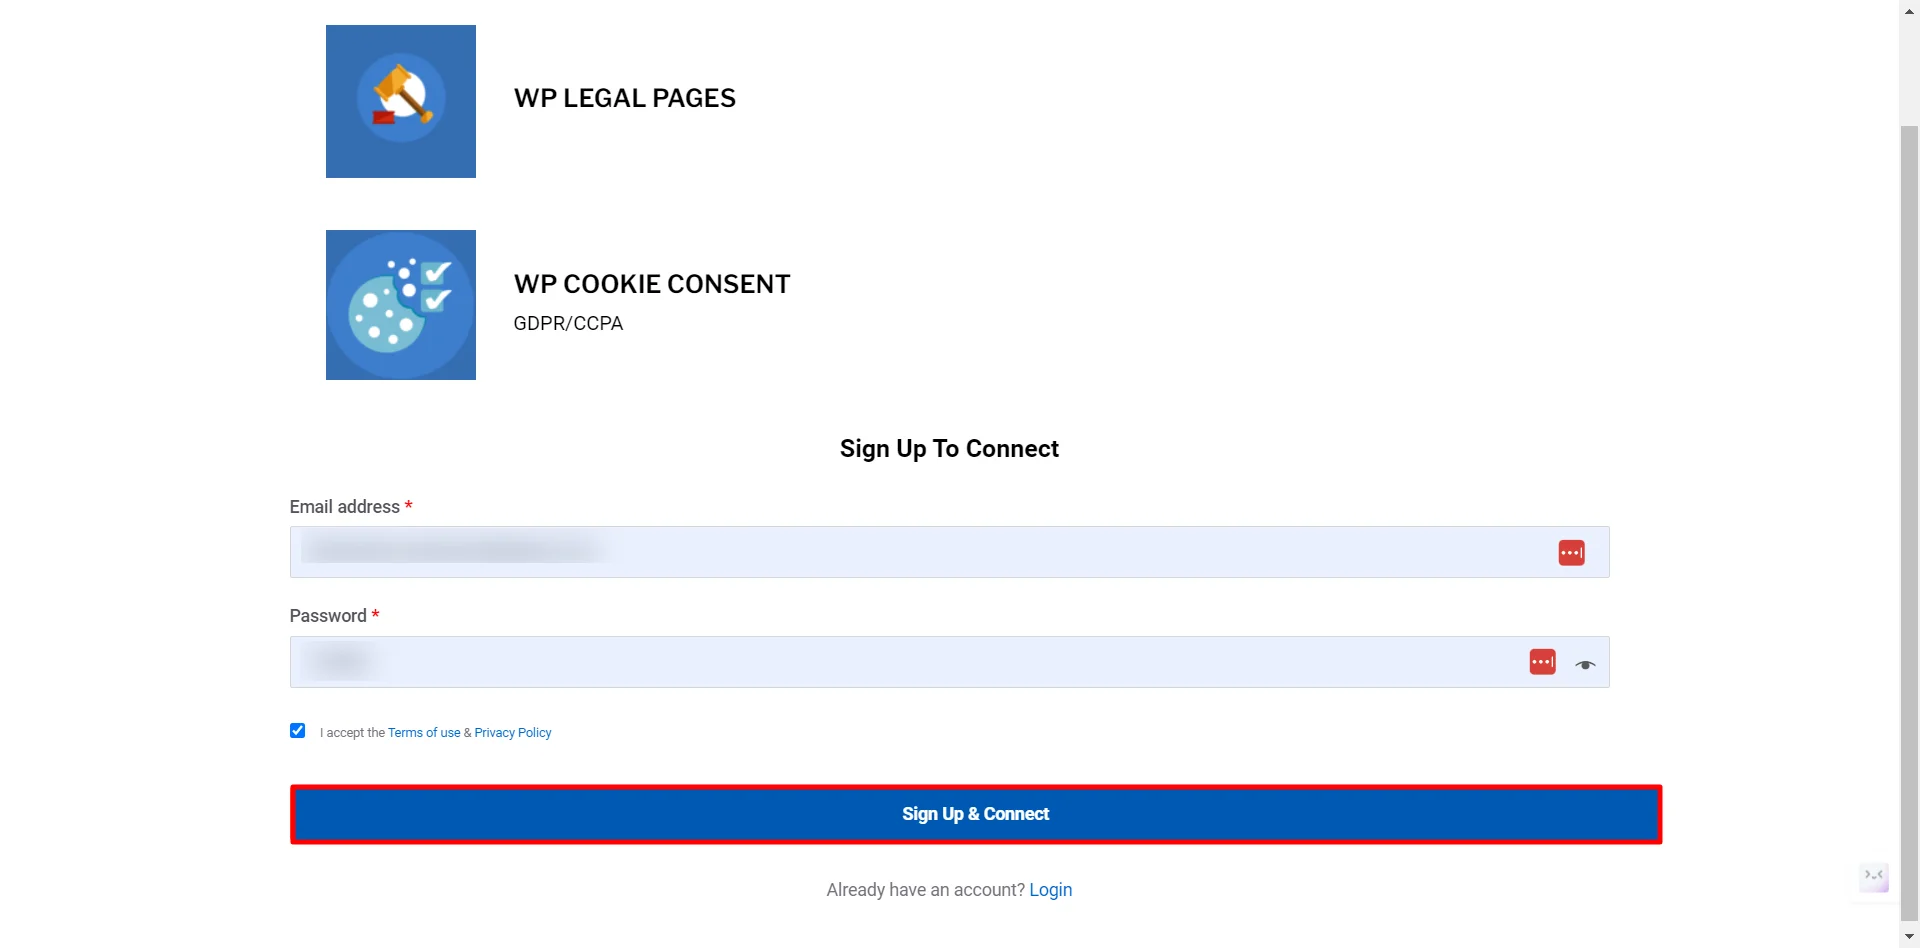
Once you click Create, a popup will appear, asking you to create a new account. Click on New? Create a free account, or if you are an existing user, you can click on Connect your existing account.
Once you Sign up, your account will automatically connect to your site, and you can start creating legal pages for your website.
That’s it. You have created an account, and now you can start creating Your website’s Legal Pages. Now let’s see how we can create a Stand Privacy Policy.
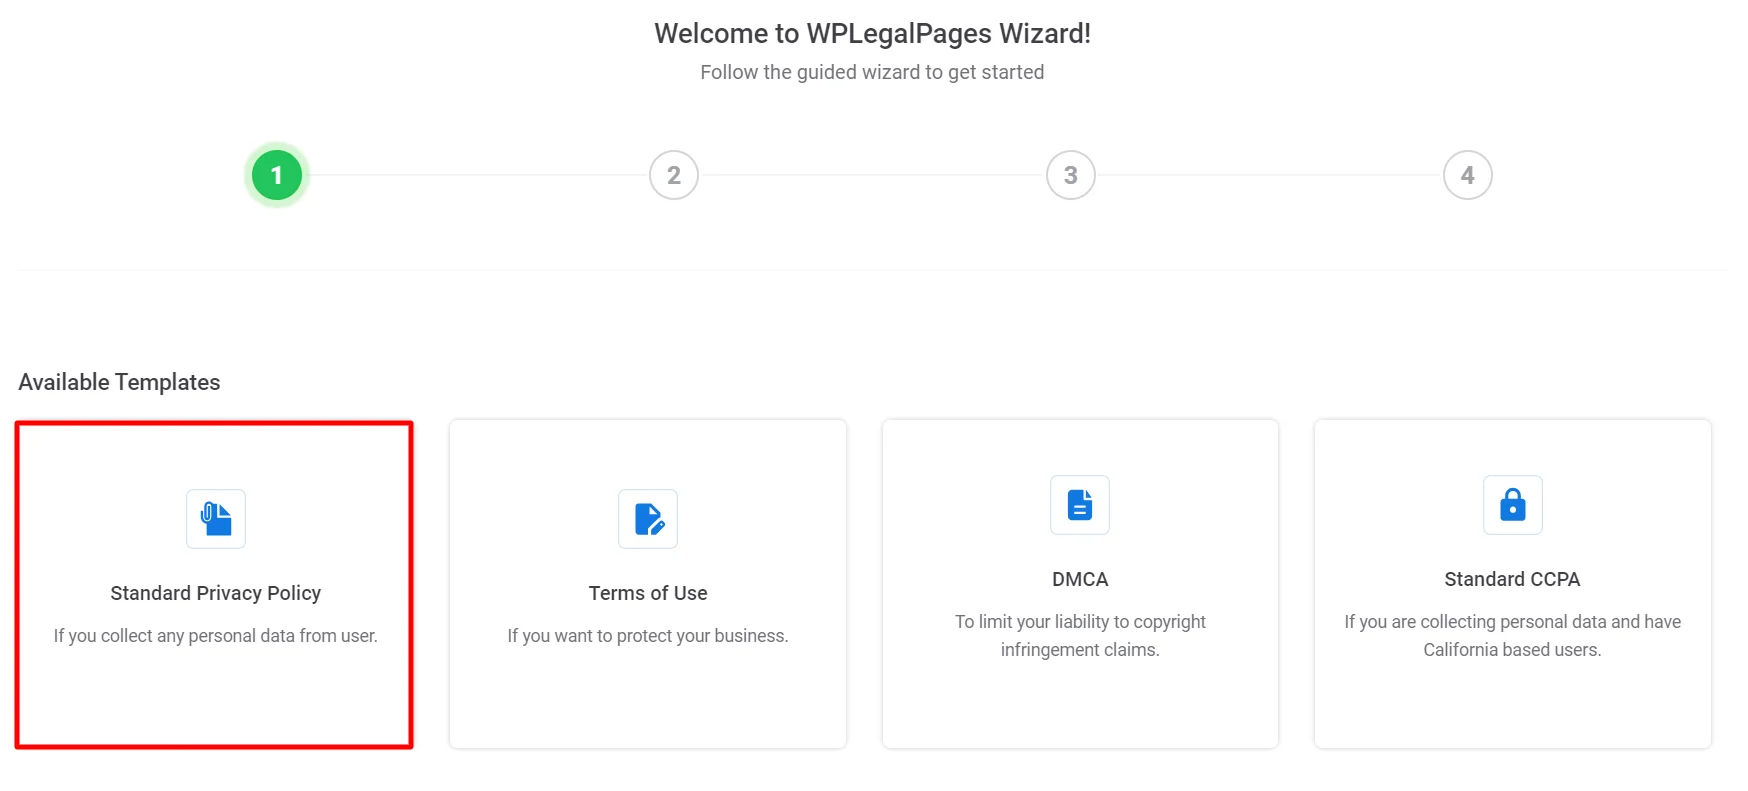
You will now be able to see Four Templates available in the free version. Click on the Standard Privacy Policy option to create a Privacy policy for your website.
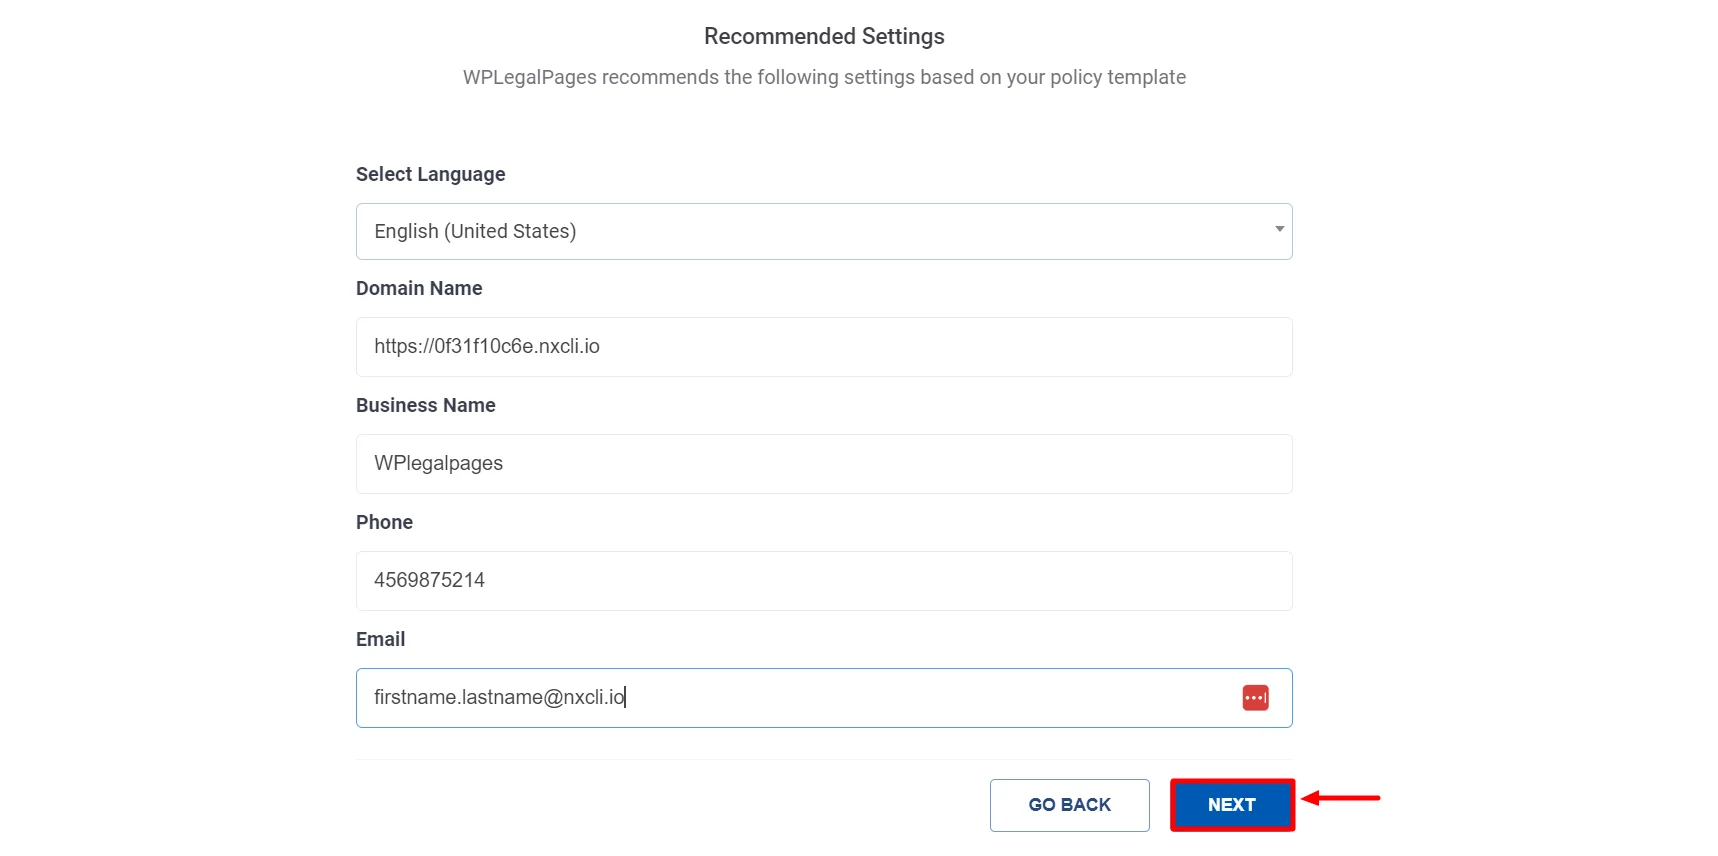
Fill in the Basic Details and click Next.
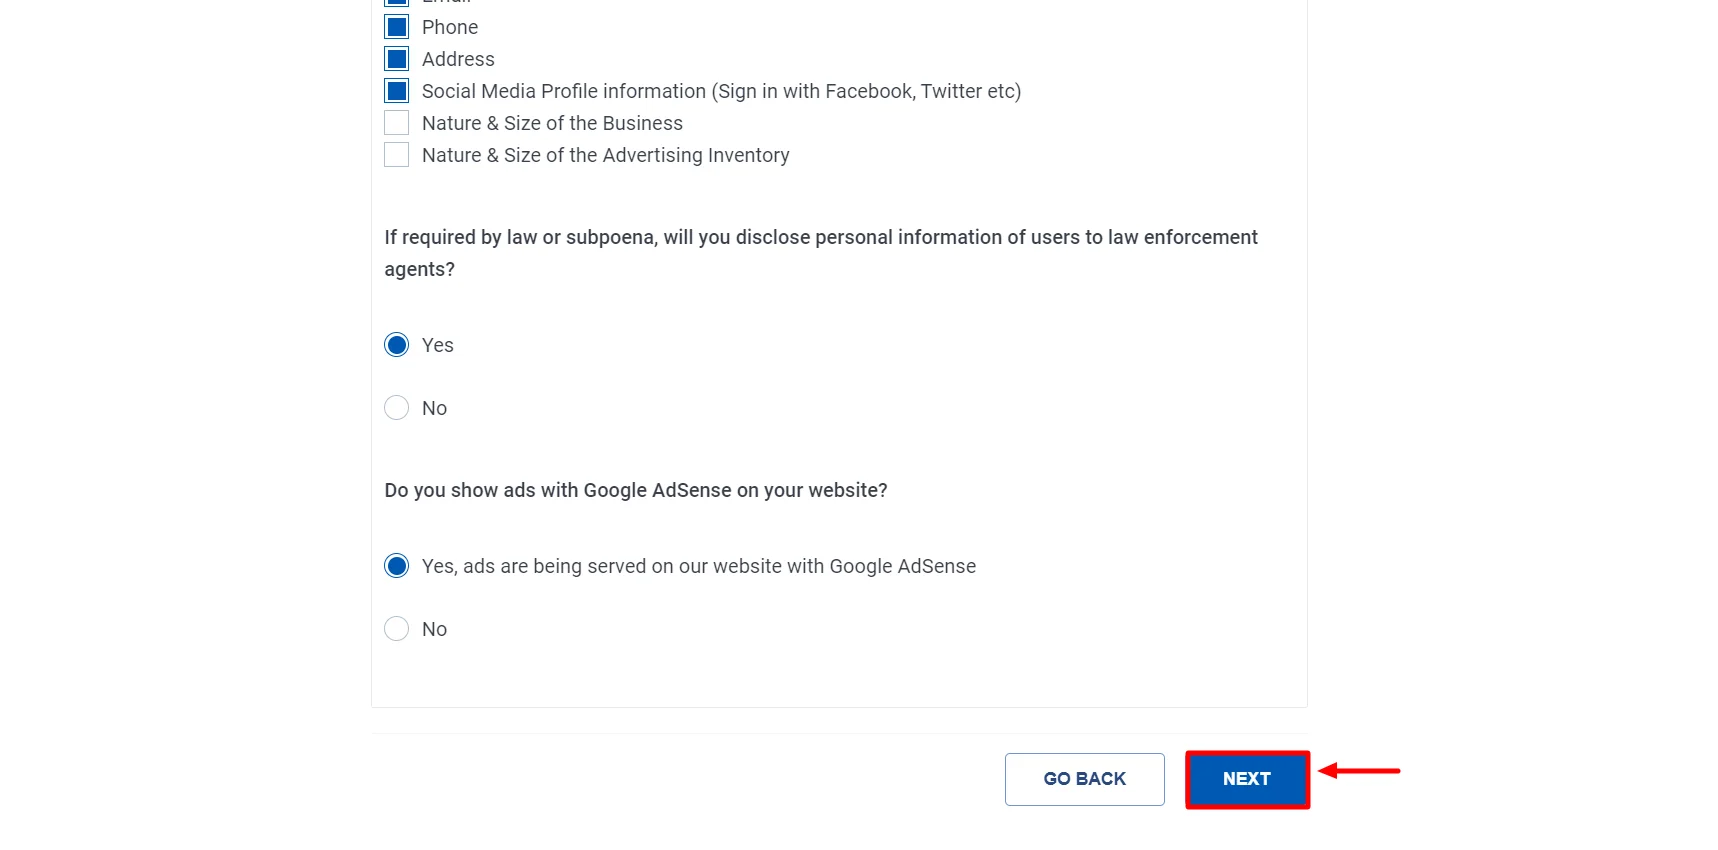
Select the appropriate section for your legal policy, then click Next.
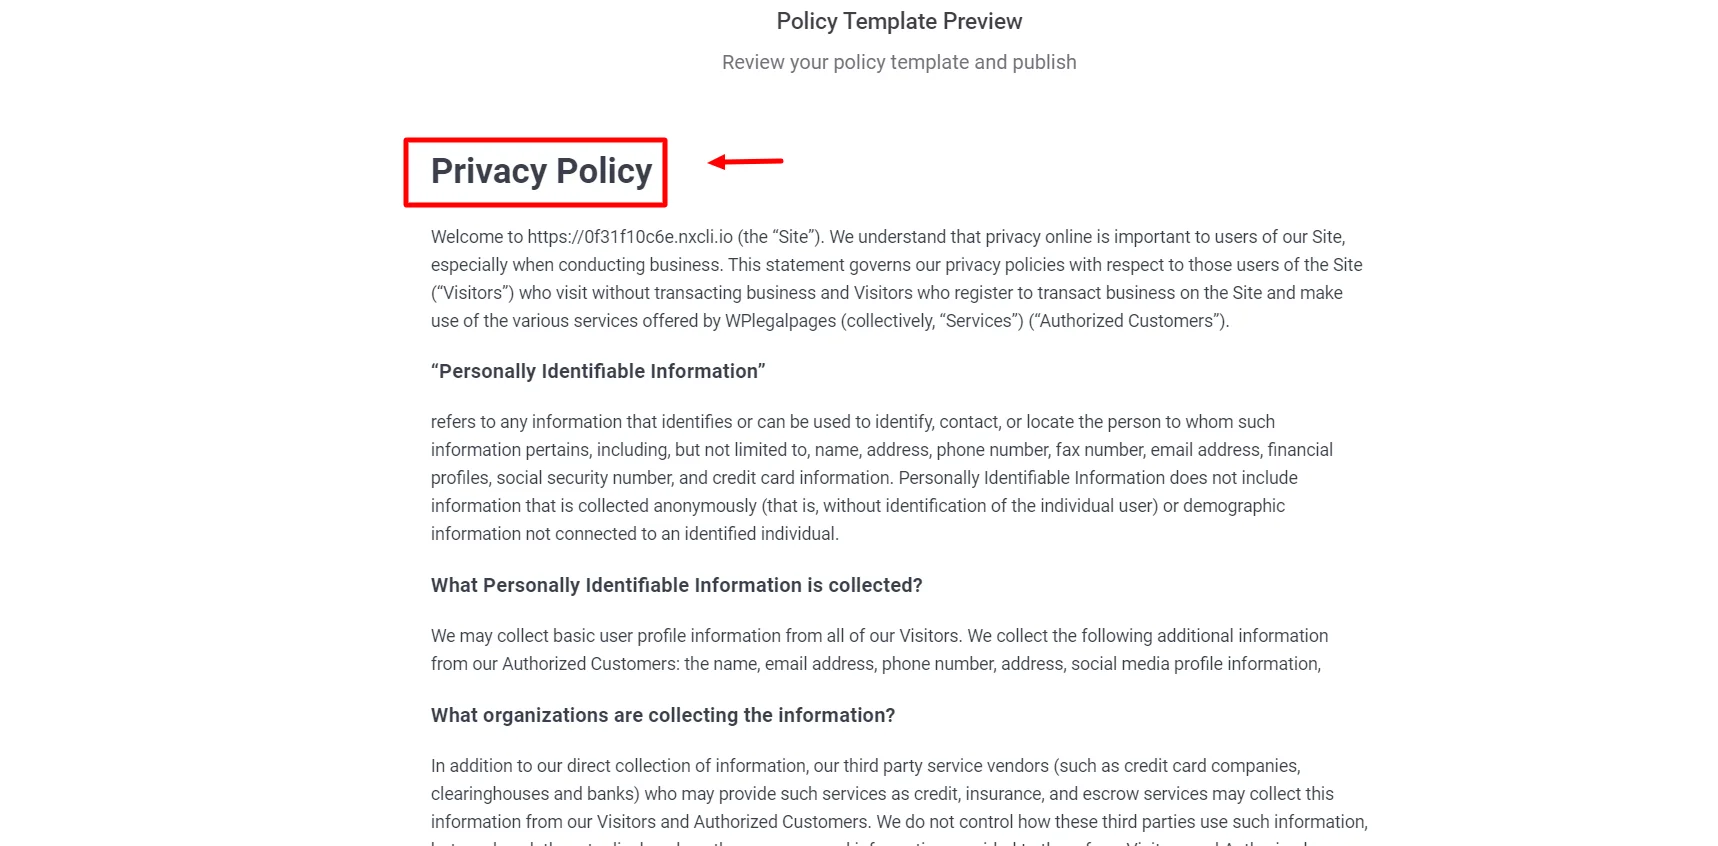
Your Privacy Policy Template Preview is ready.
Click the Create and Edit option to edit or add additional information to your privacy policy.
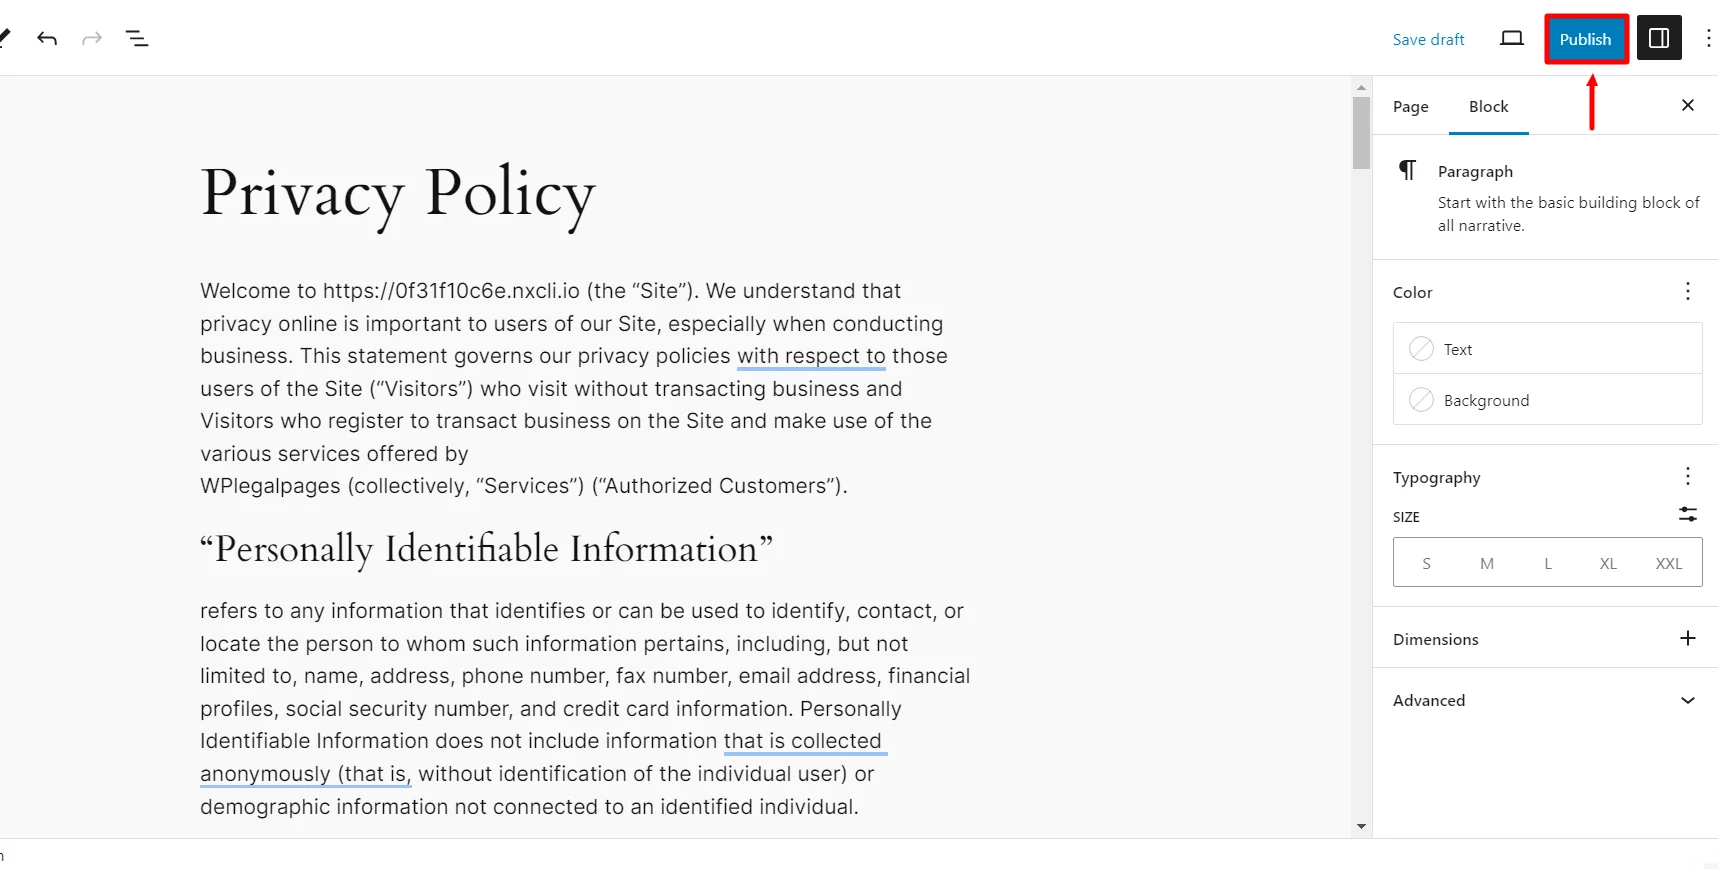
After you have made the necessary changes, click on Publish.
That’s all! Your Standard Privacy Policy is ready with just a few clicks.


