Are you wondering how to add a cookie banner to a blog website?
In today’s digital world, where data breaches are very common, having a cookie banner on your blog site will help you comply with privacy laws and also help users decide whether they want to provide consent or not. This builds trust among your website visitors.
Obtaining user consent for cookies has always been important for websites, but it’s become even more crucial with the introduction of various legislative laws. Laws such as GDPR, CCPA, and ePrivacy have placed legal obligations on website owners to ensure user data protection.
The importance of adding a cookie banner to a blog website cannot be overstated. These laws safeguard user data and ensure transparency among users.
In this article, let’s examine how to add a cookie banner to a blog website and learn its importance.
What is a Cookie Banner?
A cookie banner is a notification that appears on a website. It informs users that the site uses cookies and provides them with information on how to enable, disable, or view the site without cookies.
Cookies are small text files that store information on a user’s device, typically to collect behavioral data for tracking, personalization, and advertising purposes.
Important Details of Cookie Banners
Adding a cookie banner to a blog website is important because it ensures legal compliance, respects user privacy and maintains transparency. Here are the key points to consider.
- Legal Compliance:– Implementing a cookie banner is crucial for complying with data protection regulations worldwide. Failure to comply with these regulations can result in considerable fines and legal consequences.
- User Privacy and Consent:- It respects the privacy of website visitors by providing them with information about the website’s use of cookies and tracking technologies. By obtaining explicit consent, it empowers users to make informed choices.
- Transparency and Trust:- It demonstrates that the website values the privacy of its visitors and is committed to being transparent about its data collection practices.
- User Control and Preferences:- It allows users to control their cookie preferences. Some banners provide options for visitors to customize their cookie settings, enabling them to opt in or out of certain types of cookies.
- Positive User Experience:- When implemented thoughtfully, a cookie banner contributes to a positive user experience by offering clear and concise information without being overly intrusive.
- Avoidance of Penalties:- Non-compliance with cookie consent requirements can lead to penalties and legal action, which can have negative financial and reputational consequences for the website owner.
Having a cookie consent banner for a blog website contributes to legal compliance, user privacy, transparency, trust, and the avoidance of legal penalties.
Do You Need a Cookie Banner On Your Blog Website?
If you add a cookie banner to a blog website, it will serve multiple purposes. It will help you comply with data privacy laws and give visitors transparency.
Here are several reasons why your blog website might require a cookie banner:
- Adherence to the Law: Strict laws in many nations, including the CCPA in California and the GDPR in the European Union, govern the use of cookies and data protection. A cookie banner can assist you in adhering to these rules by gaining user agreement prior to implementing non-essential cookies.
- Consent from the User: You can ask visitors’ permission before establishing non-essential cookies and, with a cookie banner, inform them about the different kinds of cookies your website uses. Users are now better equipped to make decisions about their privacy.
- Transparency: A cookie banner improves transparency by clearly outlining cookies’ function and usage on your website. Your audience will respect you more for your openness.
- Personalization Choices: A cookie banner may provide customization options based on the kind of blog you run and the cookies you use. This way, users may choose which cookies to accept, including functional, advertising, analytics, and advertising cookies.
At this point, we are aware of why we should add a cookie banner on the blog website, but apart from this important reason, you should have a cookie consent banner for the blog website for the following laws that are applied worldwide.
Laws Affecting Cookie Banners
1. GDPR (General Data Protection Regulation):- The GDPR, applicable to the European Union and European Economic Area, mandates that websites obtain user consent before setting up non-essential cookies. It emphasizes transparency and user control over their personal data.
2. CCPA (California Consumer Privacy Act):- The CCPA, enforced in California, grants users the right to opt out of the sale of their personal information. It requires businesses to inform users about the cookies used for tracking and to respect their choices.
3. LGPD (Lei Geral de Proteção de Dados):- The LGPD in Brazil requires user consent for data processing activities, including cookies. It emphasizes user privacy and control over their personal data.
4.ePrivacy Directive:- The ePrivacy Directive, which complements the GDPR, specifically addresses electronic communications and cookies. EU websites must obtain consent from users before storing or accessing information on their devices.
5. PIPEDA (Personal Information Protection and Electronic Documents Act):- PIPEDA in Canada regulates private-sector organizations’ collection, use, and disclosure of personal information. Websites must inform users about the use of cookies and seek their consent.
6. LGPD – Lei Geral de Proteção de Dados:- The LGPD in Brazil came into existence after the GDPR. It emphasizes user consent for data processing activities, including the use of cookies. Website owners must respect users’ choices regarding their personal data.
Adhering to these laws and regulations is crucial for websites to protect user privacy and maintain legal compliance.
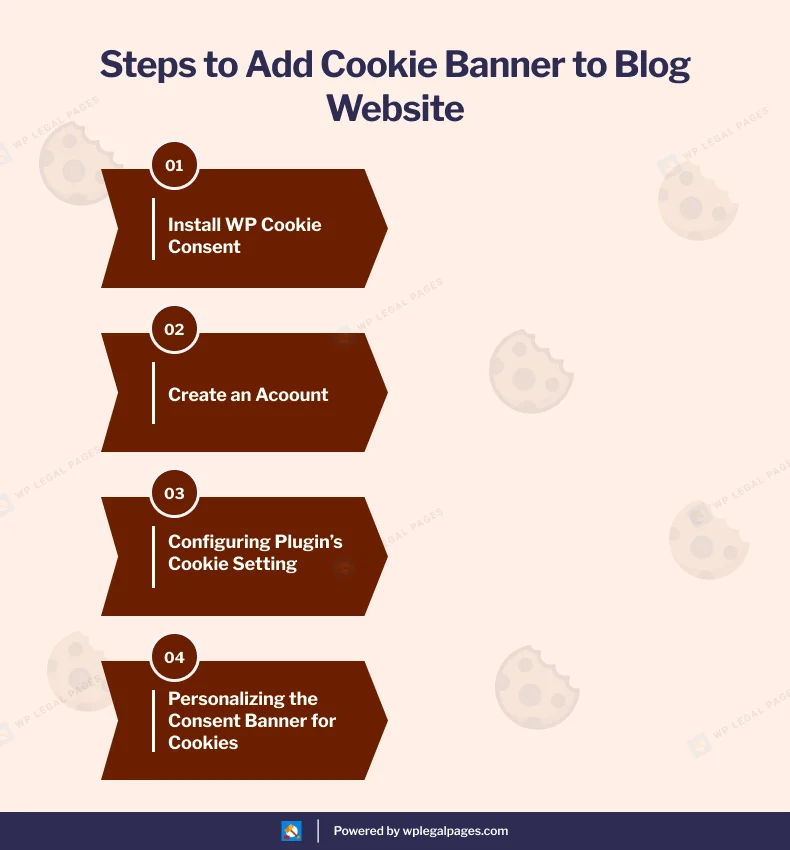
How to Add a Cookie Consent Banner for a Blog Website in 4 Easy Steps
After reading this, you might be curious about how to create a cookie consent banner or add a cookie banner to a blog website. A cookie consent platform can be used to add a cookie banner to your blog website. This plugin provides the most efficient and time-saving solution for this.
We recommend using the WP Cookie Consent plugin to establish a cookie banner for your blog websites . This amazing plugin has a range of key features, but its main focus is customization, responsive design, and cross-browser compatibility.
WP Cookie Consent– A Free Consent Management Platform
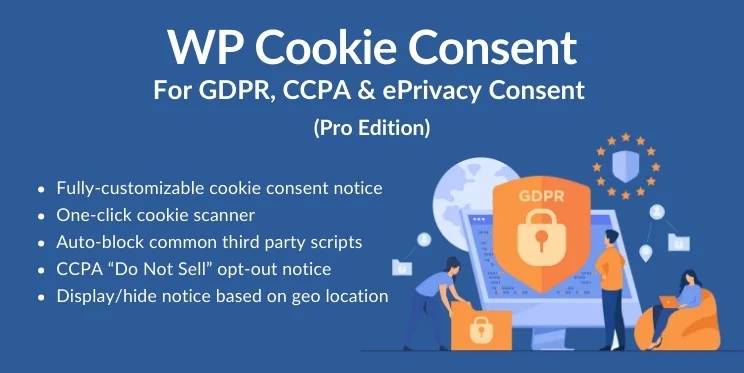
WP Cookie Consent is a free WordPress plugin that creates cookie consent banners and simplifies the process of creating a cookie banner for blog websites.
This amazing plugin has many important capabilities, but its main focus is customization, responsive design, and cross-browser compatibility.
WP Cookie Consent Plugin’s main features are:
- Geo-targeting: Show or conceal the banner message depending on the visitor’s location.
- Completely Customizable Banner Notice: Offers a simple interface for adjusting your notice’s content, layout, position, and colors.
- Opt-out Log: This log keeps track of visitors who have chosen not to have their personal information sold by clicking the “Do Not Sell My Personal Information” link.
Making cookie banners for your blog website with such unique features is simple.
Let’s proceed with the detailed installation and configuration of the WP Cookie Consent plugin on your WordPress blog. This easy-to-use guide can help you manage the complexity of data protection and ensure a seamless setup.
Let’s look at how to set up WP Cookie Consent in its free versions.
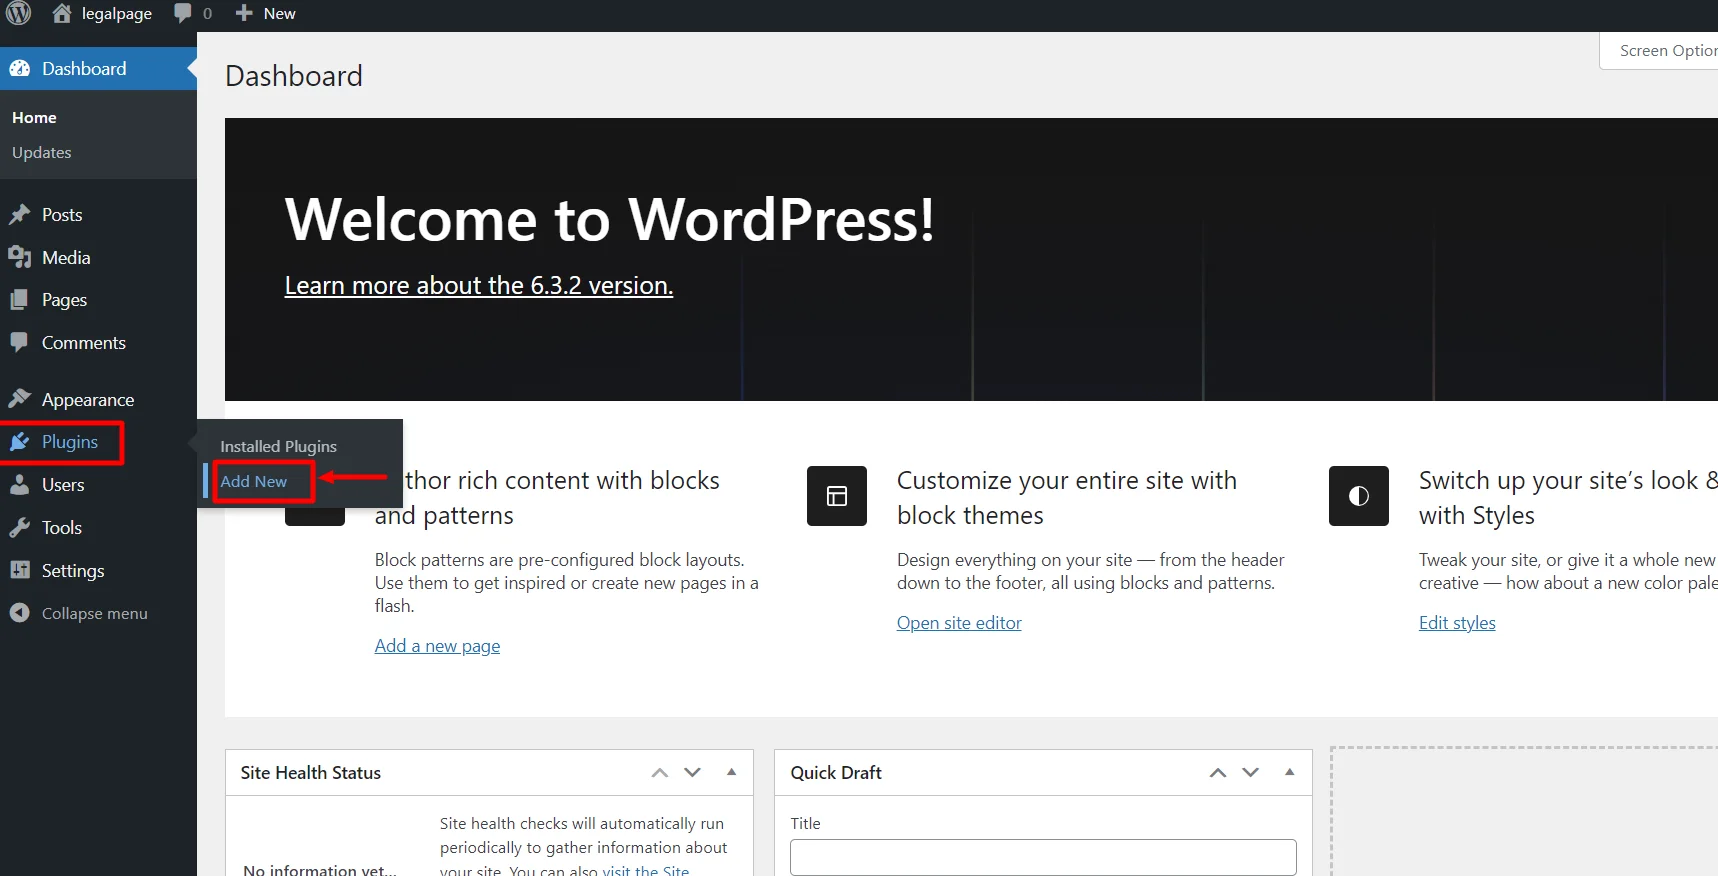
Step 1: Installing WP Cookie Consent Plugin
From your WordPress dashboard, navigate to Plugins > Add New.
Search for WP Cookie Consent in the search bar.
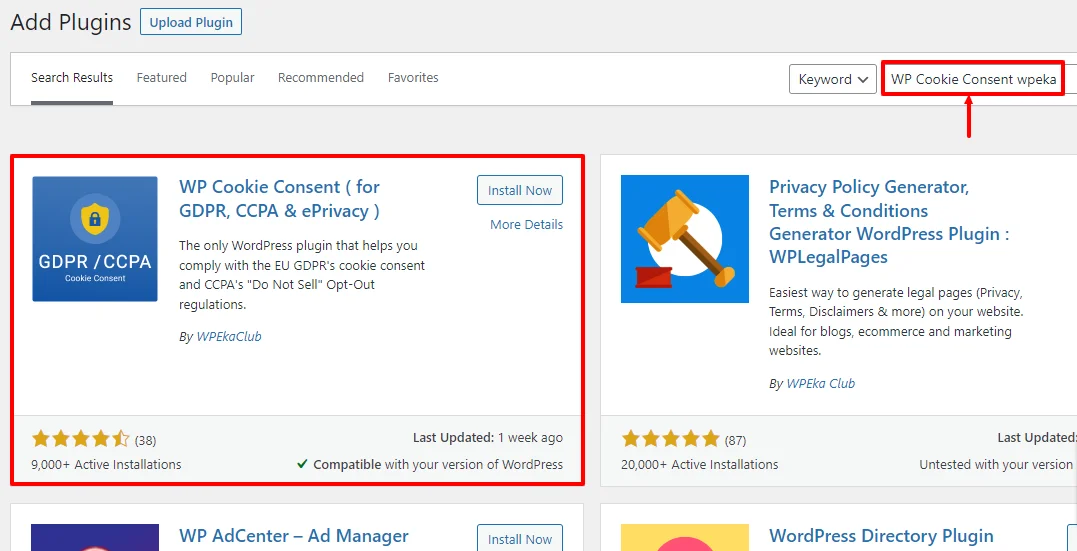
Click on the Install Now button.
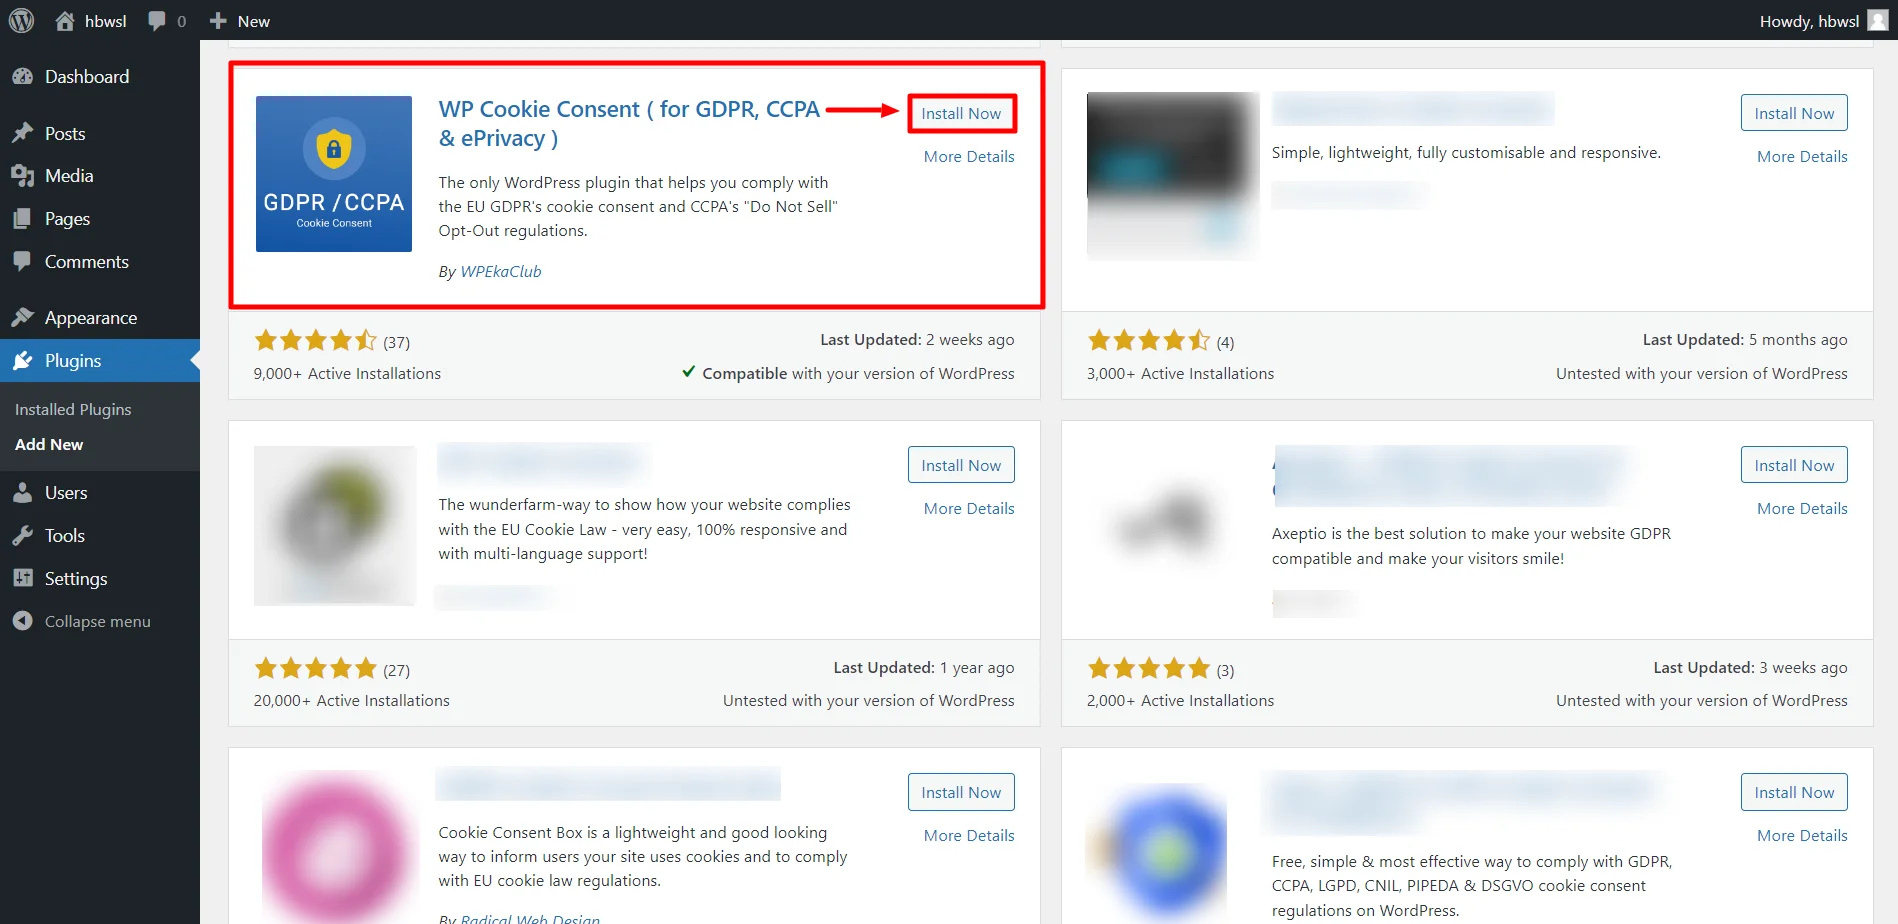
After installation, click on Activate to start using the plugin.

The WP Cookie Consent plugin is now installed and activated!
Step 2: Create an Account with WP Cookie Consent Plugin
Now, to configure cookie settings, follow these steps:
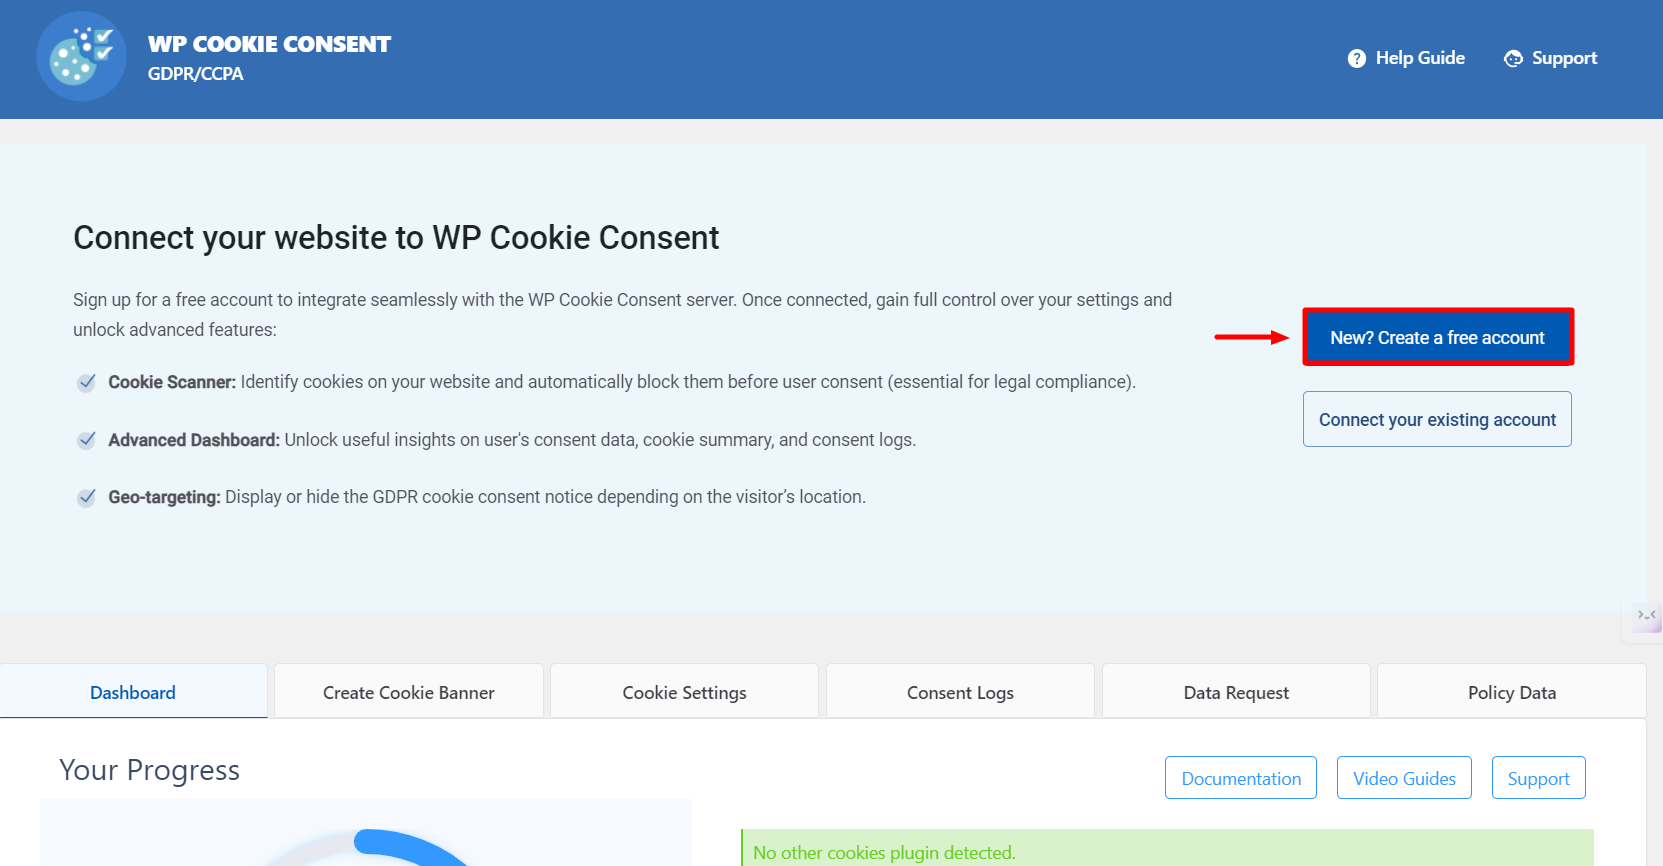
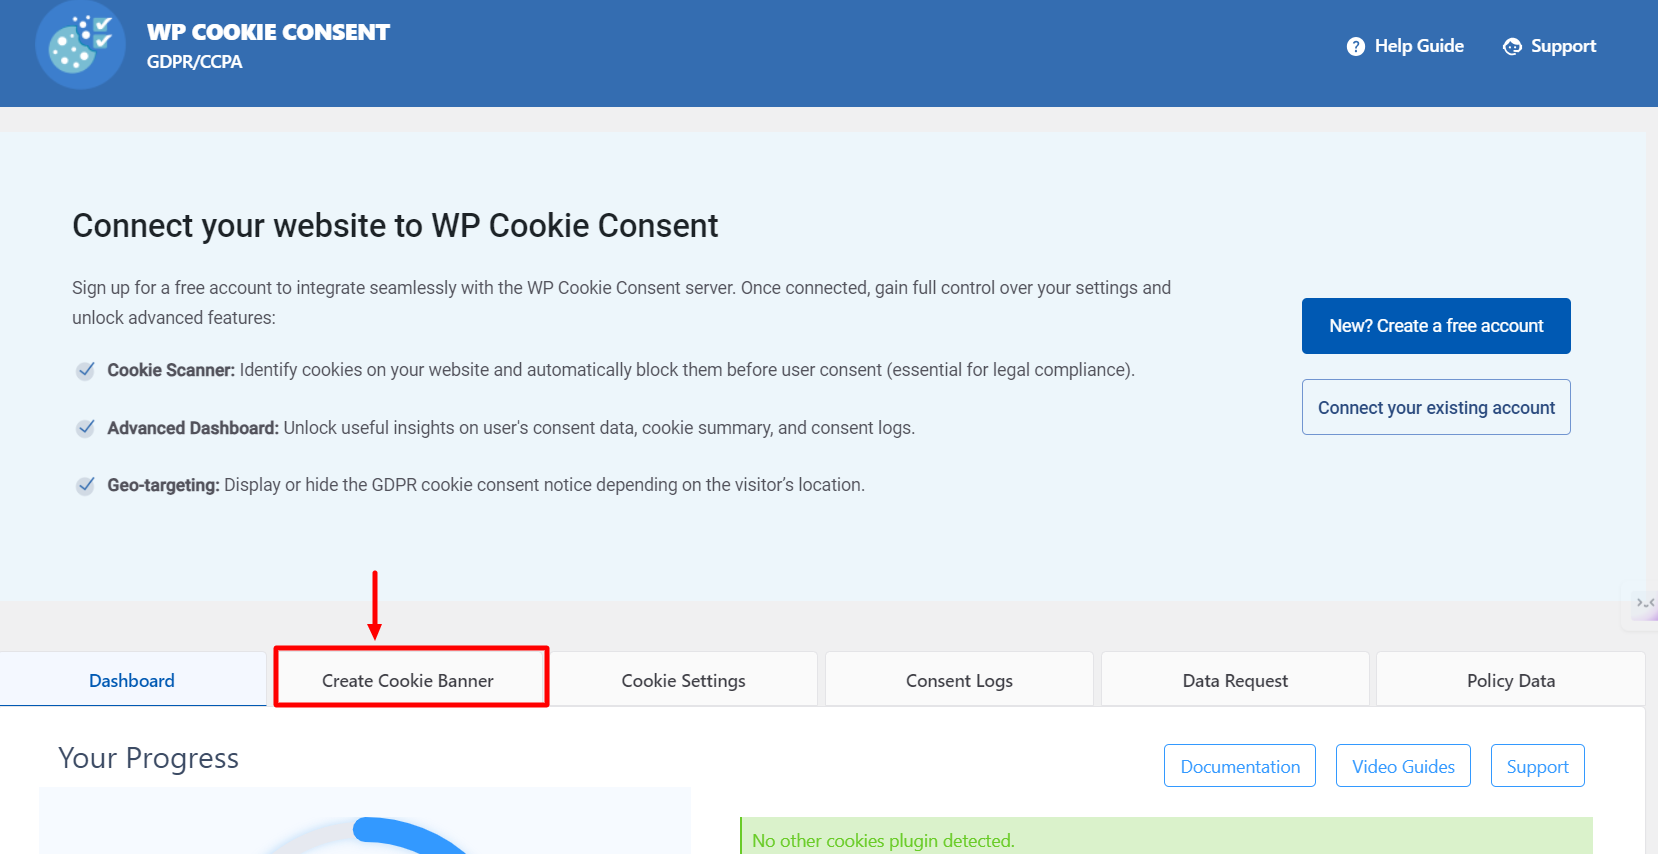
From your admin dashboard, navigate to WP Cookie Consent. This will open up the WP Cookie Consent Dashboard page.
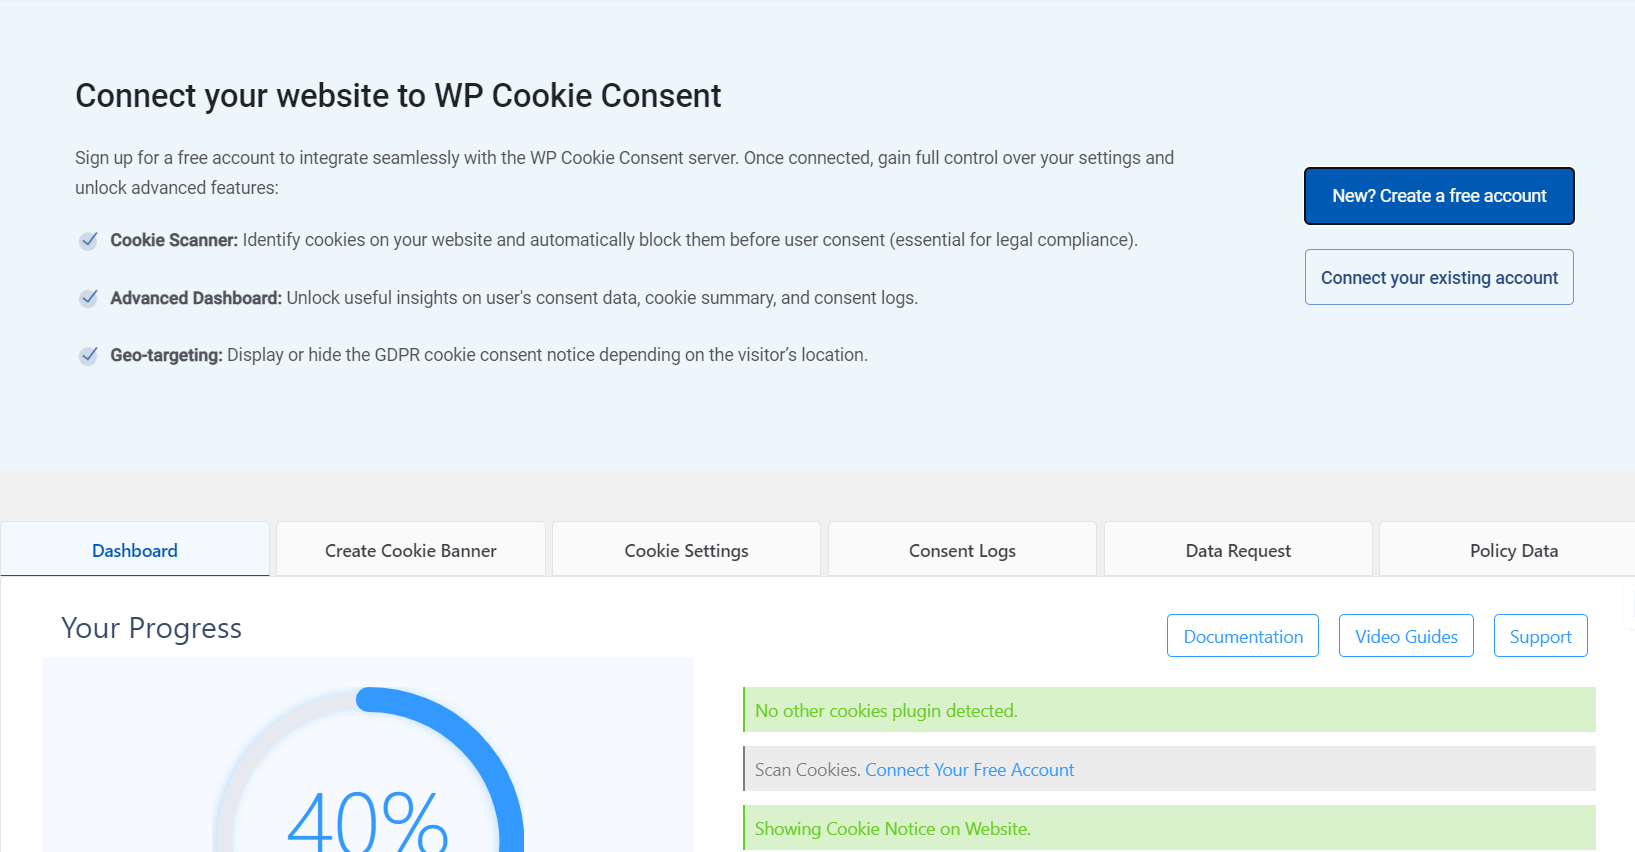
To create a new account, click on New? Create a free account. (Creating a new account will give you access to advanced features such as Cookie Scanner, Advanced Dashboard, and Geo-Targeting.
A new pop-up will appear, prompting you to create an account. Then, sign up for WP Legal Pages.
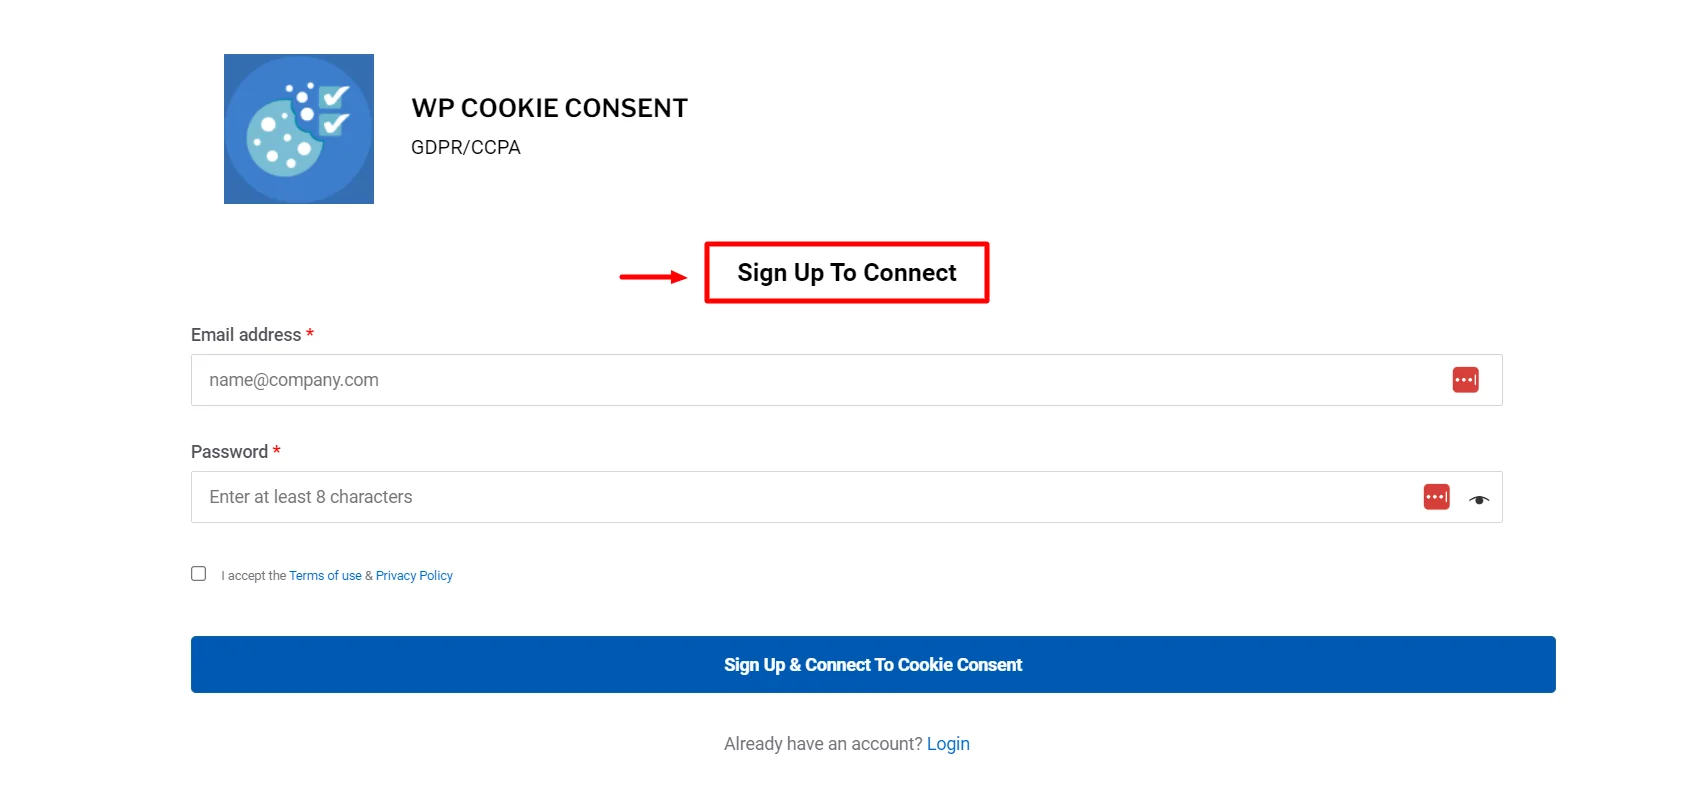
Sign up by entering your details and clicking on the Sign-up & Connect button.
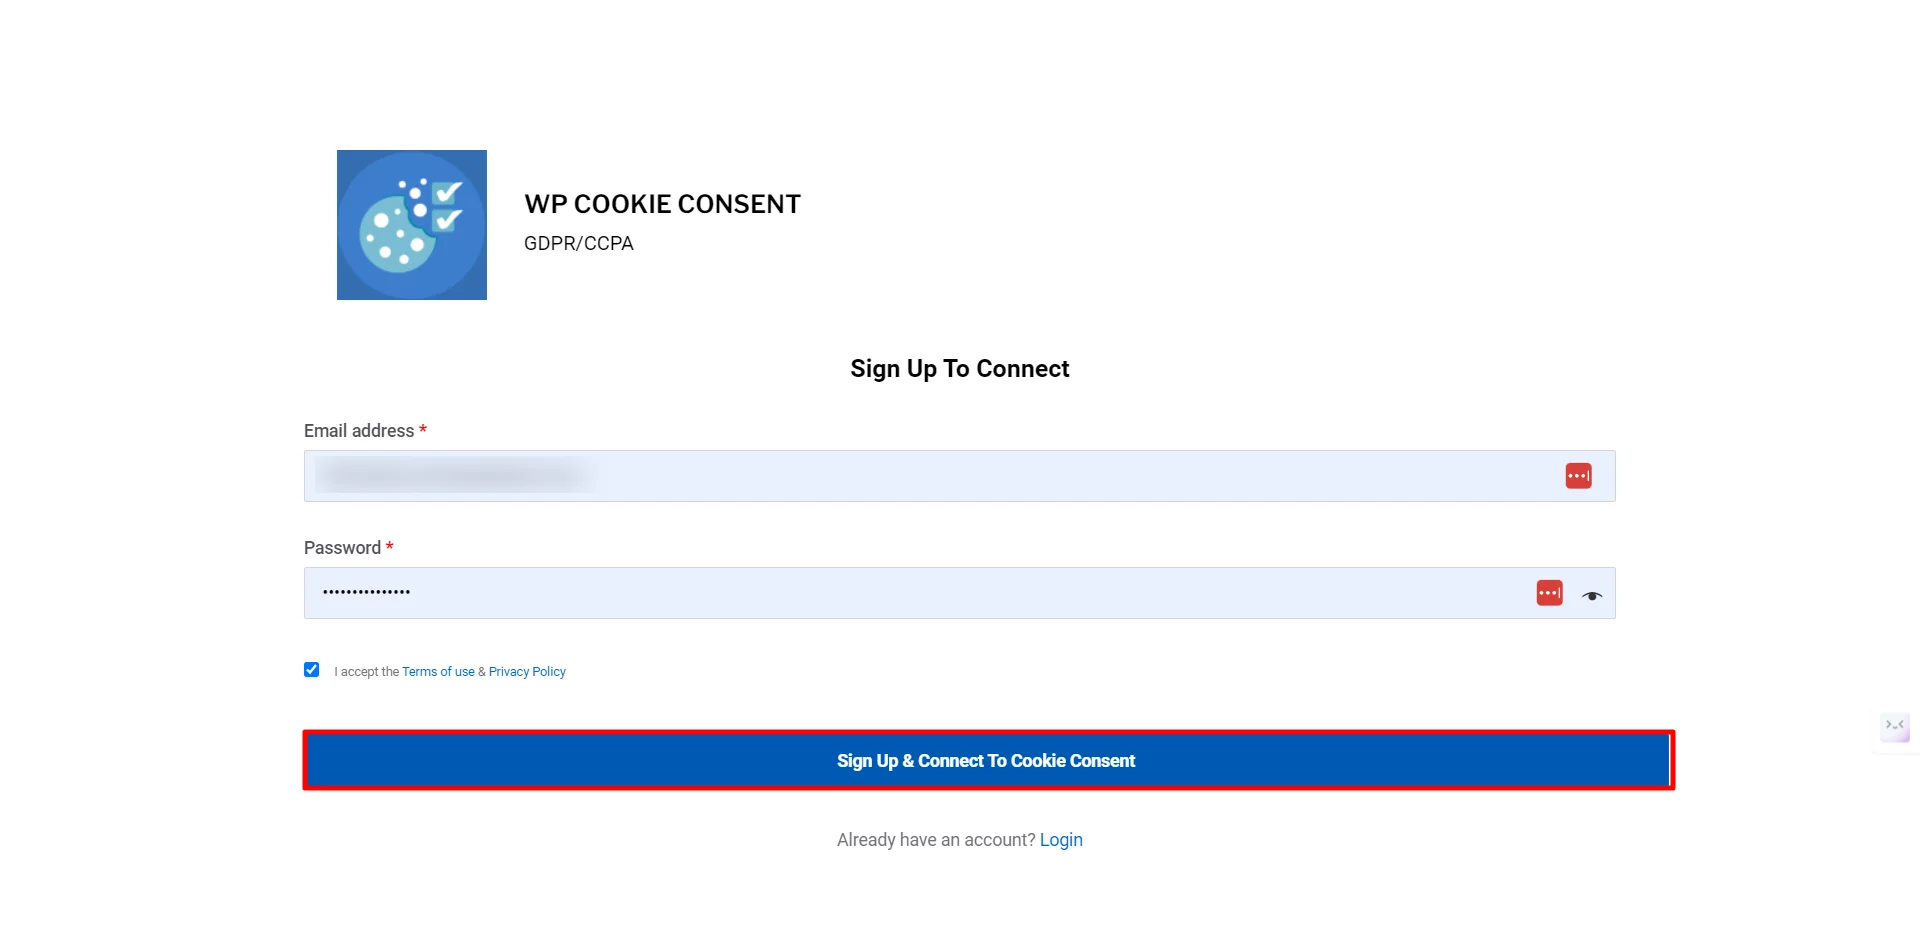
Now click on Connect site to WP Cookie Consent plugin, and you’re done.

Step 3:Configuring WP Cookie Consent’s Cookie Settings.
Navigate to the WordPress dashboard and click WP Cookie Consent > Create Cookie Banner.
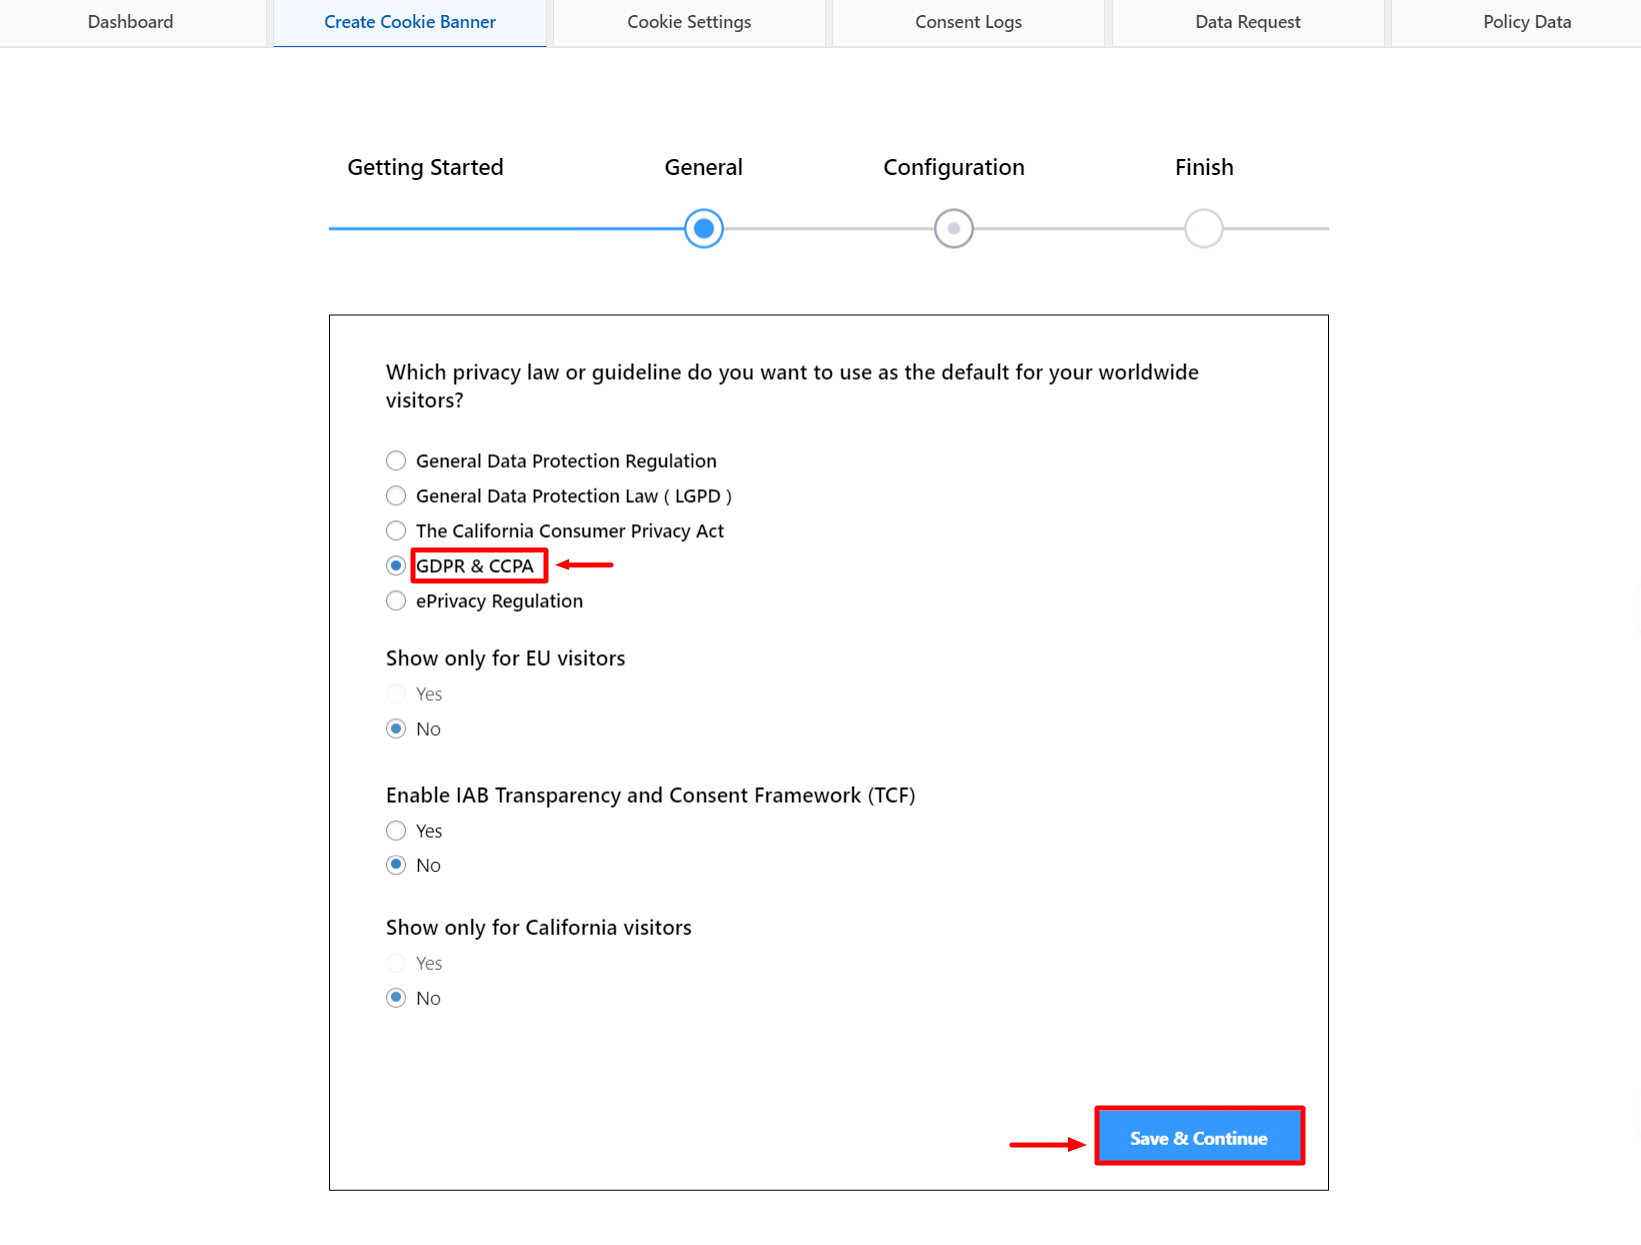
Then, the following screen will appear. Select the law you want to comply with, and the next question you receive will vary depending on the privacy law you selected. Click on Save & Continue.
Now, it will take you to the Configuration tab. Select Show Cookie notice as a banner from the dropdown menu. Choose your template, and click on save & continue.

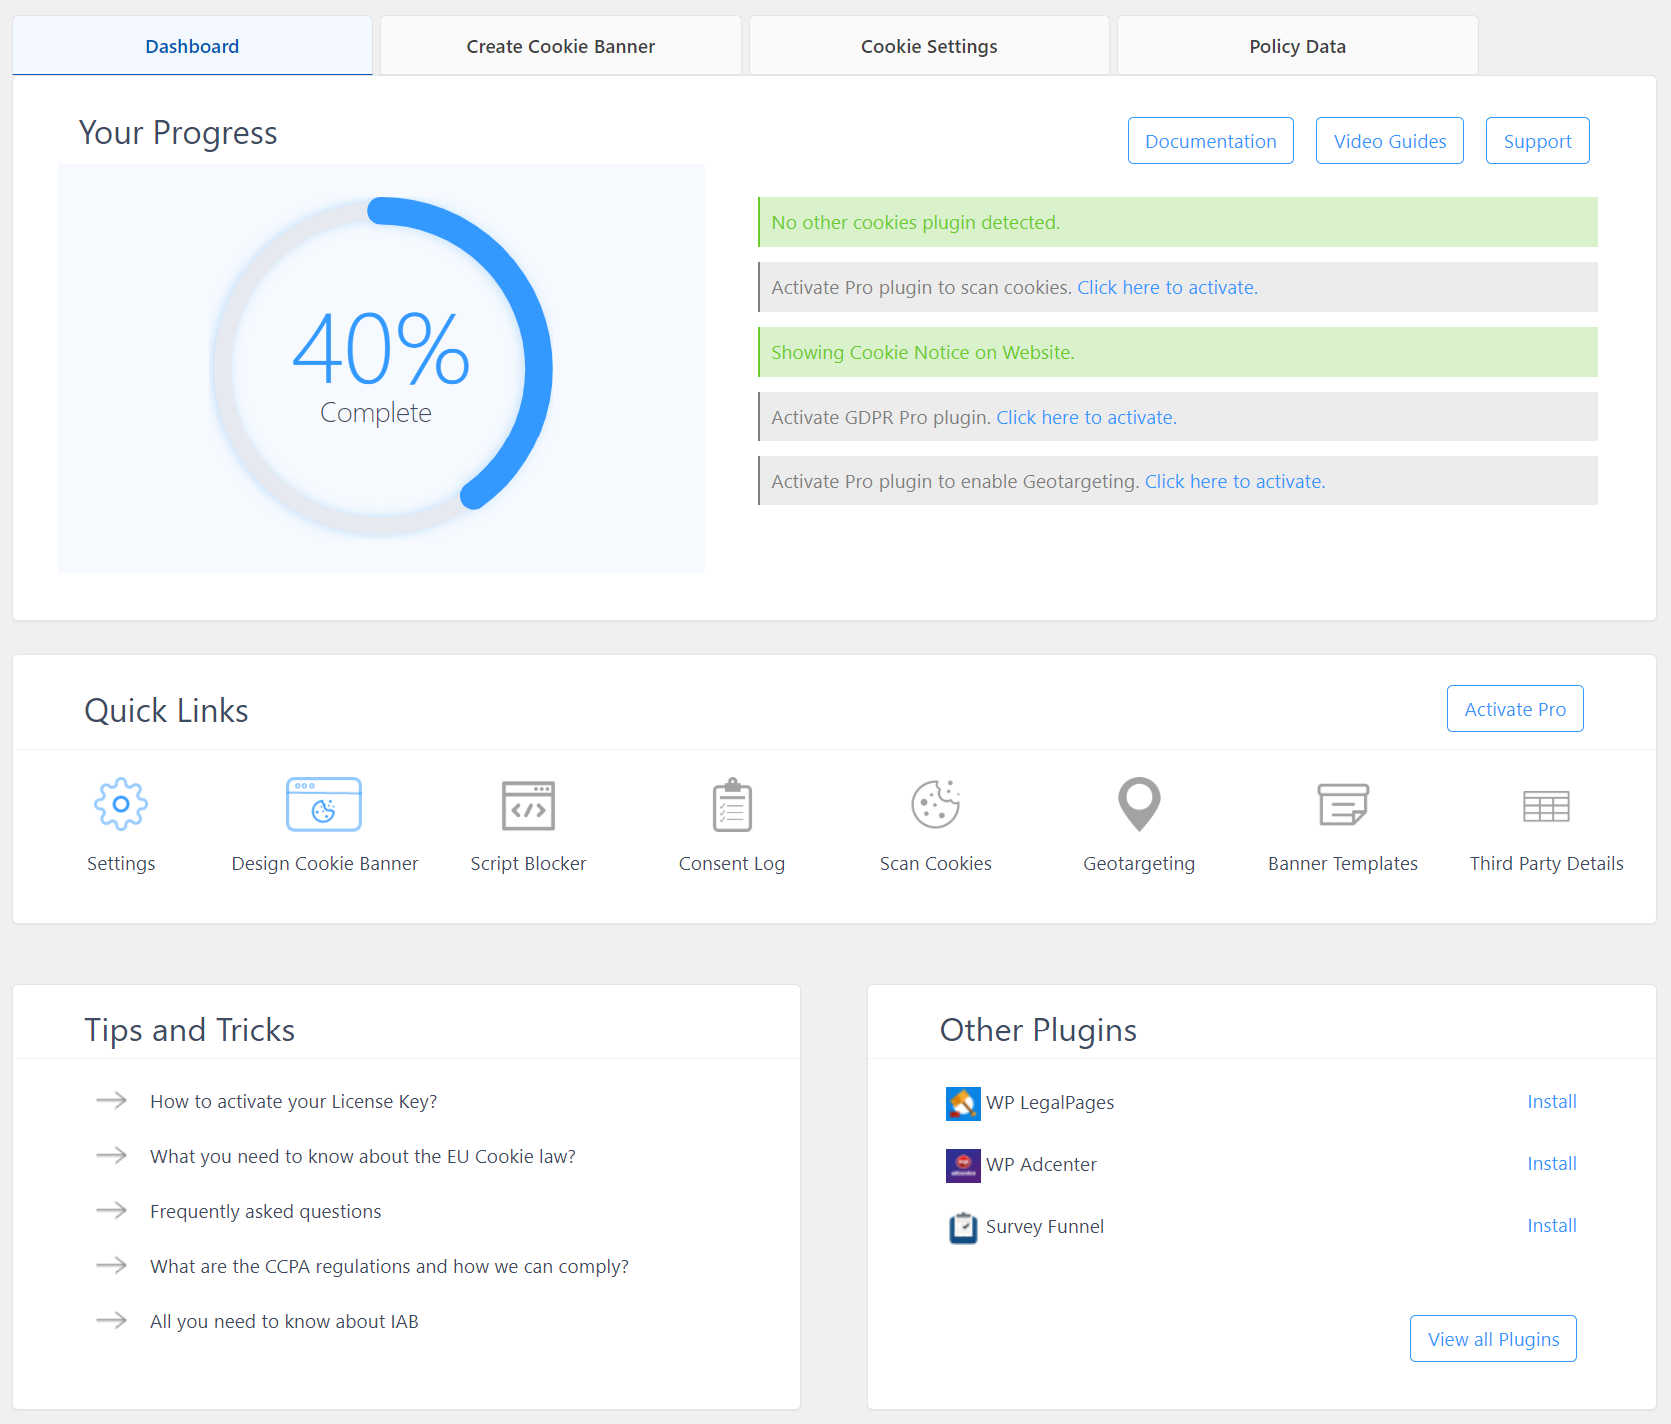
On the finish tab, simply click Save & Close, and you’ll be directed to the Dashboard.
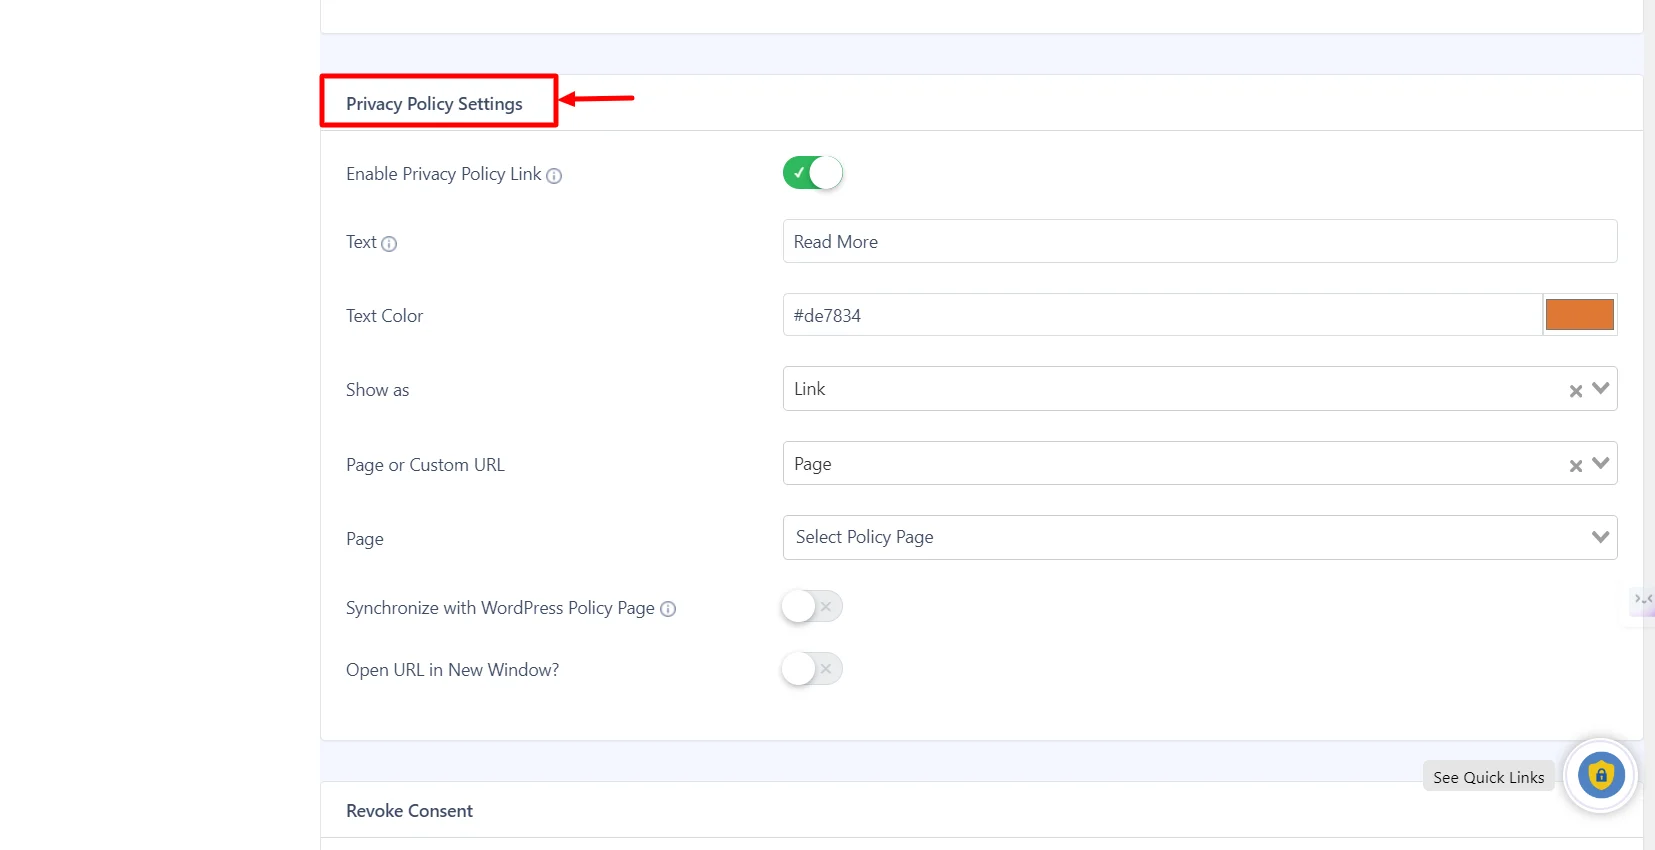
* You can even add a link to your privacy policy by simply scrolling down and enabling the Enable Privacy Policy link. You also have the option to customize the text and text color and show it as a link or button, among other options.
Step 4: Customizing The Cookie Consent Banner
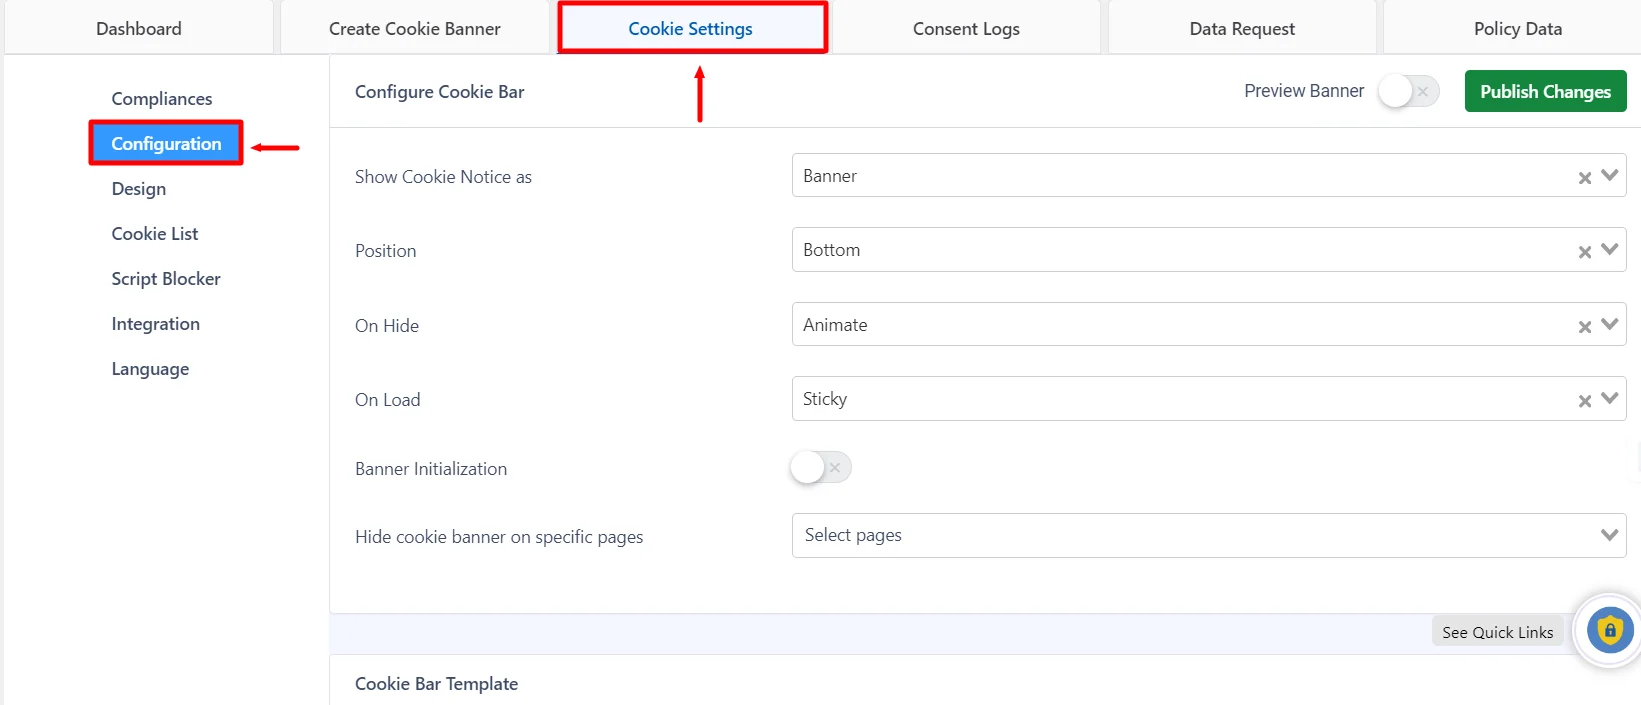
From your WordPress dashboard, click on Cookie Settings > Configuration to customize the cookie banner for your blog website.
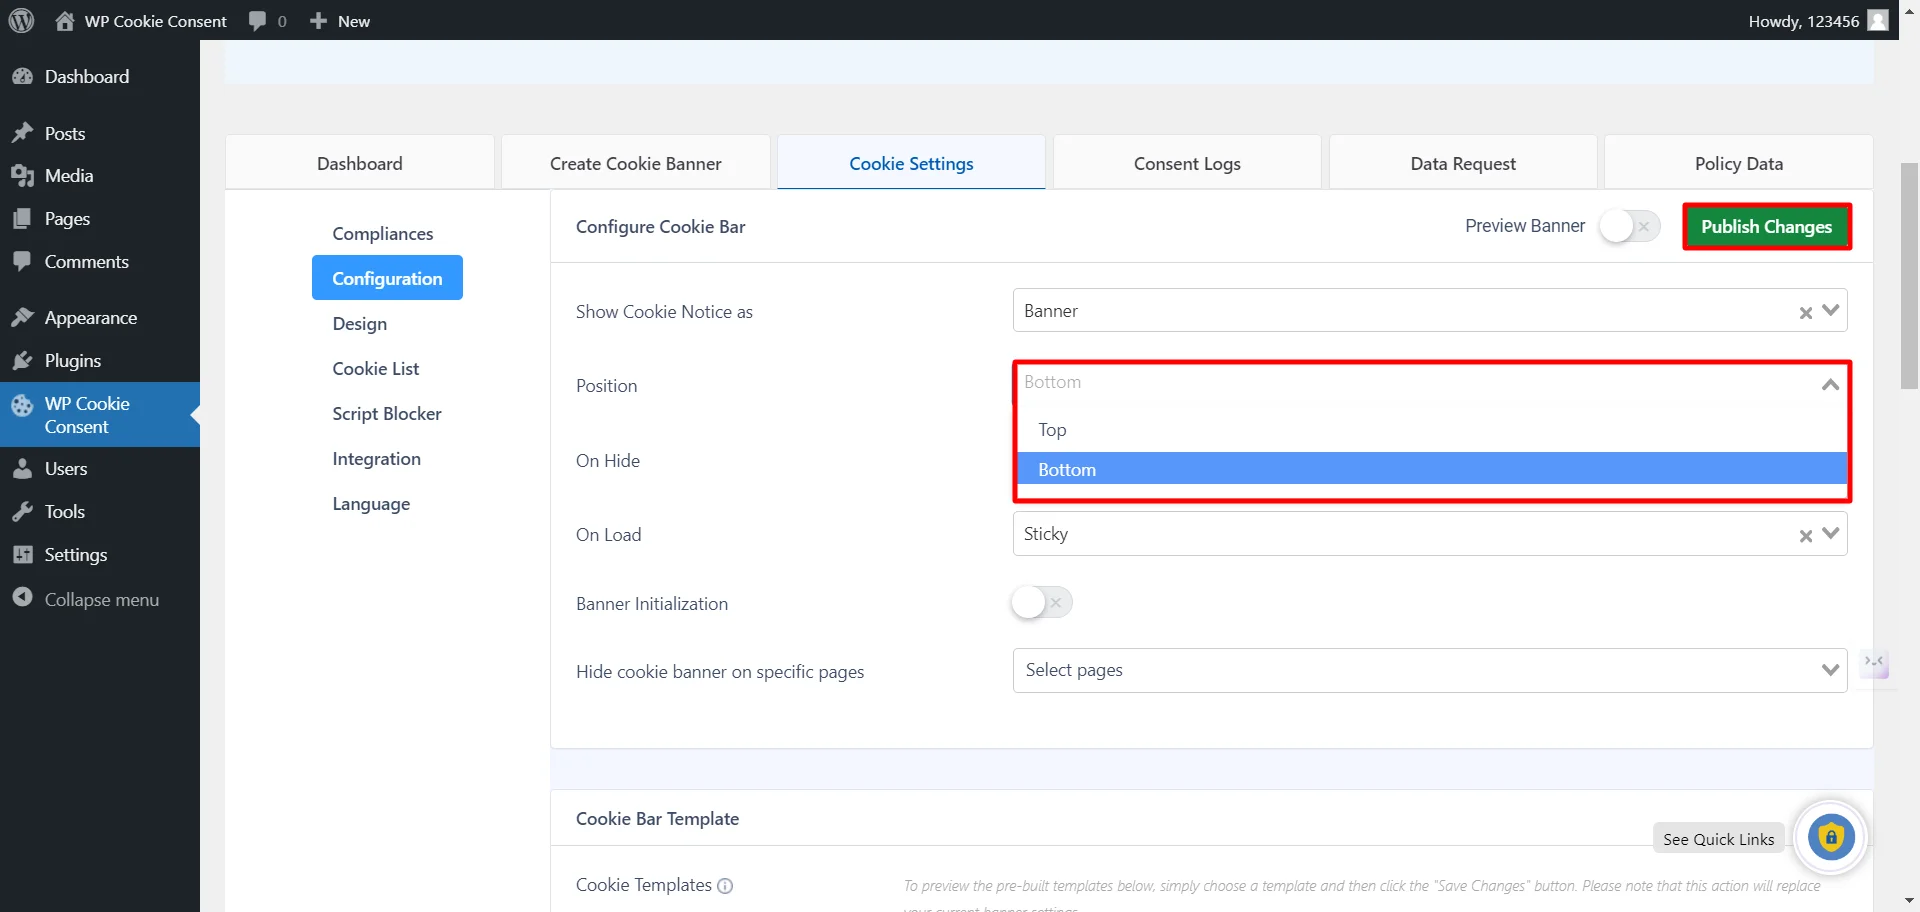
Select the position of your cookie banner from the Position menu, choose from the drop-down menu, and click Publish Changes.
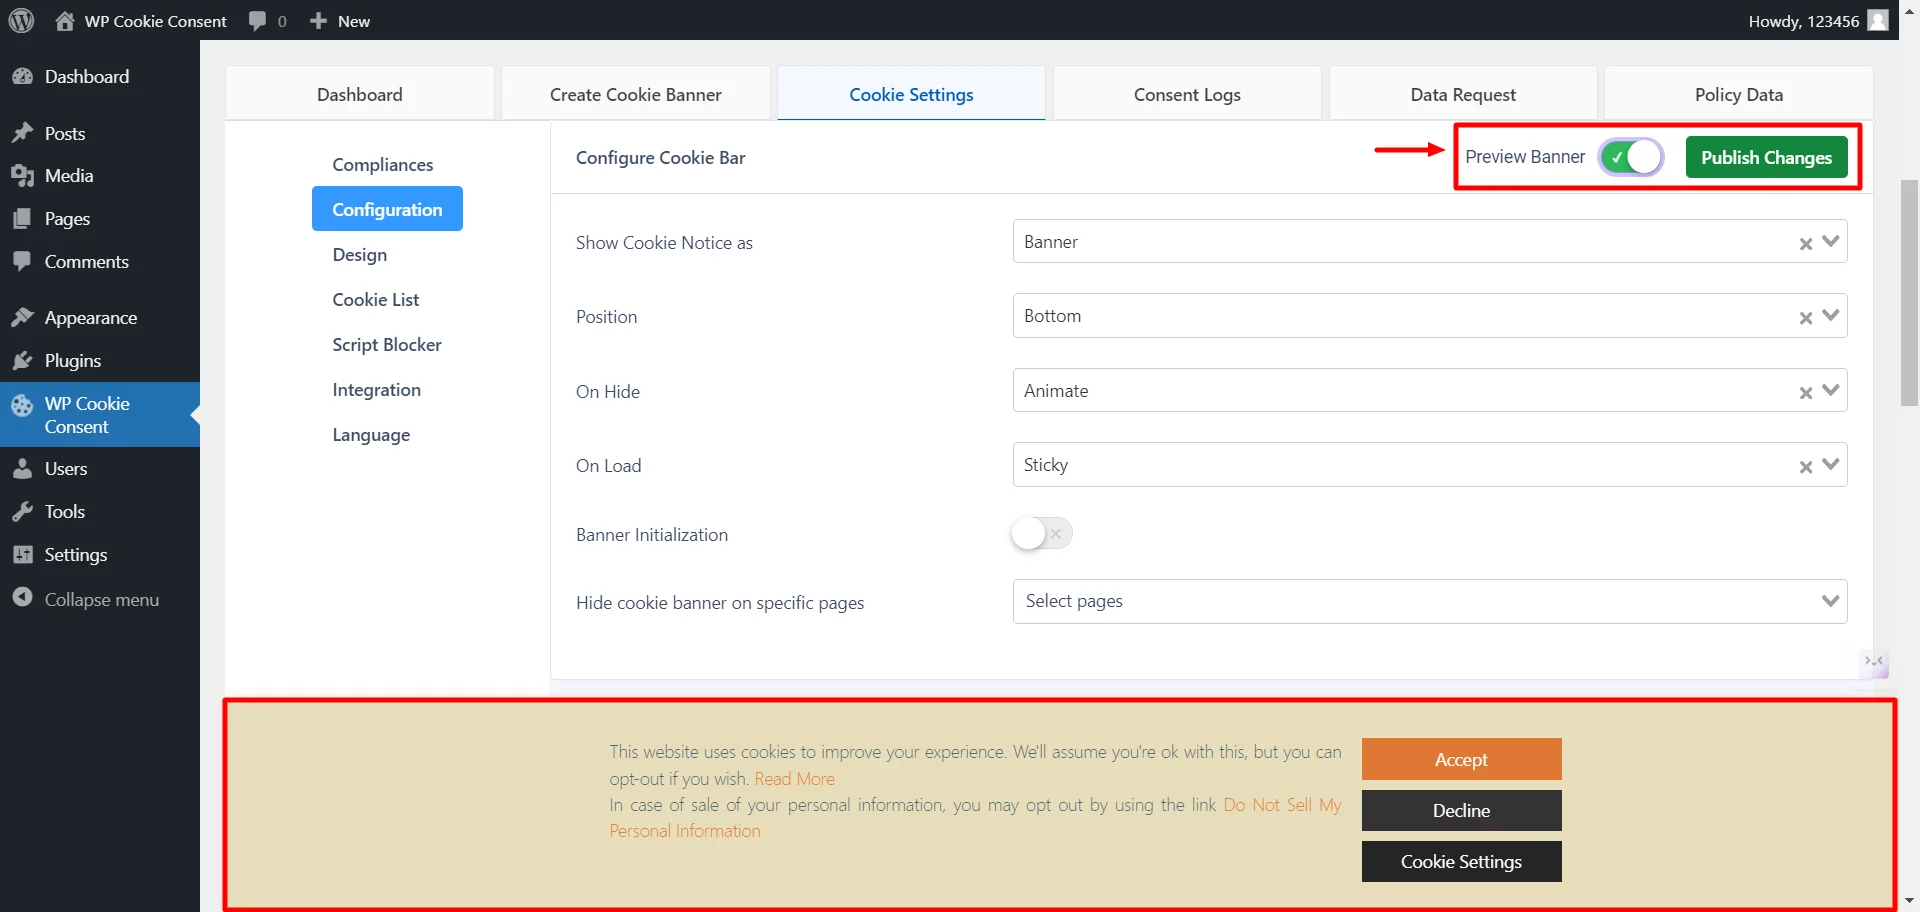
To see the banner preview, enable the Preview Banner and click Publish Changes. ( This will show a cookie banner on the backend of your website to make any necessary changes)
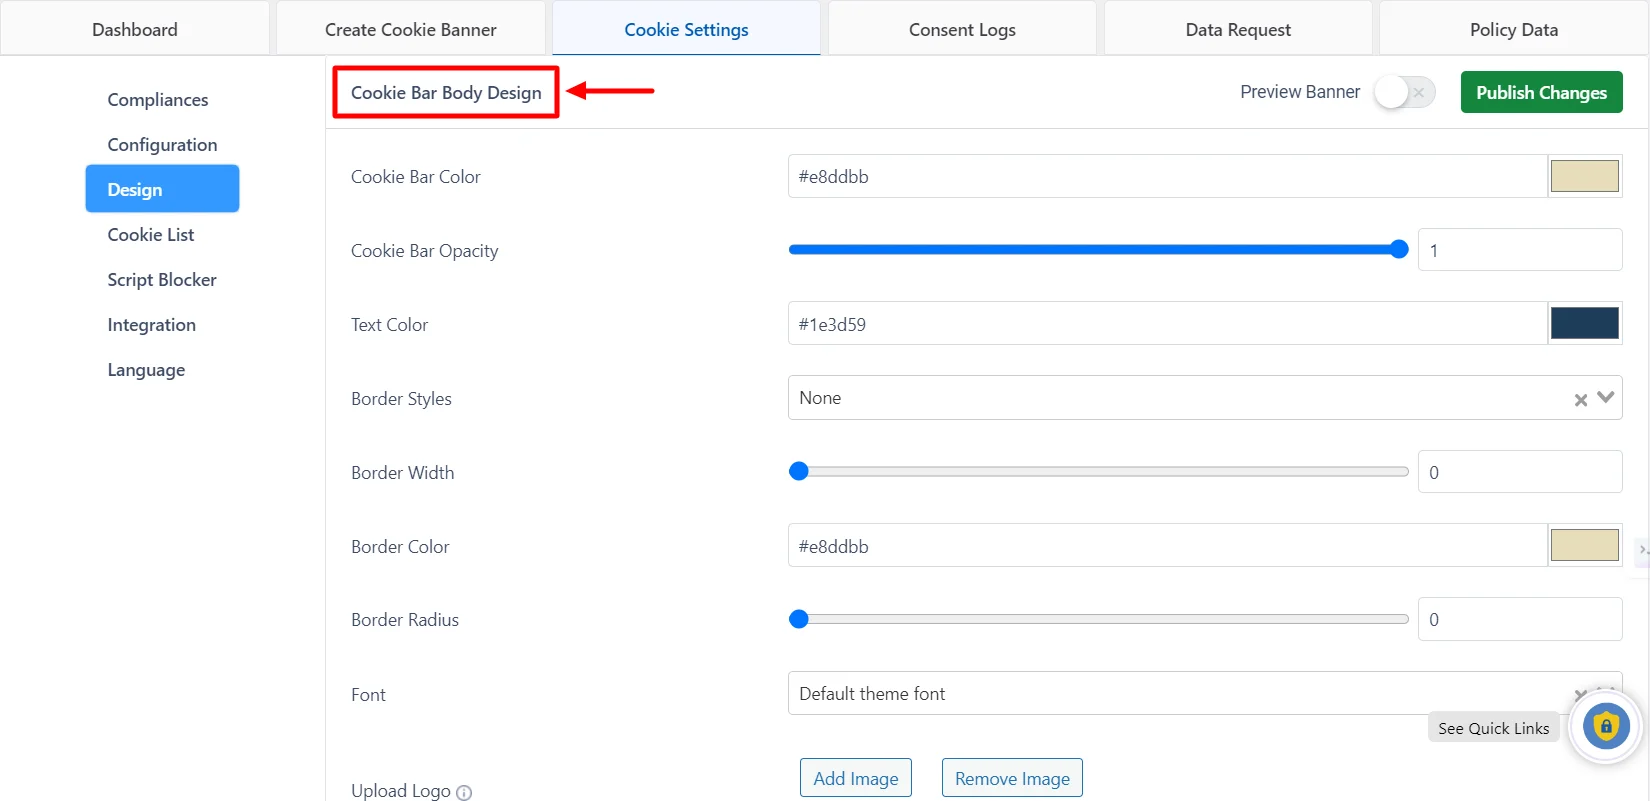
You can customize your cookie consent banner to match your website’s style. To customize the cookie pop-up design, switch to the Design tab.
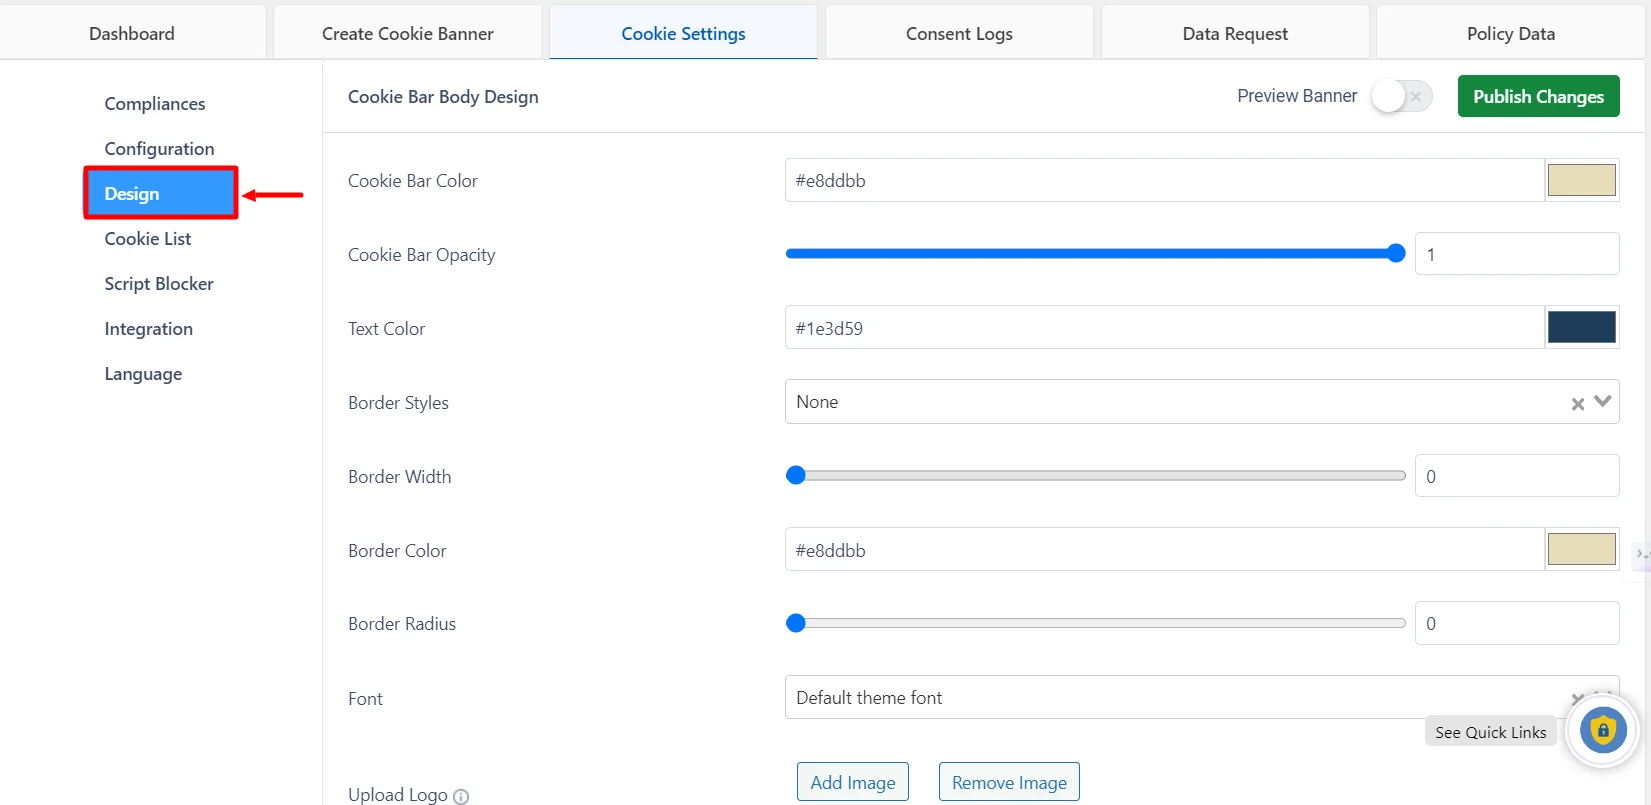
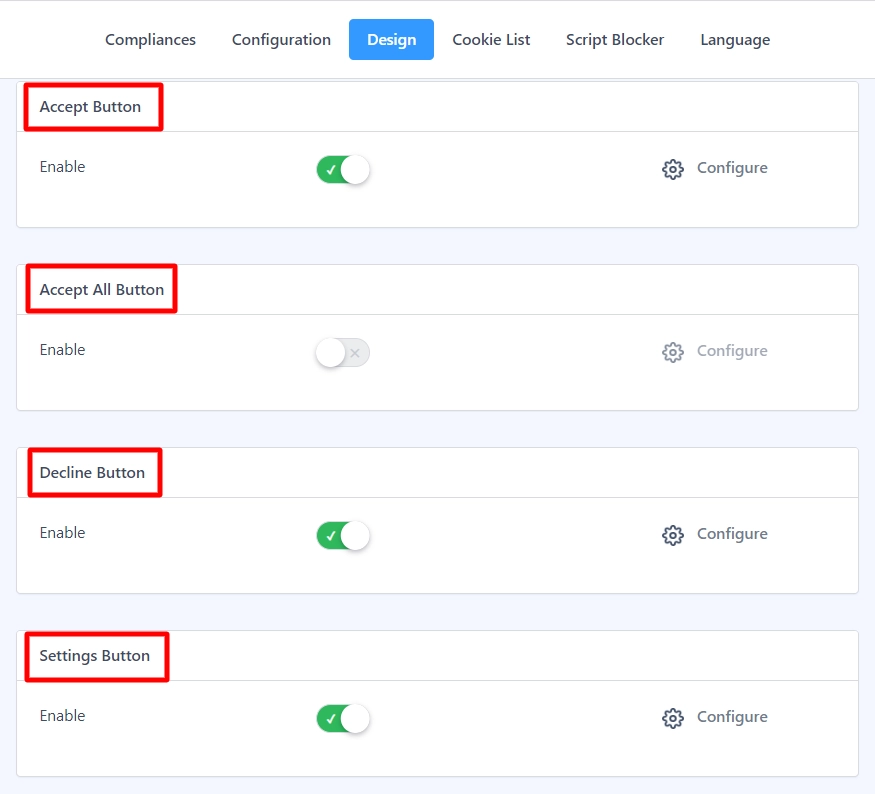
The design tab has five cards: the Cookie Bar Body, the Accept Button, the Accept All Button, the Decline Button, and the Settings Button.
In Cookie Bar Body Design, you will have 6 different customization options to choose from according to your website needs and requirements.
When you click the Configure Button to access advanced settings for the Accept, Accept All, Decline, and Settings buttons, a pop-up containing the Button options will appear.
That’s it, your cookie banner has been added to your blog website!
FAQ
Yes, adding a cookie banner to a blog website is necessary because it will help protect users’ information, create transparency, and comply with regulations.
To add a cookie banner to a blog website for free, you can use a free plugin like WPCookie Consent, which will help you comply with laws worldwide.
Conclusion
Creating a cookie consent banner has now become mandatory for any website. Because of the rules and regulations surrounding it, this is especially important when managing a blog website.
When collecting personal data from users who subscribe to your blog, it is important to inform them of your transparent data collection process. Hence, you should add a cookie banner to the blog website.
WordPress plugin WP Cookie Consent makes setting up cookie banners for your blog website easy.
The plugin’s design and compliance are perfectly balanced, making your website legally strong, as WP Cookie Consent complies with all privacy rules.
If you’ve liked reading this article, don’t forget to check our other similar articles:
- GDPR cookie consent: What’s really required and how to manage them?
- Understanding Cookie Consent: A Guide For Website Owners
- How WP Cookie Consent Helps Your WordPress Site Adhere to CCPA Regulations
Want to design a beautiful cookie consent banner for your eCommerce website? Grab the WP Cookie Consent plugin now!