
Once you’ve installed and activated WPLP, the next step is to configure it for your site’s compliance needs. This section covers all available settings, from general details to advanced cookie consent behaviour.
To access the General Settings, go to your WordPress Dashboard > Legal Pages > Settings.
1. General Settings #
The General Settings tab lets you set up the foundation for your compliance pages and banners.
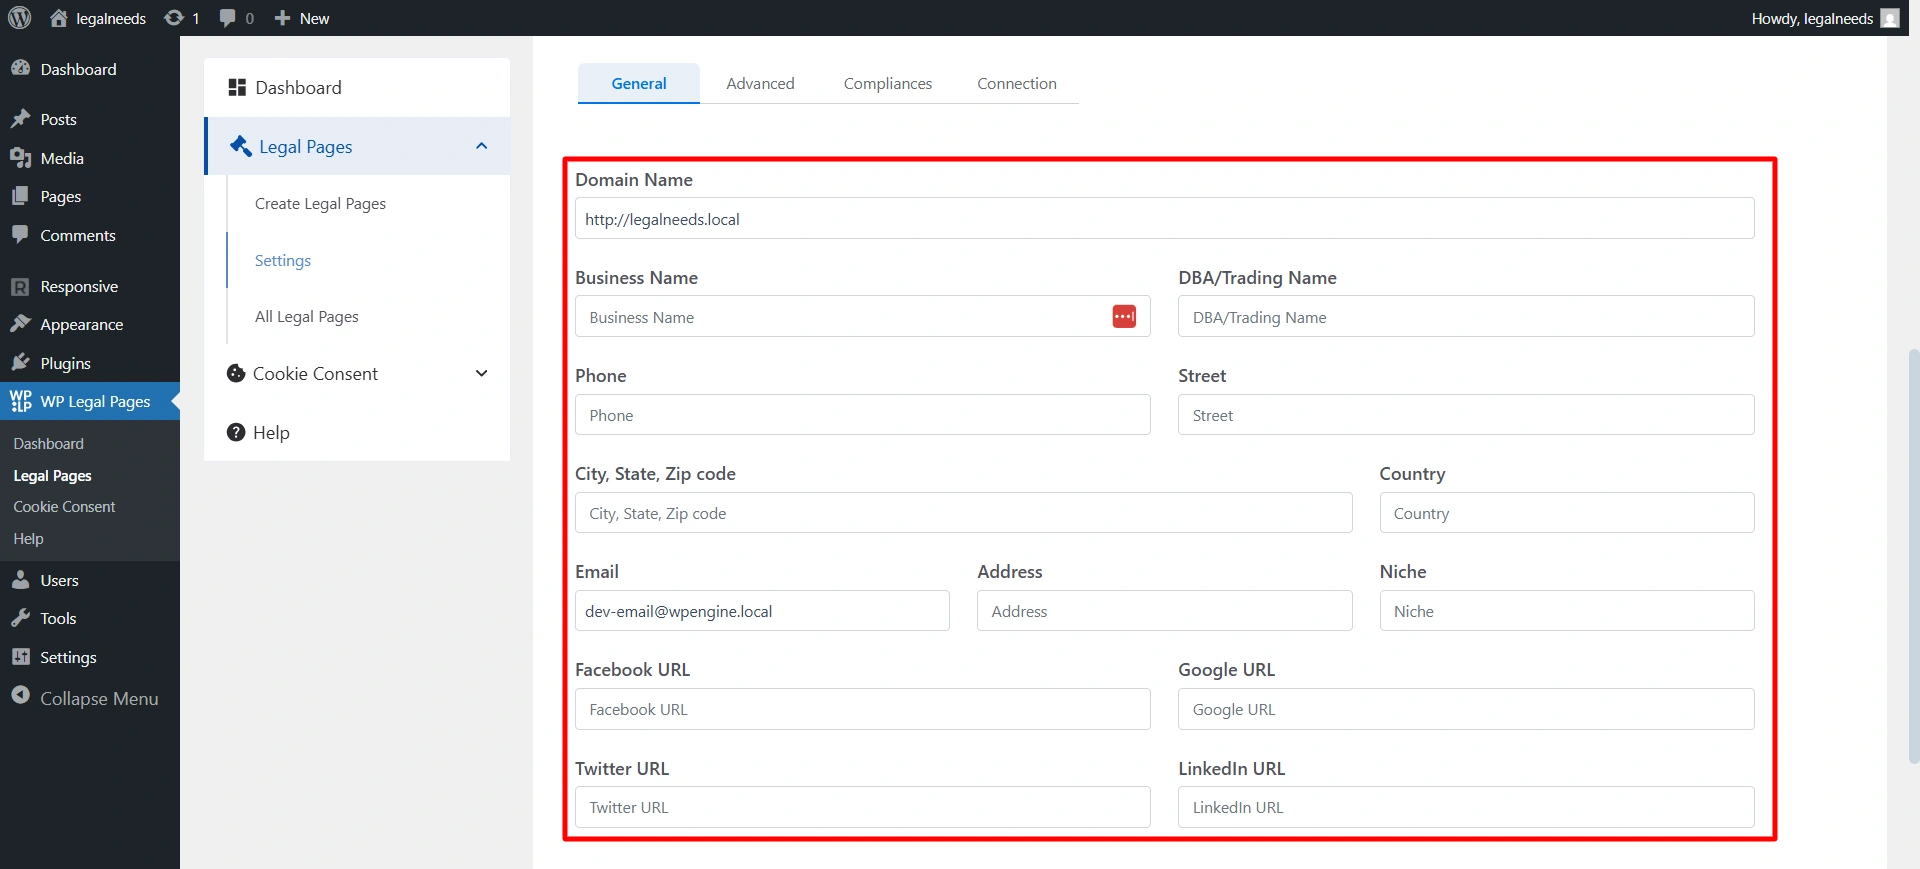
This form includes fields for:
- Domain: http://demo.local (Link of your domain)
- Business Name and DBA/Trading Name
- Phone and Street
- City, State, Zip Code, and Country
- Email, Address, and Niche
- Social media URLs for Facebook, Google, Twitter, and LinkedIn
Fill these fields and click on Save Changes.
Tip: Keep your business info accurate. It automatically updates across all generated legal pages.
2. Legal Pages Setup #
WPLP includes 30+ policy templates, of which four templates are free. You can generate, edit, and customize these pages to meet your site’s needs.
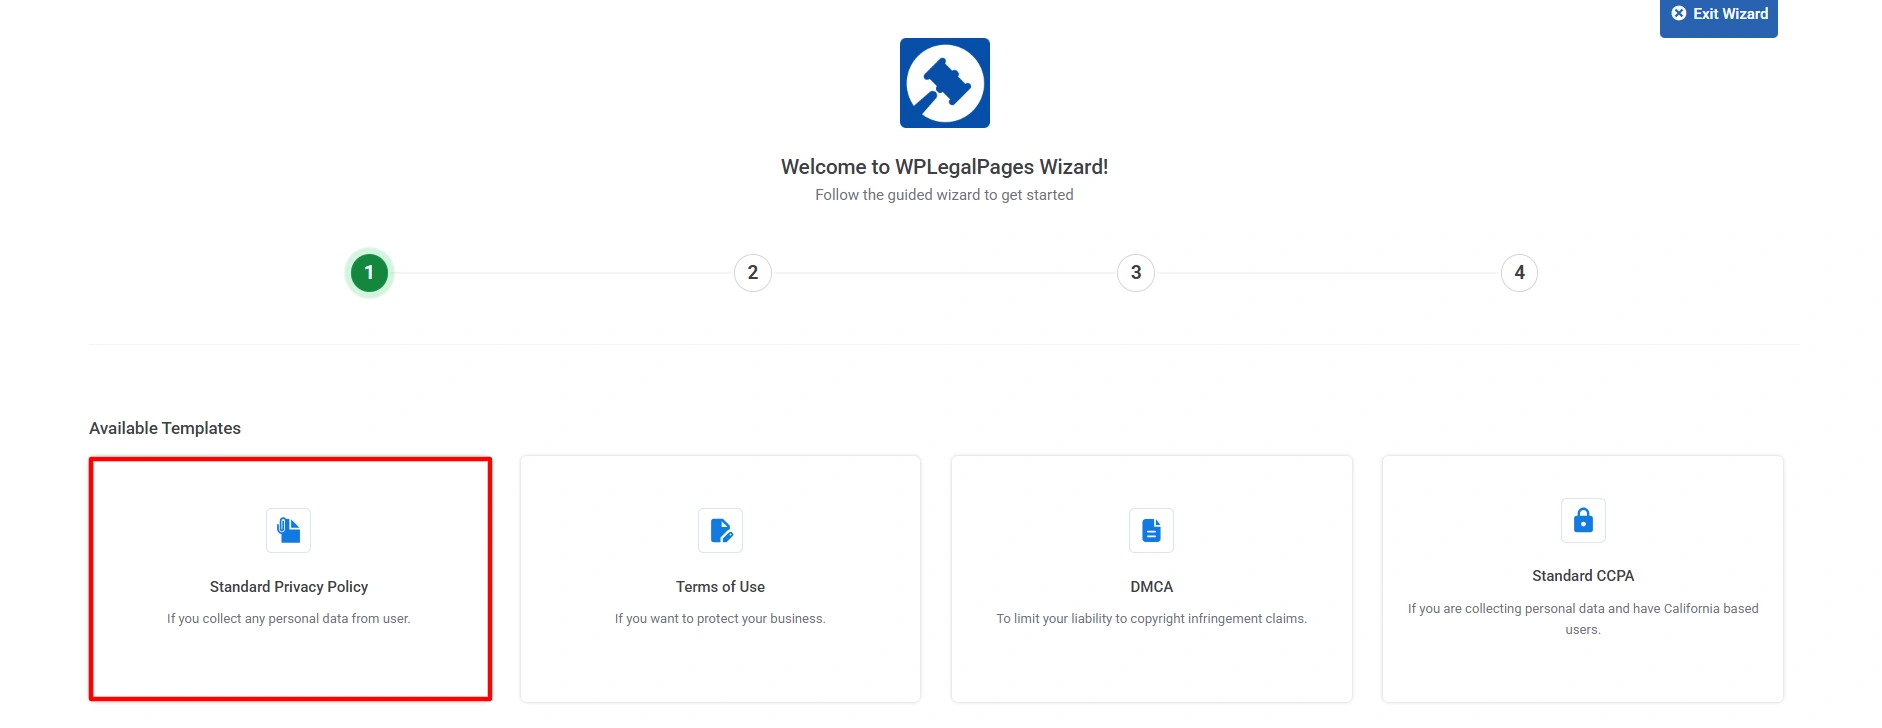
Available Templates #
- Standard Privacy Policy
- Terms of Use
- DMCA
- Standard CCPA
- Terms & Conditions
- Disclaimer
- Returns and Refunds Policy
- Cookie Policy
- Shipping Policy
- Affiliate Disclosure and more
As you can see, the dashboard.
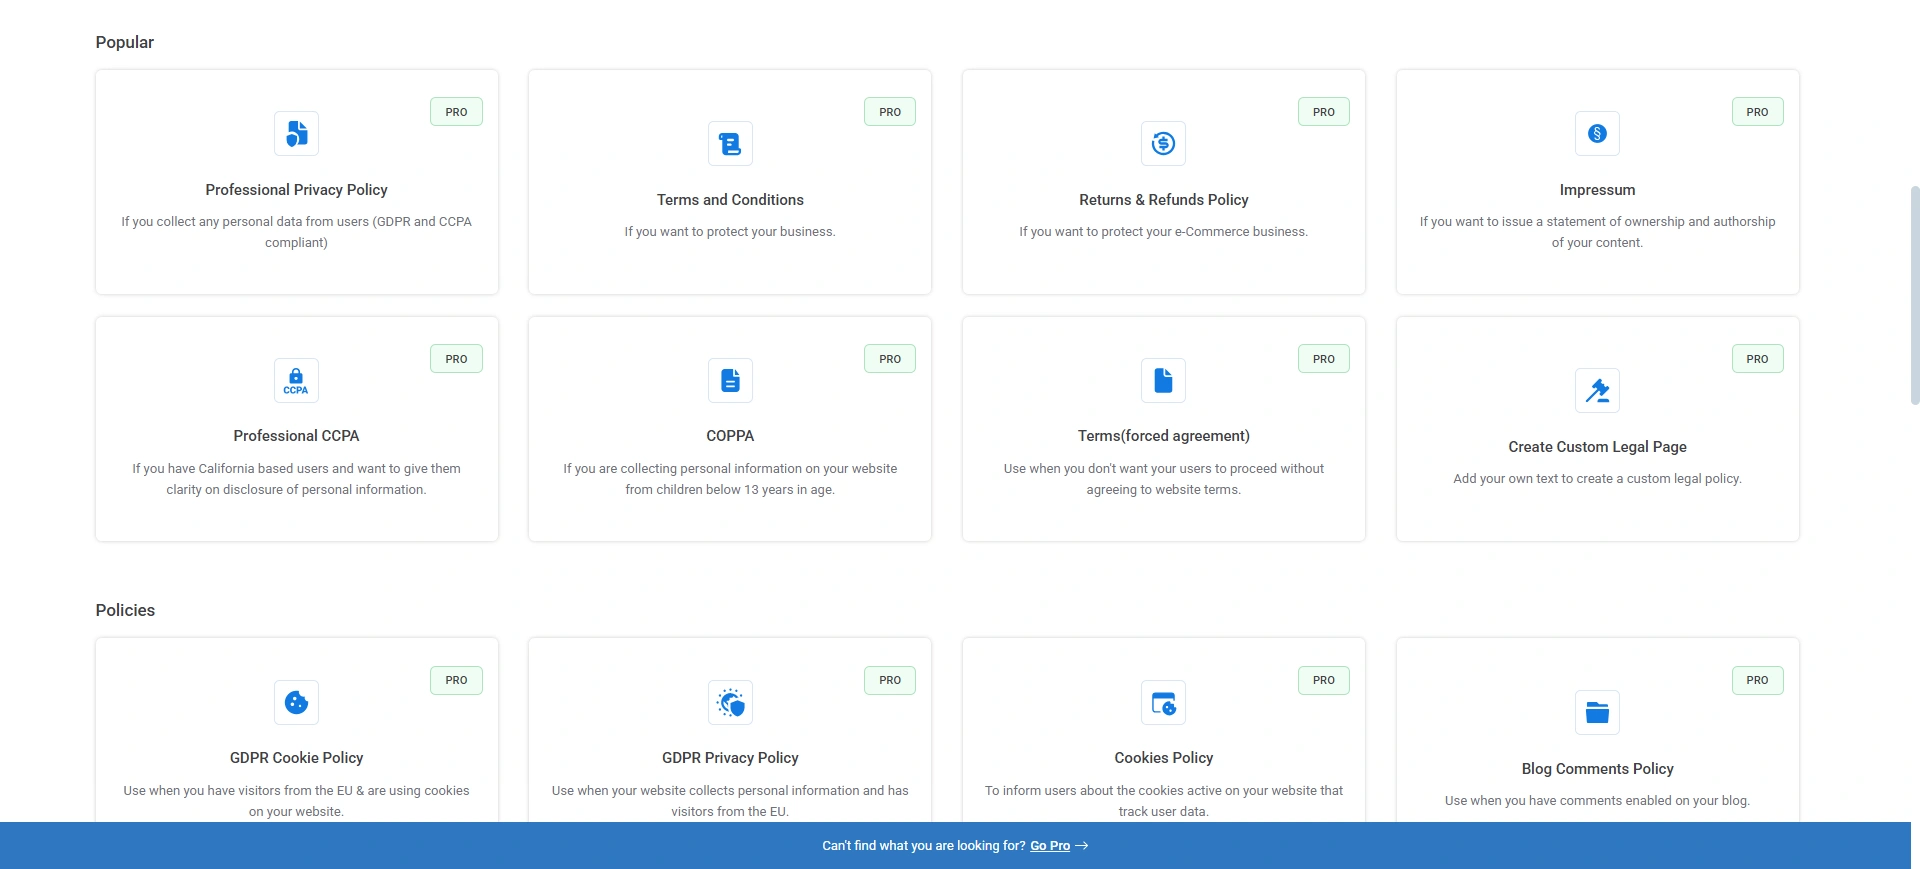
Generating Legal Pages #
To generate legal pages, navigate to Policies and select the legal template you want. For now, I’m creating a Standard Privacy Policy page.
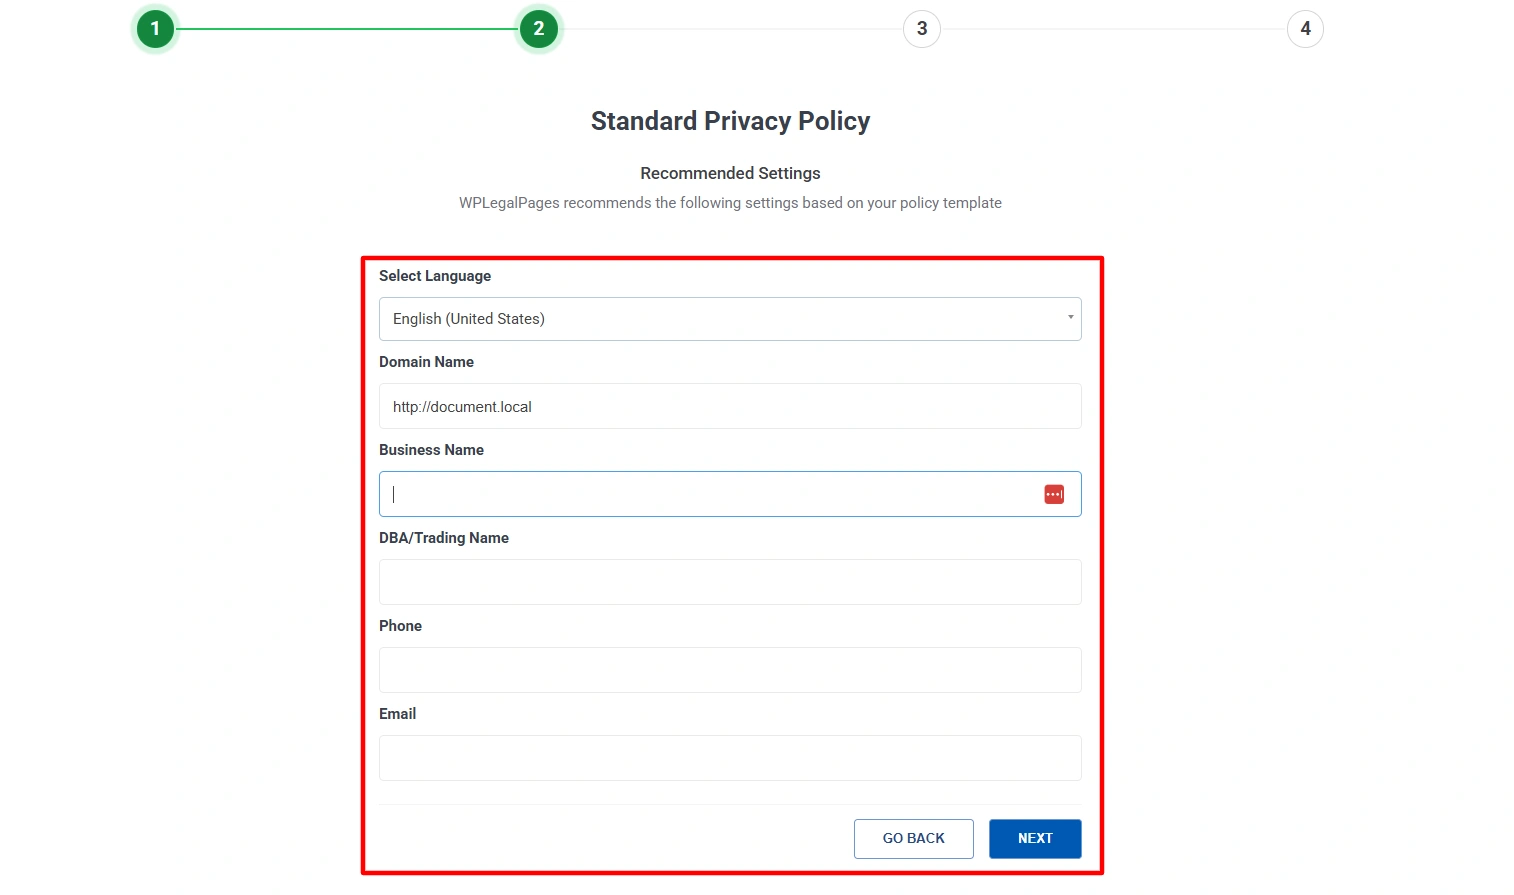
In the Recommender settings, you will see the details you entered in the General Settings tab. Review the information, and once everything looks correct, click Next to continue.
Select the Data Section for your legal template.
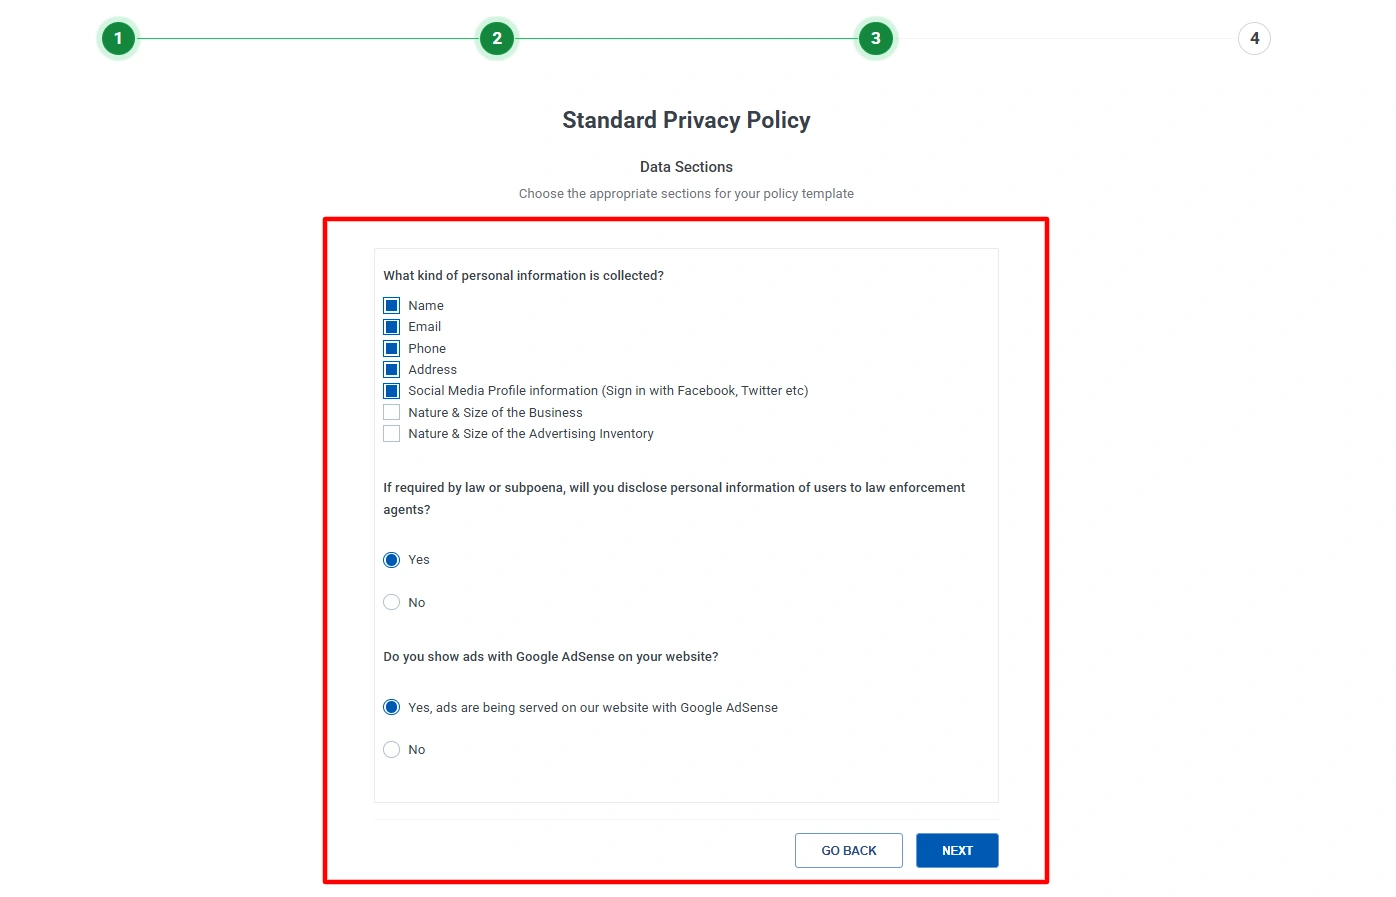
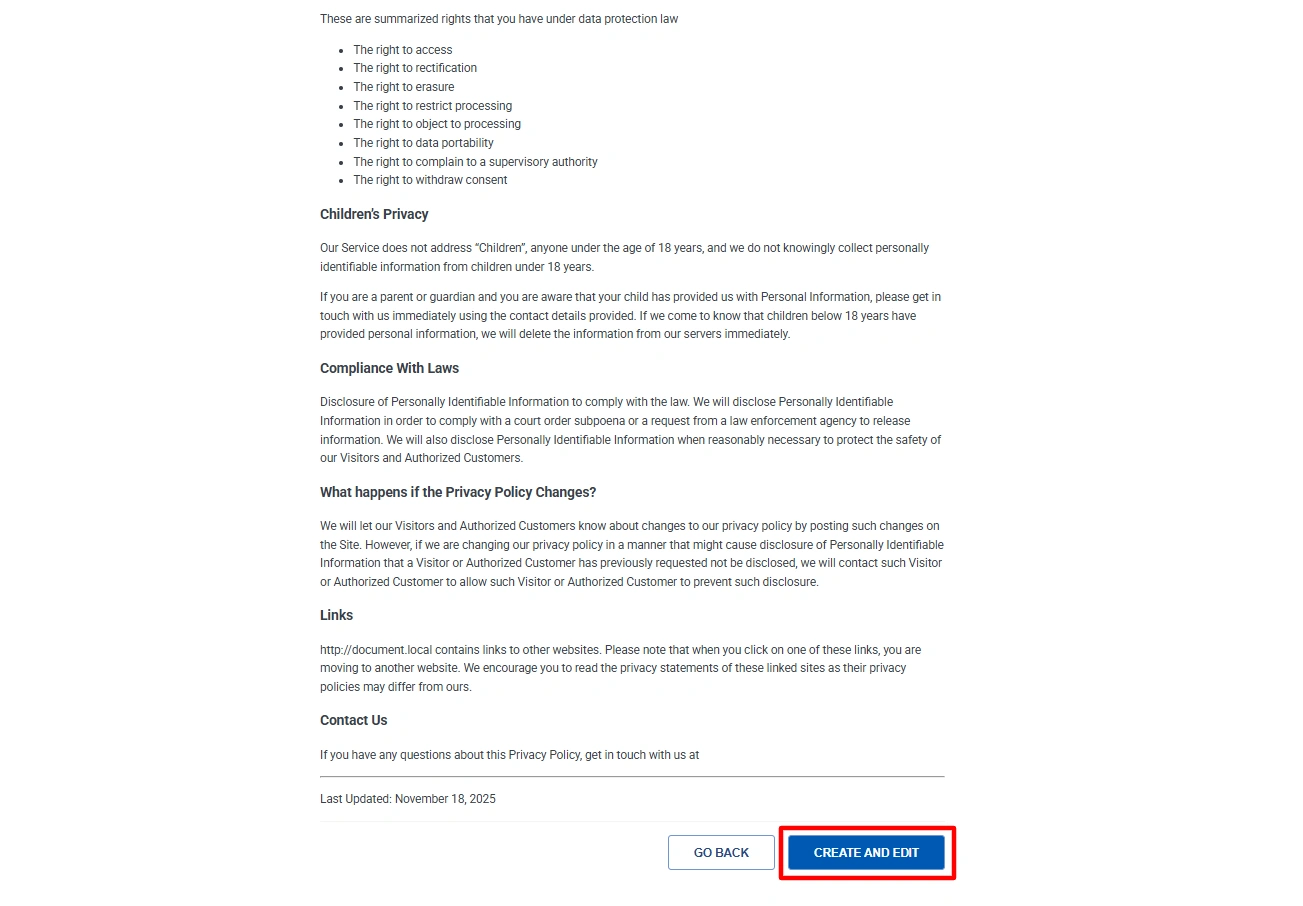
Review the legal template and click on Create and Edit.
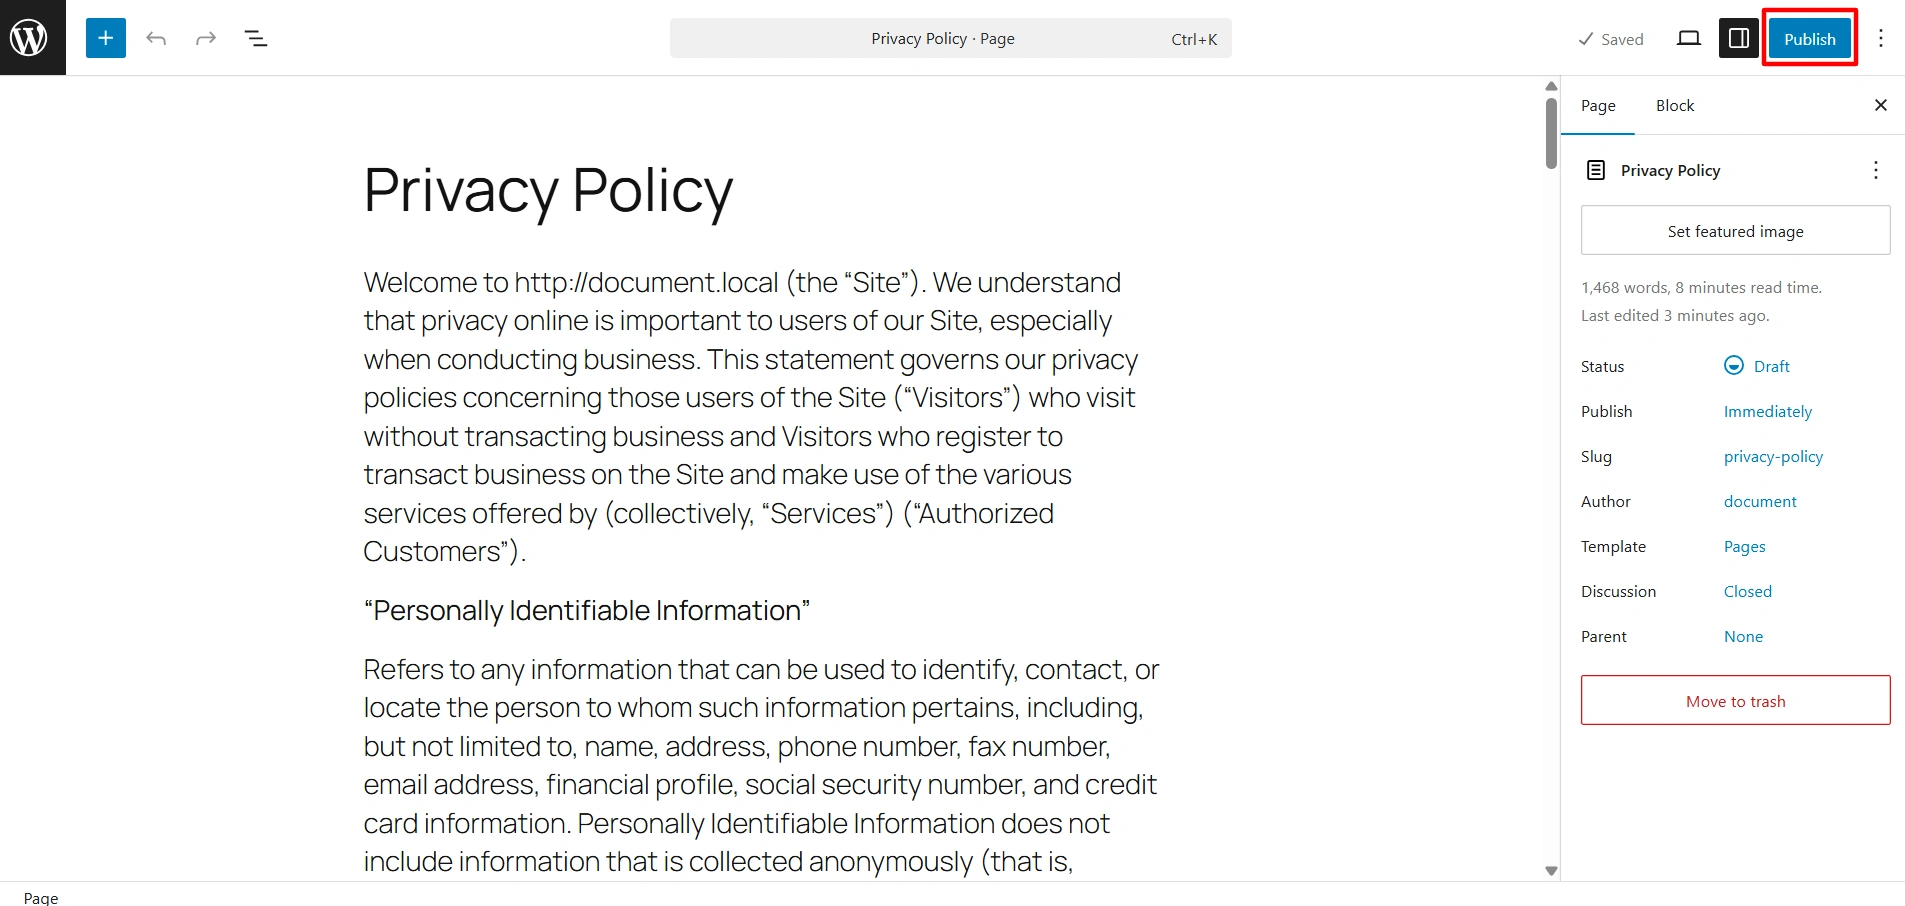
You can edit using the WordPress Block Editor or the Classic Editor and add or remove clauses as needed.
Once you are done and have thoroughly reviewed the template, click Publish.
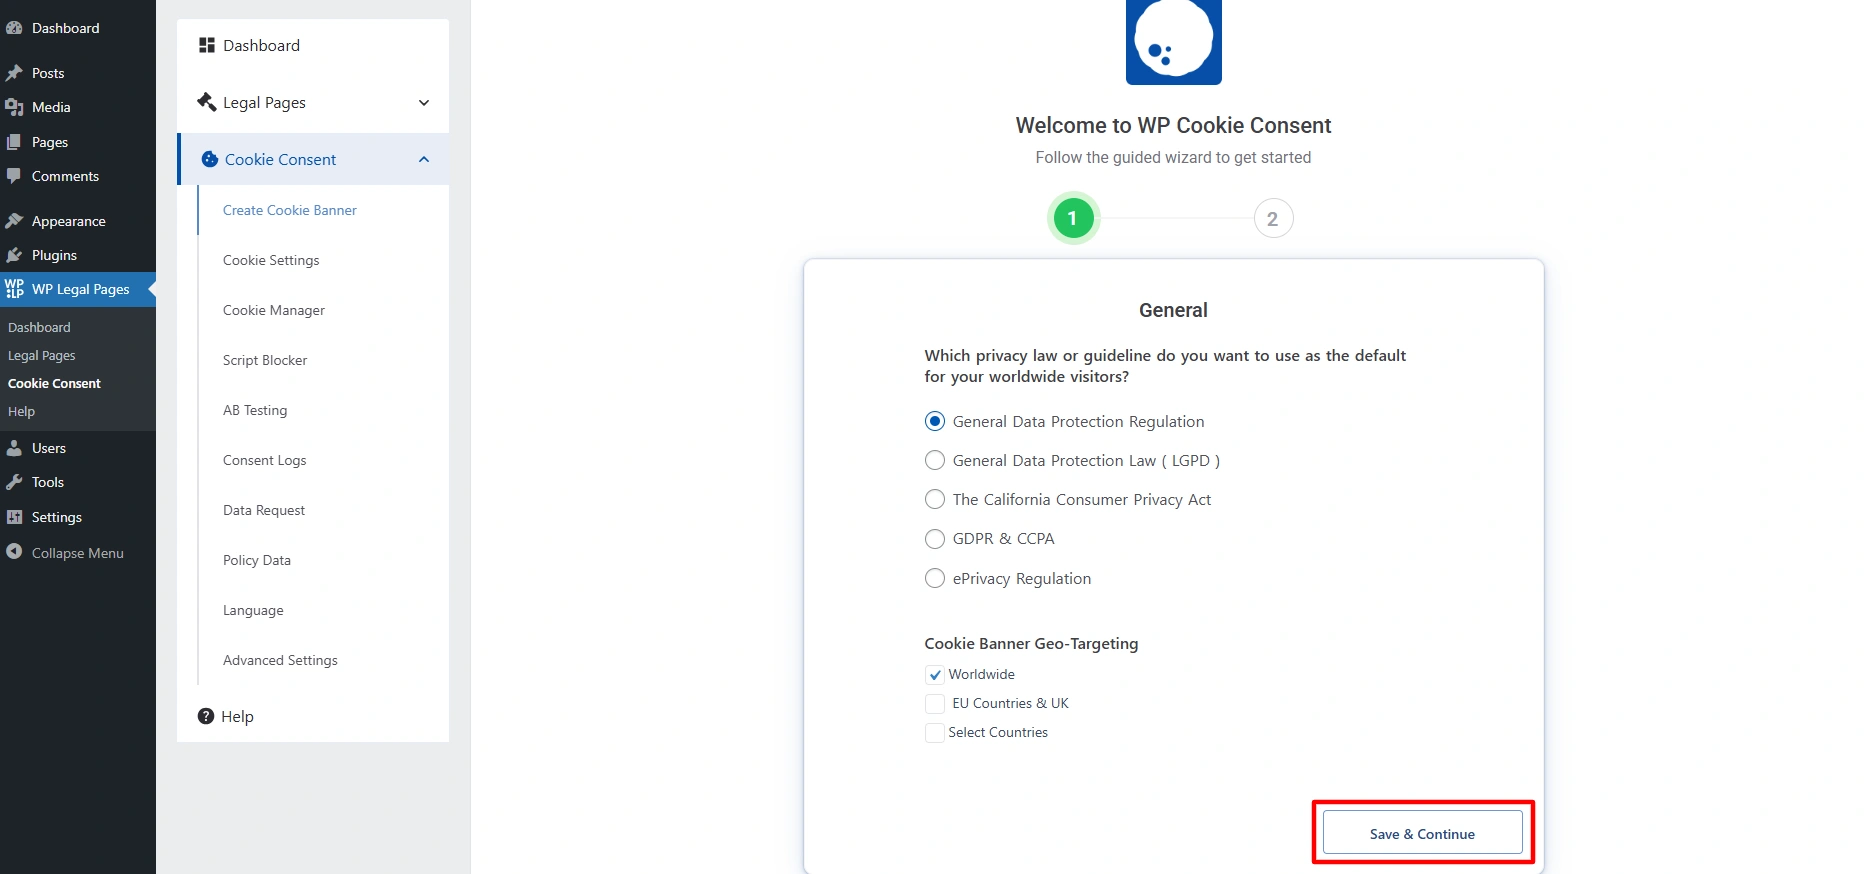
3. Cookie Consent Setup #
The Cookie Consent feature ensures compliance with GDPR, CCPA, and Google Consent Mode v2.
Enabling the Banner #
Click on Create Cookie Banner. Choose what you want to display as the default on your cookie banner and set up geo-targeting. Then, click Save and Continue.
You can set up a cookie banner by enabling consent logging and script blocking.
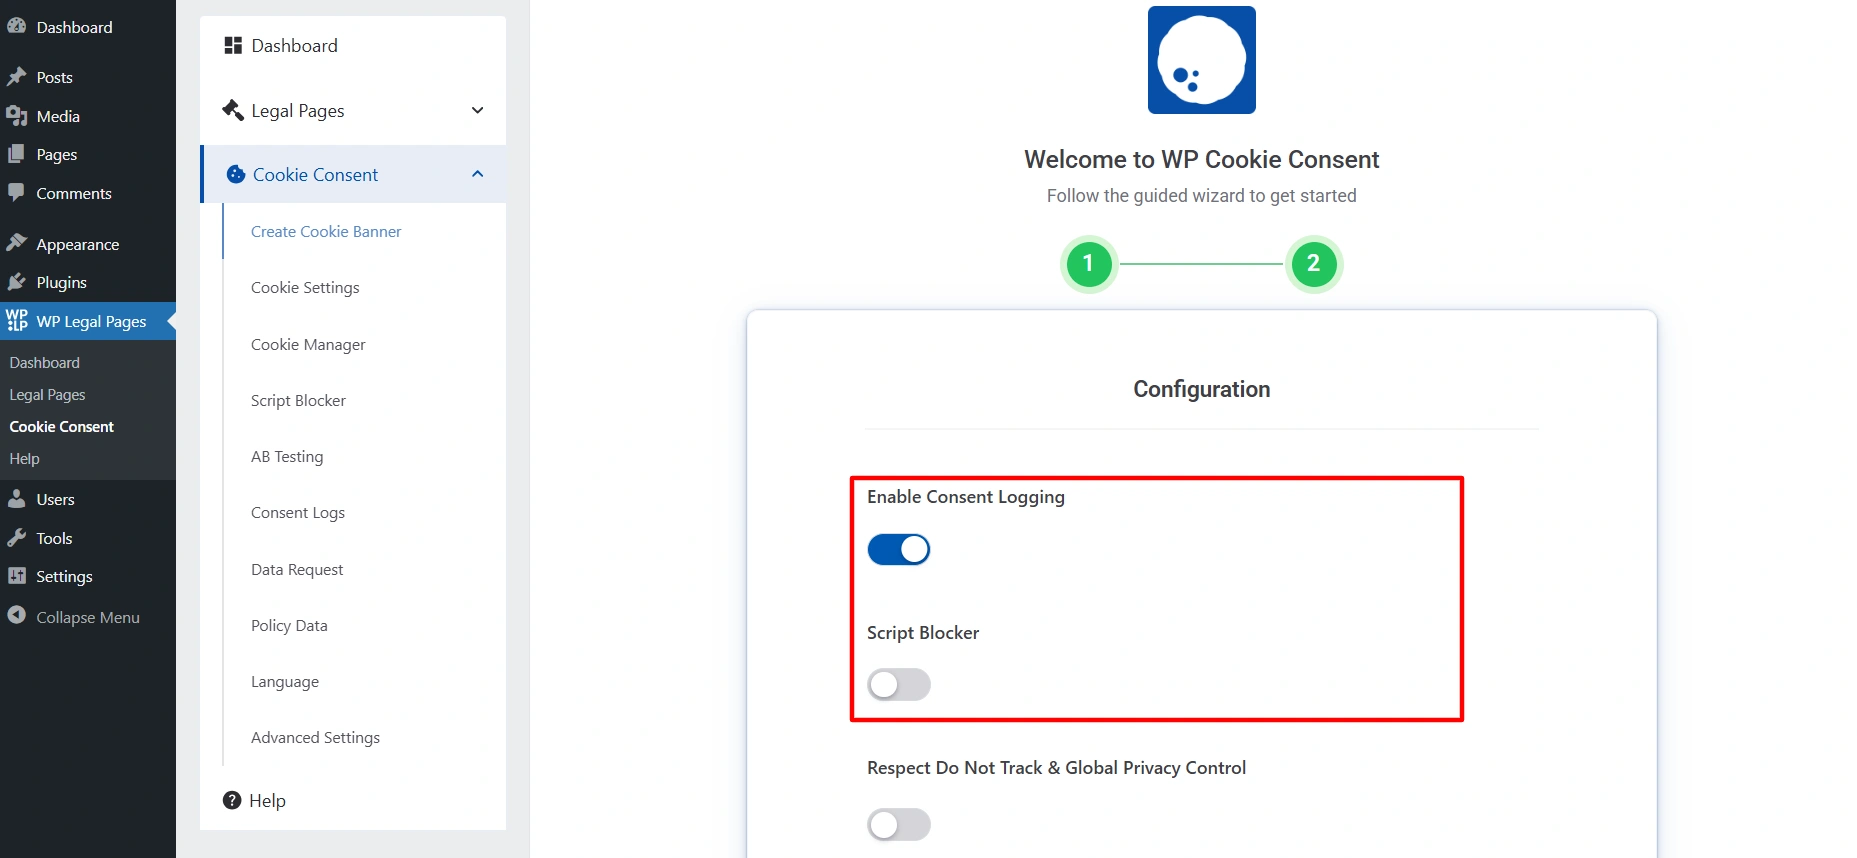
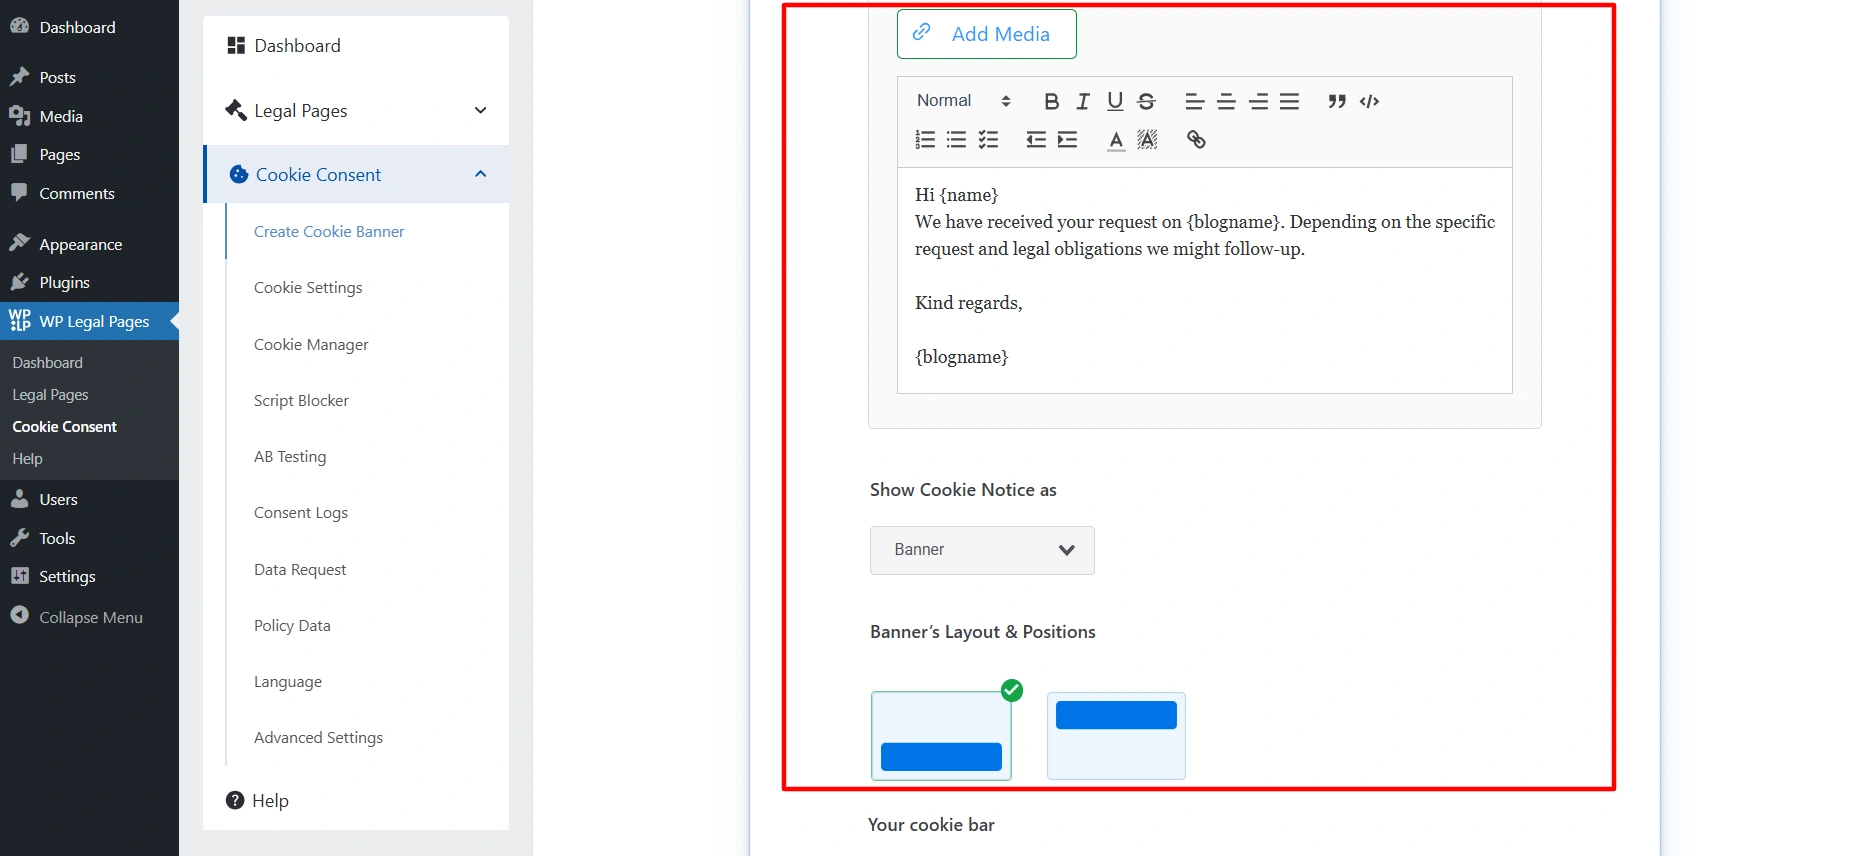
You also get the option to customize the banner’s look and message. This lets you legally collect user consent and track it while also controlling when certain tracking scripts load on your site.
Click on Preview live.
Cookie Categories #
Cookies are grouped into four categories.
- Strictly Necessary (Always Active): Essential cookies required for the website to function properly. These cannot be disabled.
- Analytics: Cookies that help measure and analyze website traffic and user behavior to improve performance.
- Advertising/Marketing: Cookies are used to deliver personalized ads and track the effectiveness of marketing campaigns.
- Functional: Cookies that enable enhanced functionality and personalization, such as remembering user preferences.
Users can enable or disable categories via a Preferences Model. For this, they can click on cookie settings and select whether they want to enable or disable it.
4. Region-Specific Compliance #
Different laws apply to different visitors. WPLP lets you tailor settings by region.
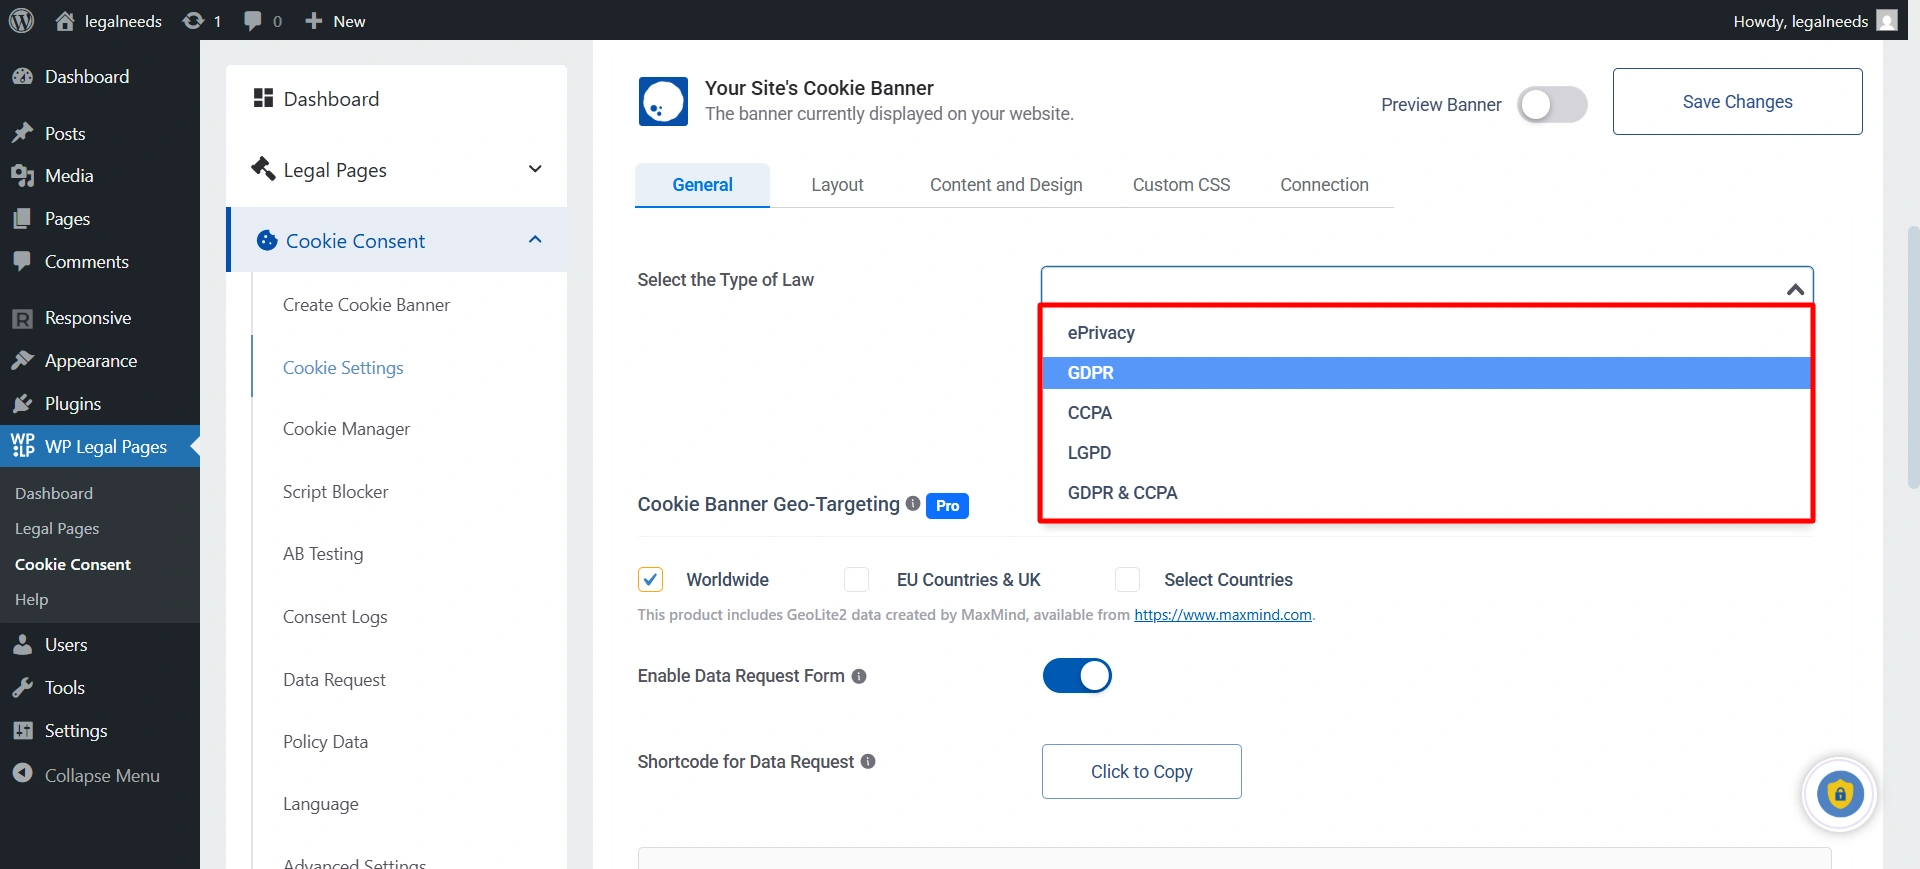
- GDPR (General Data Protection Regulation): Visitors worldwide will see consent requirements based on the EU’s GDPR rules (strict consent, opt-in required).
- LGPD (General Data Protection Law – Brazil): Visitors worldwide will get consent notices following Brazil’s LGPD, similar to GDPR but tailored for Brazilian law.
- CCPA (California Consumer Privacy Act): Visitors worldwide will see notices aligned with California law (focus on the right to opt-out of data selling/sharing).
- GDPR & CCPA: Visitors will get a combined compliance setup that covers both EU GDPR and California CCPA rules.
- ePrivacy Regulation: Visitors will see consent notices based on the EU’s ePrivacy rules (cookie law), often used alongside GDPR for cookies and tracking.
5. Script blocking #
Script blocker prevents third-party scripts from running on your website until the user gives their consent.
From your cookie settings, go to the Script Block and enable the toggle.
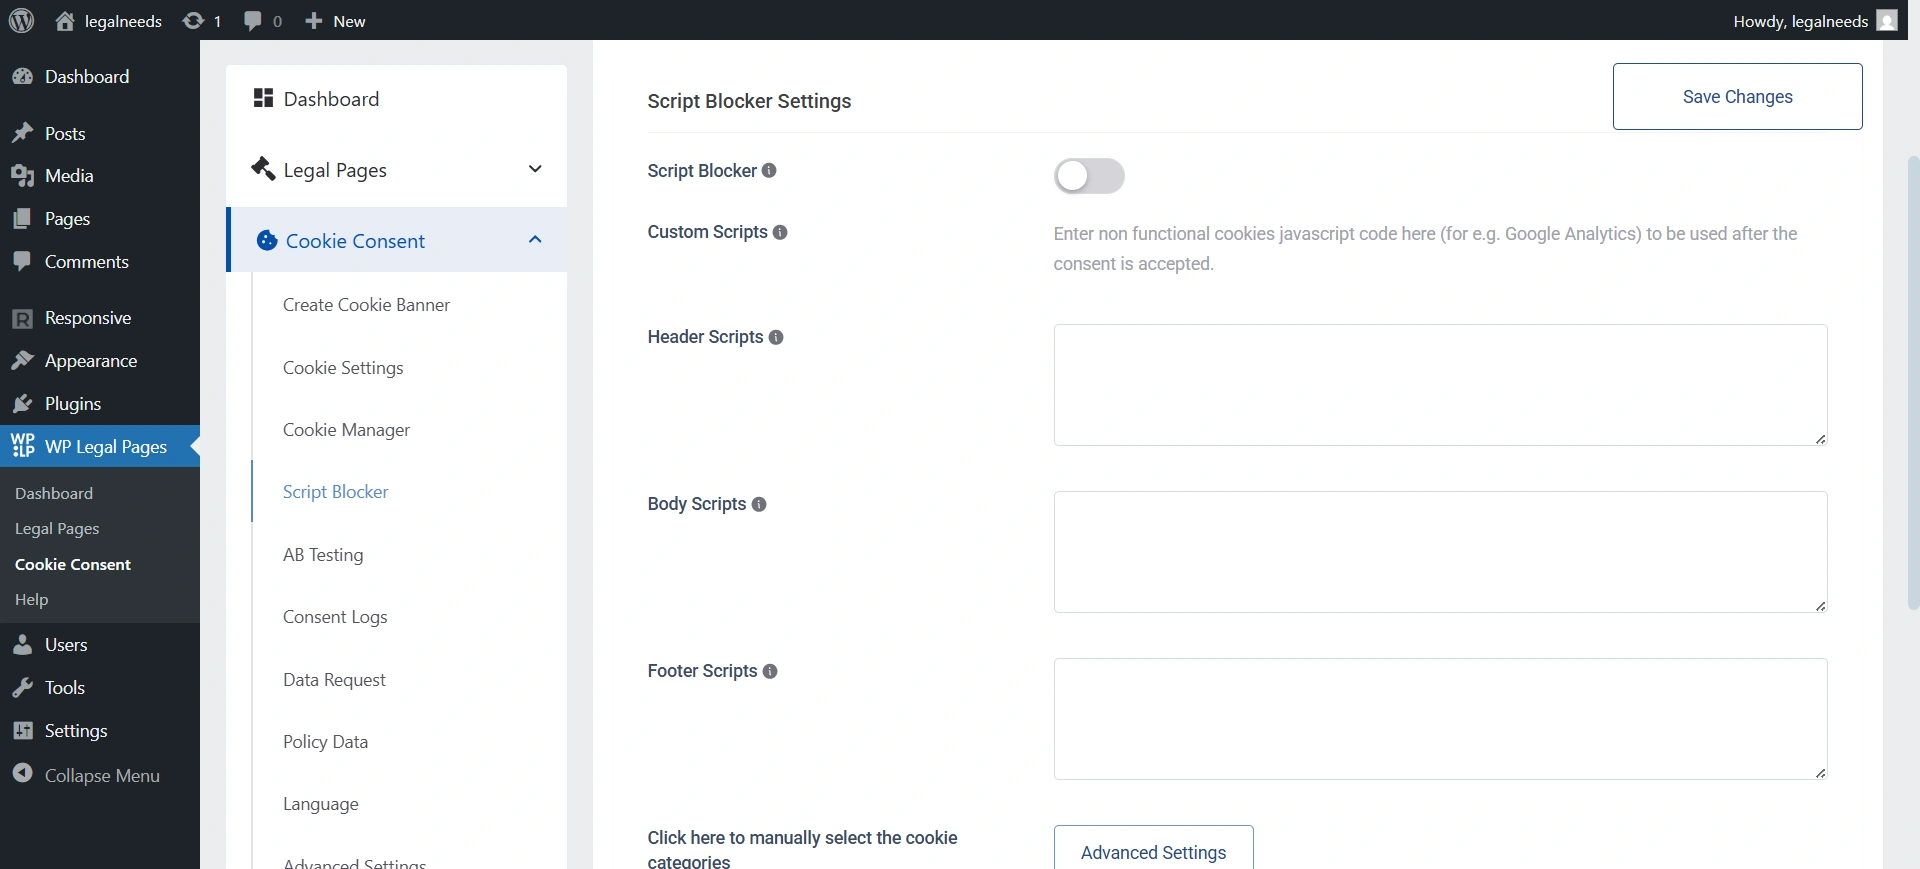
Then, add your script in the header, footer, or body, and save the changes.
6. Consent Logs & Proof of Compliance #
For businesses that need to demonstrate compliance, WPLP provides consent logs. From the side panel, you can navigate to the consent log.
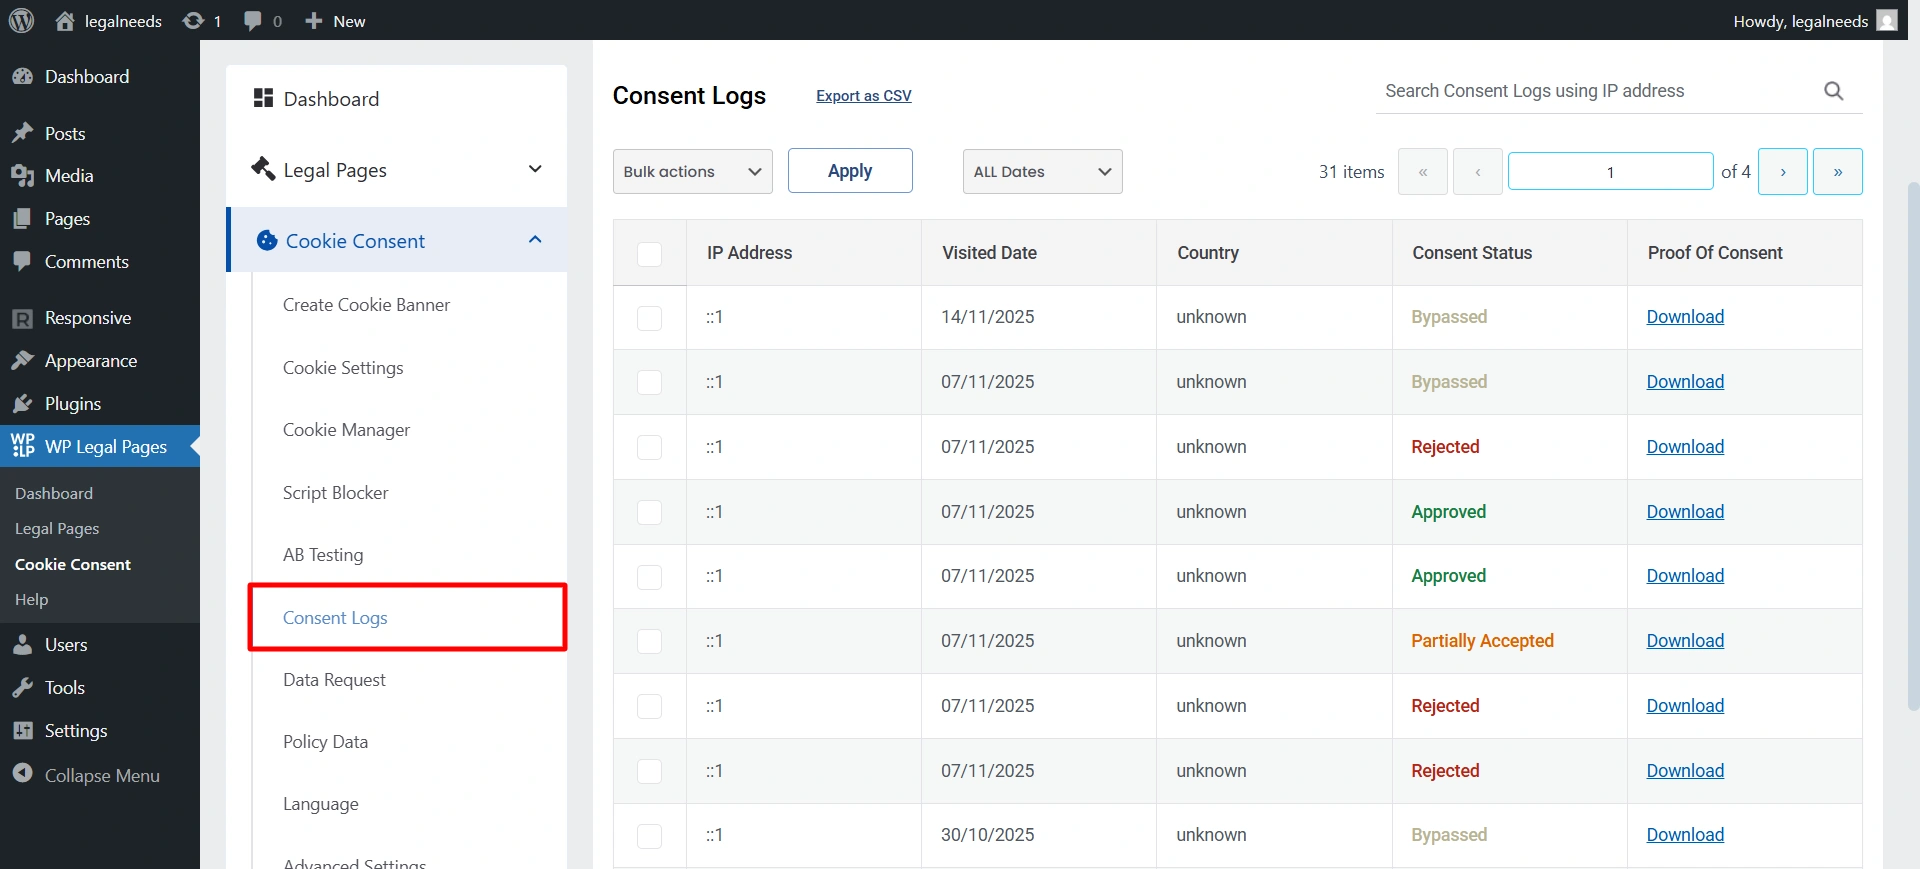
Here you will see all the records. If you want to download all proofs for audit trails, simply click Export as CSV to download the complete record.

Logs respect GDPR data minimisation principles, which means only necessary data is stored. Like the IP Address, what they consented to, and when they consented to devices through which they did.
6. Advanced Settings #
Multi-Site & Multi-Domain Configuration #
When you run a WordPress multisite network or manage multiple domains, your users don’t have to give cookie consent separately on each site.
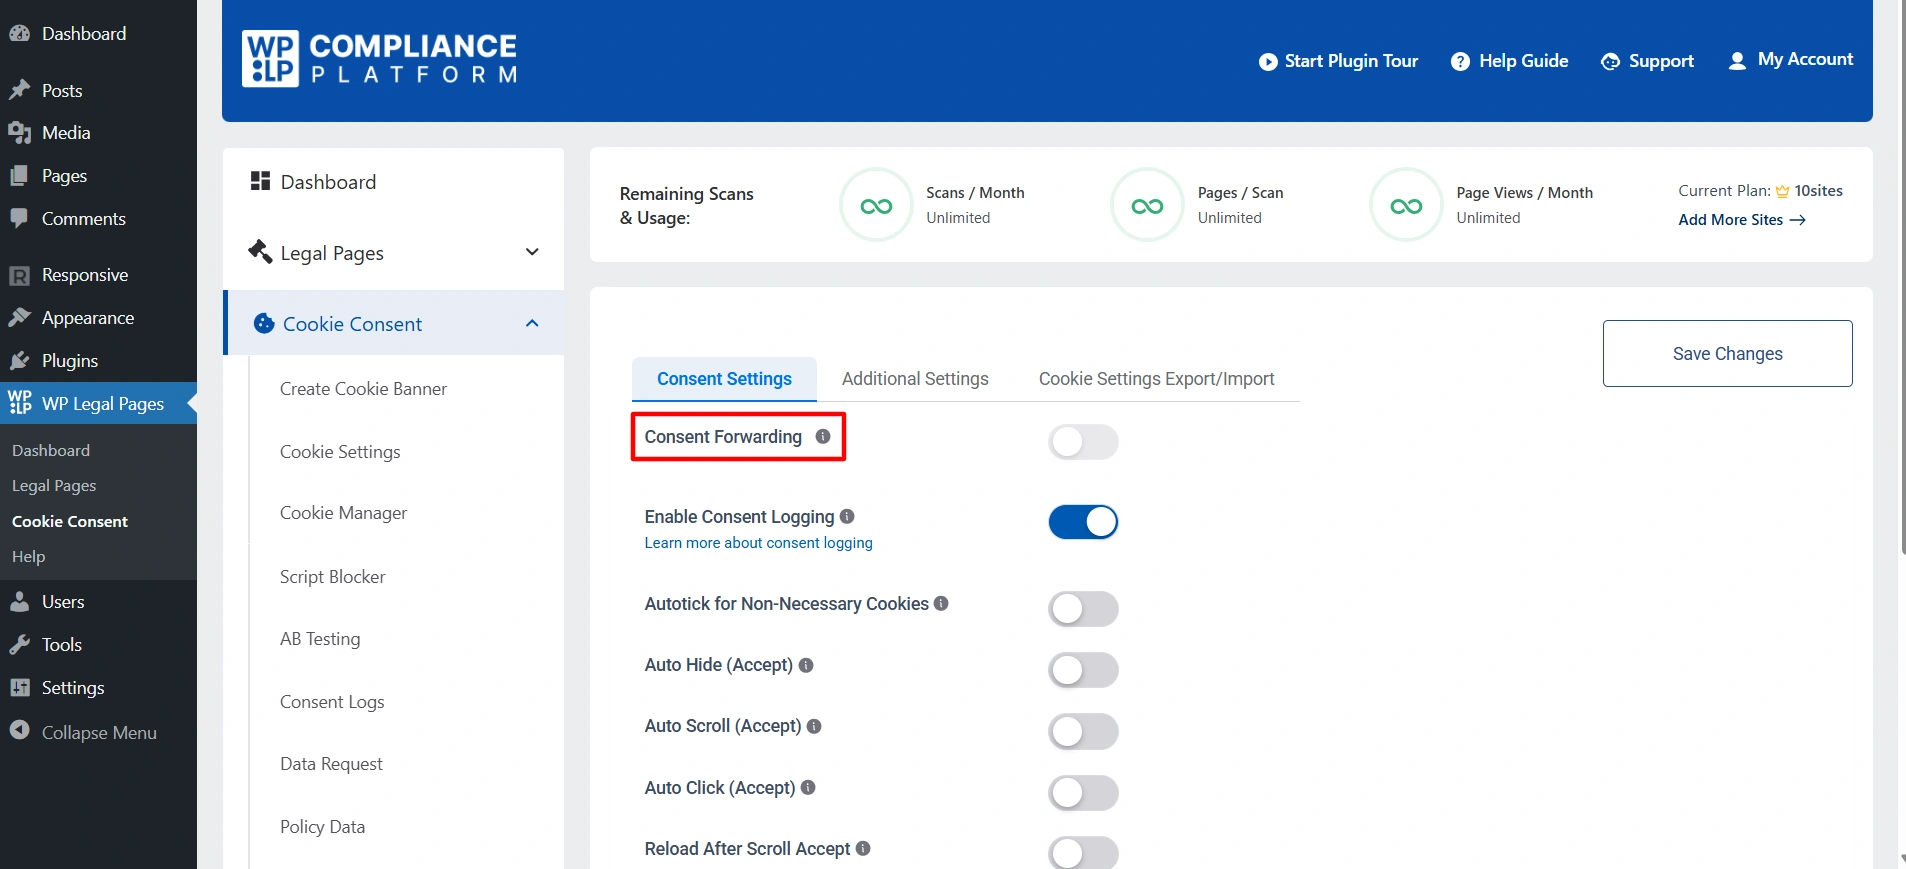
Consent Forwarding lets you share a user’s cookie consent choice across multiple sites or domains. This means if a visitor accepts or declines cookies on one site, the same preference will automatically apply to your other connected sites.
To enable this, navigate to Advanced Settings and click on Consent Forwarding.
It has a centralised license, which means one subscription manages all sites.
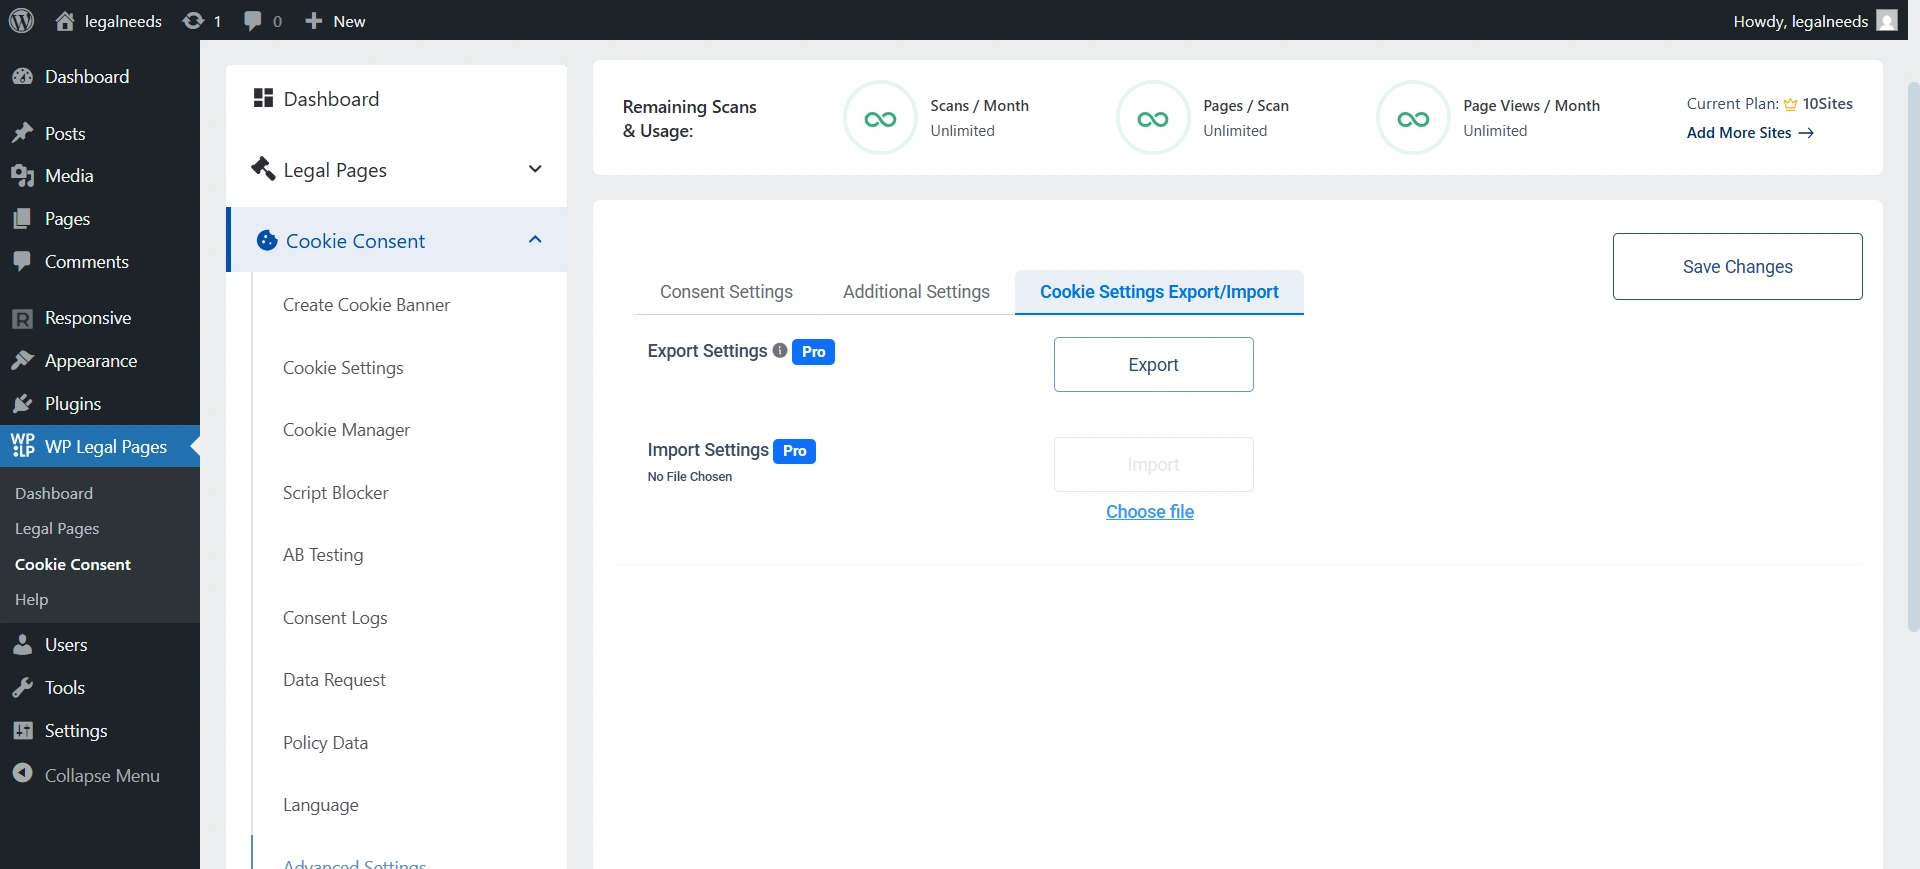
Additionally, if you want to copy all your settings from one website to another, you can easily export them from the dashboard.
In the Advanced tab, scroll down to the bottom, where you’ll find the Cookie Settings Import/Export option. Click on Export to download your settings.
However, the WPLP Compliance Platform provides domain-based configuration. You can assign different cookie banners to different domains.
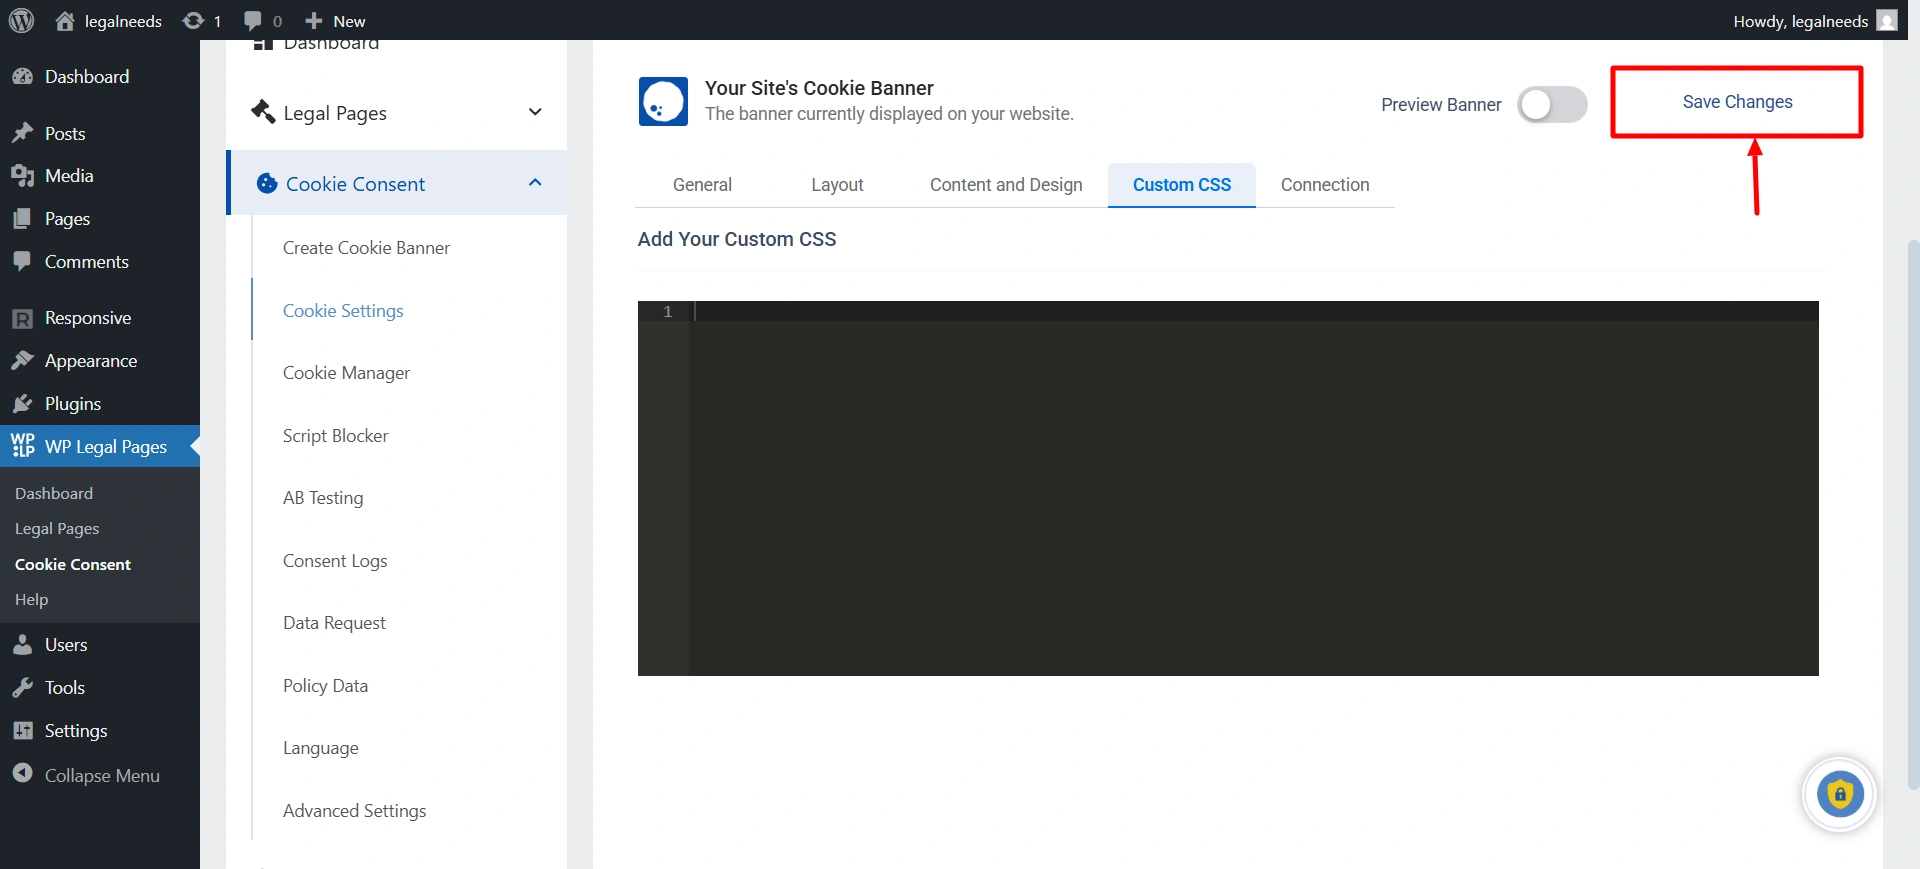
7. Custom CSS #
For developers or advanced users. In Cookie settings, you will see an option for Custom CSS.
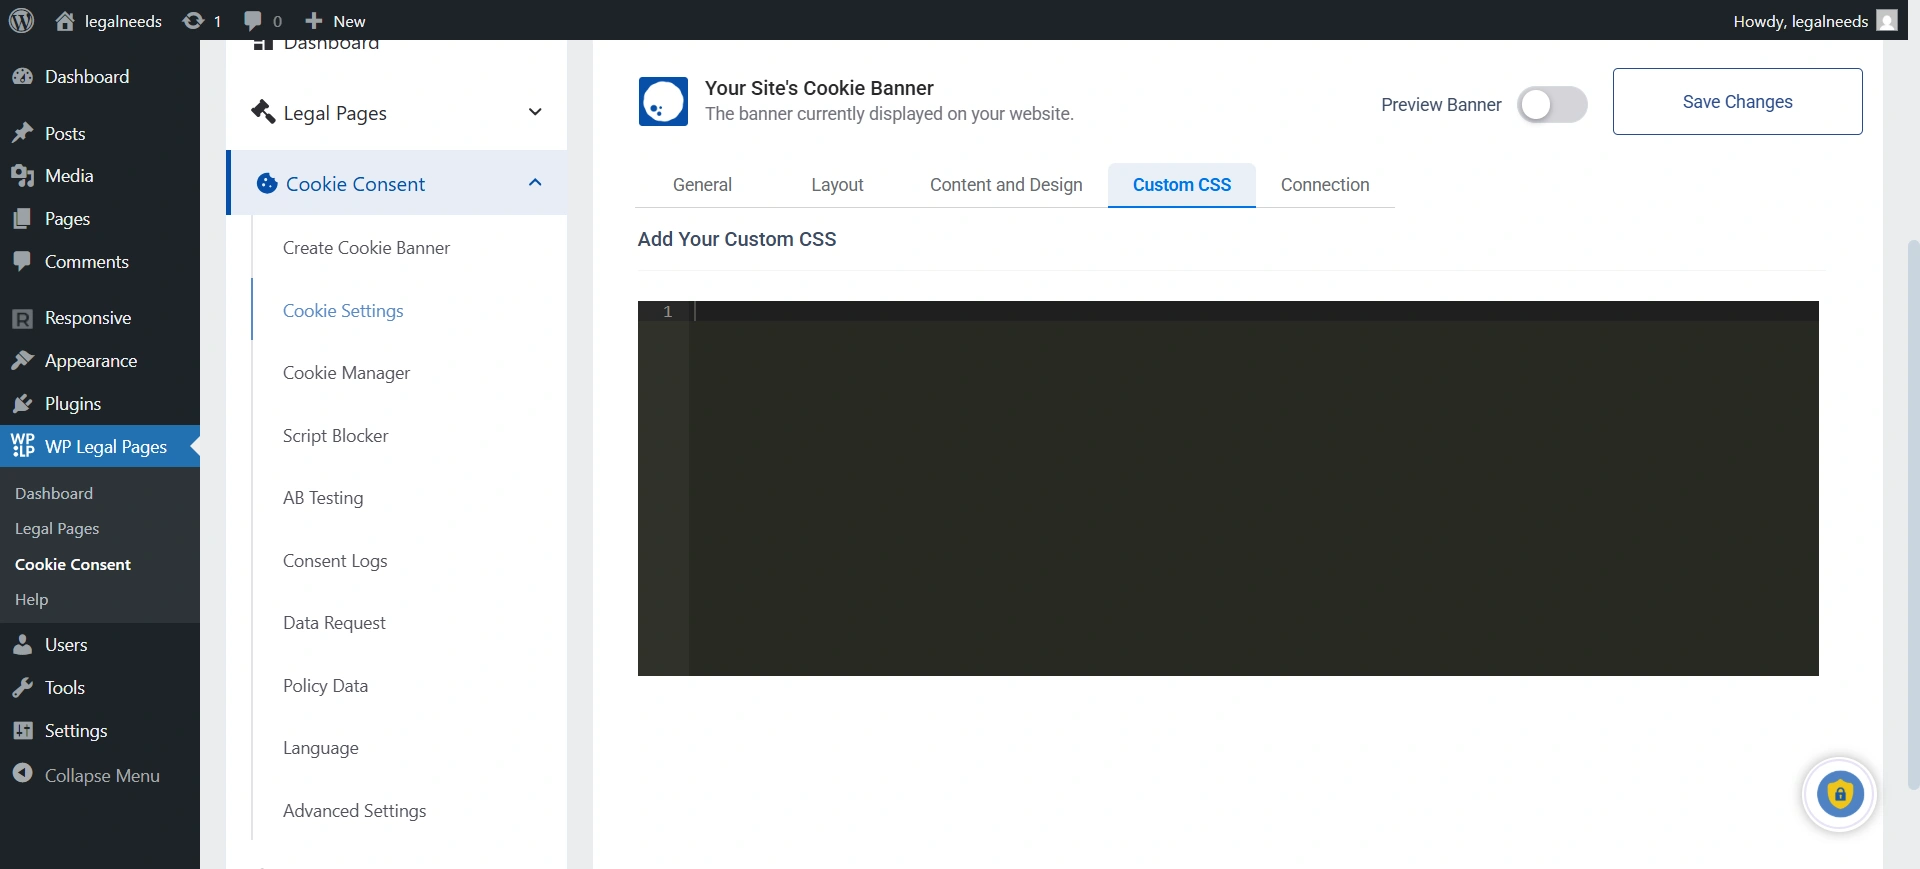
Add custom CSS scripts to style the banner that matches your theme.
Enable Safe Mode for Cookies: The Safe Mode option exists to make sure your site doesn’t break due to script blocking or complex geo-targeting rules.
8. Saving & Publishing #
After configuring all settings. Click Save Changes.
If you don’t see issues after clicking on save changes, clear your site cache if you’re using a caching plugin. Or visit your site in an incognito window to confirm.
At this point, your site is fully configured with WPLP. The next section, Features Walkthrough, provides a deeper dive into each feature.


